Grid layers are simple to create, and allow you more control over the dispersal of ingredients.
Note: If you have ingredient data saved in a .CSV file, you can easily import it into a grid layer. See Importing Ingredients Using the DoE Tool for more information.
The first step is to add a grid layer to the canvas.
Click the Design tab of the Experiment tab set.
In the Add Ingredients group, click Grid Design.

Add Grid Layer
Draw the grid layer on the canvas by dragging the mouse over a group of wells.
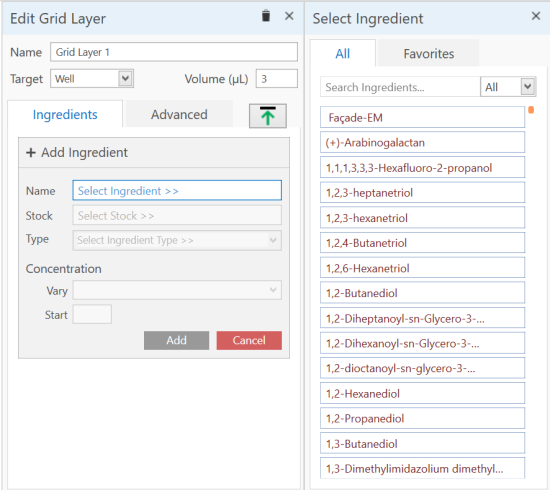
In the Edit Grid Layer panel that appears on the right of your screen, type a descriptive name for the layer in the Name box.
In the Volume box, type a volume for the well solution.
Click Add Ingredient.

Edit Grid Layer
In the Select Ingredient panel, type or select an ingredient.
If you wish to vary the ingredient's concentration, select a variation from the Vary list. If your ingredient is a buffer, you can vary both concentration and pH.
Row — The ingredient's concentration will increase from left to right along the plate.
Column — The ingredient's concentration will increase from top to bottom along the plate.
Sub-layer — Variation will occur from one sub-layer to the next. Every well in each sub-layer will be assigned the same value, which will increment in equidistant steps between the start and stop values.
Well number — Variation will occur from well to well. To determine the increment, ROCK MAKER looks at the total number of wells in the layer, as well as all wells in any sub-layer. The first well of the layer will receive the start value, and the last well of the layer or sub-layer will receive the stop value.
Custom — You may manually type concentrations using a spreadsheet editor.
Type a start and stop concentration in the Start and Stop boxes.
To add more ingredients to the same layer, repeat steps 7-11.
 | |
| RMC-V315R219 |