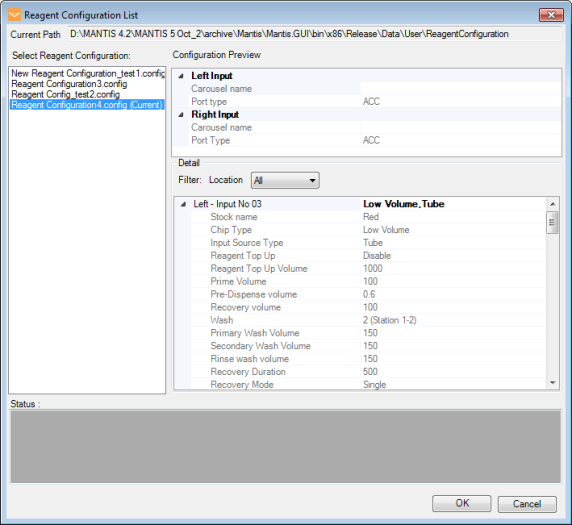
A Reagent Configuration enables you to save, load, and modify the hardware setup for each of your recurring workflows. This configuration file contains all of the reagent settings and information needed to execute a dispense in exactly the same way every time you load it.
To assign the reagents to their input locations:
In the Input Control Panel, type a reagent name in the Reagent Name box.
OR
You can drag and drop the reagent to each reagent input from the dispense list. See Designing a Dispense.
Configure the reagent input as necessary. For more information, see Configuring the Reagent Input Settings.
Go to the File menu, point to Reagent Configuration, and then select Save.
Note: Click Save As if you want to save an existing reagent configuration to a different file name and/or directory.
Type a name for the reagent configuration in the File Name box and click Save.
To load the reagent configuration in the future, go to the File menu, point to the Reagent Configuration menu, and then select Load.
Select the reagent configuration from the list in the Select Reagent Configuration box.
Click OK to load the reagent configuration.

Reagent Configuration List
Note: The Current Path box at the top of the Reagent Configuration List window shows your reagent configuration file location.

|
|
| MAC-V42R018 |