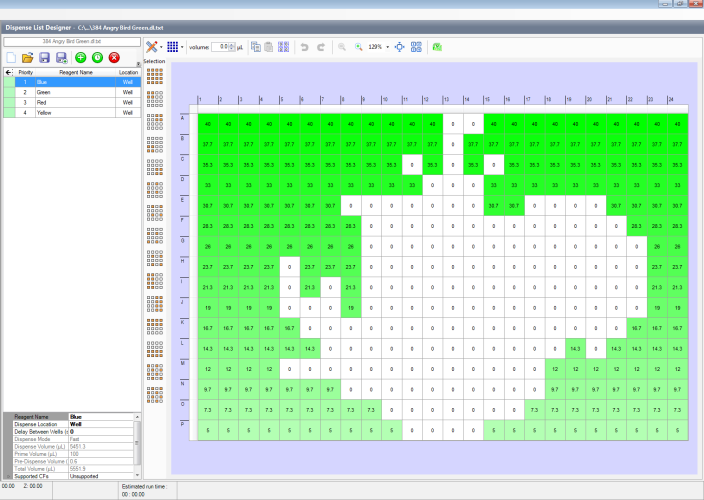
The Dispense List Designer is where you create or import a dispense list and plate dispense design. At the left of the Dispense List Designer is the Dispense List, which is a list of reagents to be used in a particular plate dispense. At the right of the Dispense List is a graphical view of your plate design. This area is where you design the dispense using the reagents in your Dispense List.

Dispense List Designer
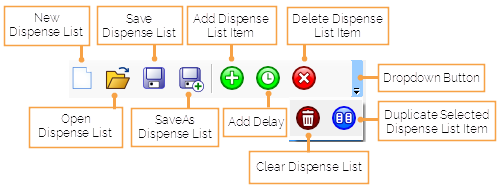
There are buttons along the top of the Dispense List that allow you to create a new dispense list, load an existing dispense list, add a new reagent to the dispense list, delete a reagent on the dispense list, duplicate a reagent on the dispense list, and increase or decrease the dispense priority of an item.

Dispense List Buttons
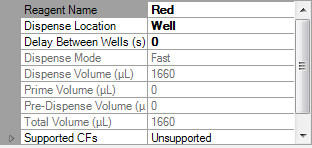
At the bottom of the dispense list is a box of information that changes based on which reagent is highlighted in the dispense list. This table shows you the reagent's name, the dispense location, the reagent's barcode (if any), the dispense volume, the prime volume, the pre-dispense volume, the total volume, and whether or now continuous flow chips are supported. You can change these items if they are shown in bold text. To see your options, click anywhere in the text field of the bold text, then click the down-arrow to display the options.

Reagent Information Box
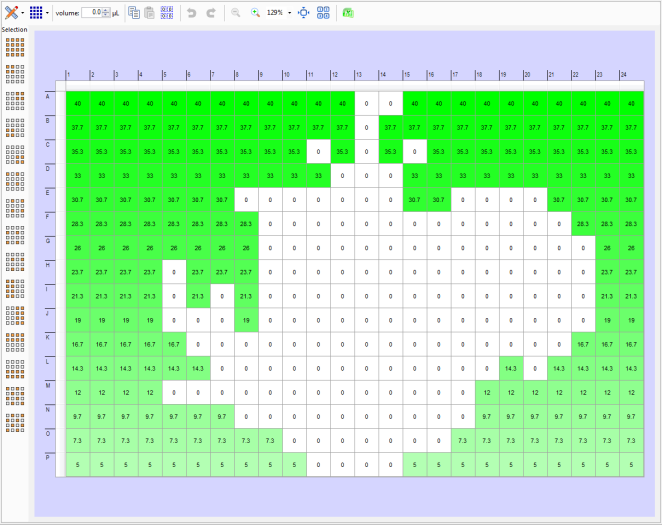
The Plate Designer is used to design the plate dispense. You can click on a single well to select it; click and drag to select an area of wells, or hold down the Ctrl key on your keyboard while clicking wells to select non-adjacent wells.

Plate Designer
The Plate Designer has its own toolbar buttons that enable you to:
While most of your work will be done using Designer view (the default plate view), you can select other views by clicking the Plate View Type button from the toolbar at the top.

Plate Designer Toolbar Buttons
The Volume Fill Type button opens a list that shows you different options for how to vary the volume across a selected area. The default setting is Constant Volume, but you can select either Horizontal Gradient, Vertical Gradient, Forward Diagonal Gradient, Backward Diagonal Gradient, Checkerboard 1, Checkerboard 2, Backfill, or Scale.
For more information about any of the types of fills, please see Volume Fill Types.

|
|
| MAC-V44R120 |