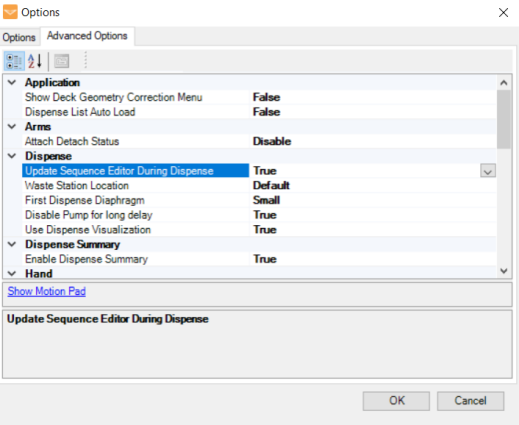
In the MANTIS software:
-
Go to the Tools menu and select Sequence Editor.
OR
-
Press Ctrl+Shift+O on your keyboard.
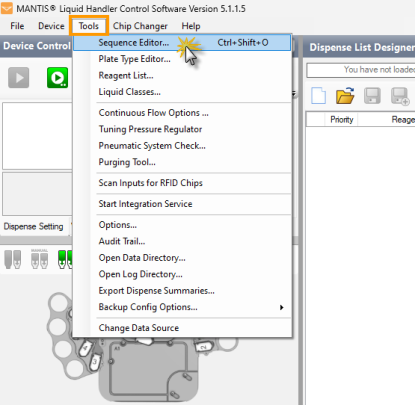
Opening the Sequence Editor
OPTIONAL: Click the Create new Sequence button to clear the previous sequence from the Sequence Item Table.
Add the sequence items based on your needs:

- Select from the following options:
-
Click the Add Item button
 , and select Valve . The valve state will automatically appear in the Sequence Item Table with the latest configuration. Then, change the configuration by opening (green) and closing (red) the valves by clicking on the desired area in the Valve Control Panel. Click Write State
 apply the GUI valve state to the selected Valve sequence item. From the Valve Control Panel, manually open (green) and close (red) valves by clicking on the desired area. Click the Add Item button
 and select Valve. The graphical valve state will be transferred over to the Sequence Item Table.

-
Select Move from the Add Item button
 .
. -
In the Move Sequence Item window:
-
Set the Movement Type by choosing from the following options:
-
Absolute — to move the MANTIS hand to the determined location based on the X, Y, and Z axis coordinates.
-
Relative — to move the MANTIS hand along the selected axes by a given amount, defined by the change of each value (dX, dY, and dZ).
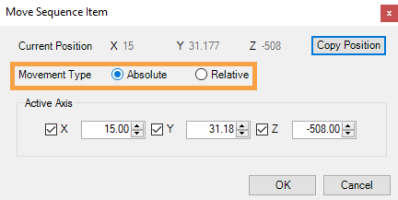
Selecting Movement Type
-
-
OPTIONAL: Click Copy Position to duplicate the current coordinate to each axis field in the Active Axis section.
-
Configure the X/dX, Y/dY, and Z/dZ values from the Active Axis section by selecting and setting the preferred axis coordinates.
-
Click OK to save the changes and close the Move Sequence Item window.
-

-
Select Label from the Add Item button
 .
. -
In the Label Sequence Item window, enter the label name.

Typing Label Name
-
Click OK to save the label in the Sequence Item Table.

-
Select Go To from the Add Item button
 .
. -
In the Go To Sequence Item window, select the available label that has been assigned to the Sequence Item Table.
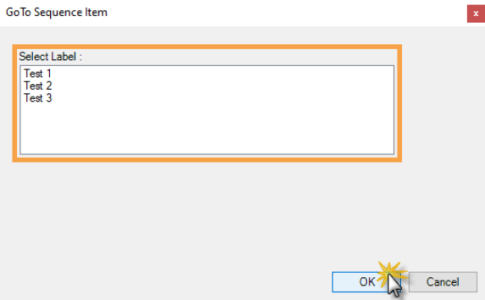
Selecting the Label
-
Click OK.
-
Select Air Pump from the Add Item button
 .
. -
In the Air Pump Sequence Item window:
-
Set the delay time (in seconds) on the Timer field.
-
Turn the air pump on/off by selecting from the available options.
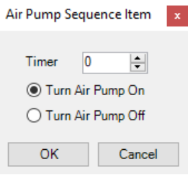
Air Pump Sequence Item Window
Note: When turning the pump off, MANTIS will pause for the specified time before turning off the air pump. When turning the pump on, MANTIS will pause for the specified time after turning on the pump and before moving to the next command.
-
-
Click OK to save the configuration.
-
Select the Plate Clamp option from the Add Item button
 .
. -
Set the plate clamp status to open/close by selecting Lock Plate Clamp (close) or Unlock Plate Clamp (open).
-
Click OK to save the settings.
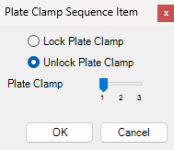
Plate Clamp Sequence Item Window
-
Select Timed Valve from the Add Item button
 .
. -
In the Timer Sequence Item window:
-
Select the Open then Close option to close and open the valve accordingly, or Close then Open to open and then close the valve.
-
Set the delay period (in milliseconds) in the Delay (ms) field that MANTIS will hold the valves in their initial state.
-
OPTIONAL: Select the Edit Toggle Valve option to edit the output, input, and common valve (plate clamp, pressure/vacuum, and air pump) manually.
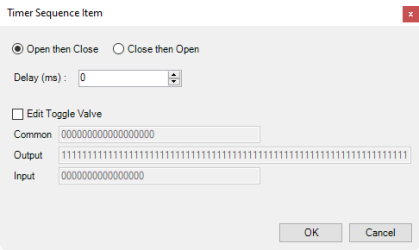
Timer Sequence Item Window
-
-
Click OK to save the changes.
-
Select Pressure Control from the Add Item button
 .
. -
In the Pressure Regulator Sequence Item window:
-
Select the Pressure Type from the available selections.
-
Set the period (in milliseconds) for MANTIS to wait for the target pressure/vacuum value.
-
Set the target pressure (in psi) you want MANTIS to achieve in the Target Pressure field.
-
OPTIONAL: Select the Ignore Warning option to hide the warning message that informs you if the target pressure is failed to achieve during the delay period. By ignoring the message, MANTIS will automatically use the current pressure value, which may cause inaccurate dispense result.
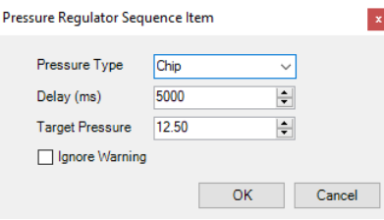
Pressure Regulator Sequence Item Window
-
-
Click OK when you’re done.
-
Select Carousel from the Add Item button
 .
. -
Select the left/right position for LC3 on MANTIS.
-
Set the chip position of the carousel to determine the L1/R1 location from the Index field.
-
Click OK when you’re done.
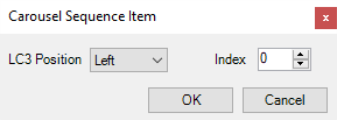
Carousel Sequence Item Window
-
Select LC3 from the Add Item button
 .
. -
Select the available LC3 serial number from the LC3 S/N field.
-
Configure the rotation degree of the carousel from the Degree field.
-
OPTIONAL: Click Copy Position to duplicate the current degree position of the carousel rotation angle.
-
Click OK when you’re done.
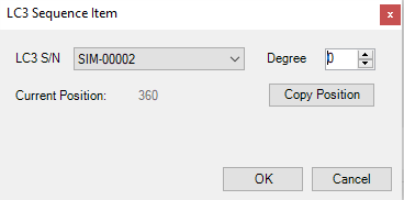
LC3 Sequence Item Window
*Available if MANTIS is connected to the LC3.
Choose from the following options:
-
Save the custom sequence:
-
Click the Save Sequence button
 .
. -
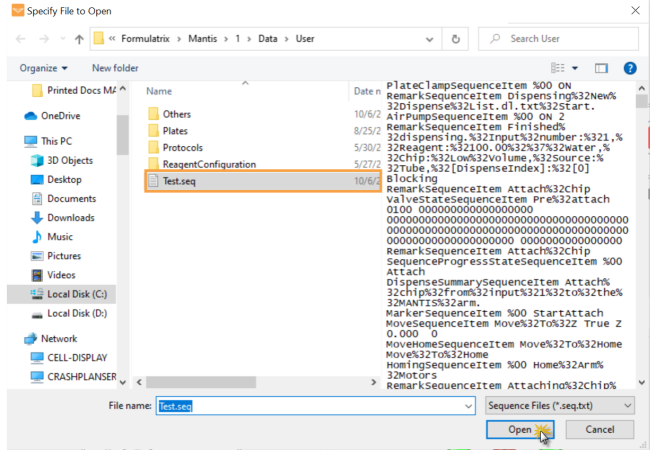
In the Specify Sequence File window, enter the sequence name in the File name field.
-
Click Save. The sequence file will be automatically saved in the User folder in .seq.txt format.
-
-
Run the sequence by clicking the Run Sequence button
 . You can pause during the sequence execution or stop the sequence by clicking the Stop button
 .
.
 .
.
 .
.