Because ROCK IMAGER gets most of its imaging instructions from ROCK MAKER, you must describe your experiment in ROCK MAKER before you can start imaging a plate. If you are interested in tracking conditions, this process involves defining all of your experiment's ingredients to the experiment and creating an automatic imaging schedule for ROCK IMAGER to follow.
In the long term, this capability is extremely useful. However, if you are anxious to image a plate and do not want to track conditions, you may want to skip the experiment definition part of the process.
In that scenario, you can create a proxy experiment. A proxy experiment is an experiment skeleton that includes a protein formulation, which is required in order to print a barcode label.
You must have a barcode label on each plate you wish to image, as this is how ROCK IMAGER differentiates plates.
Tip: Once you have created a dummy experiment, you can copy and paste it into a new experiment each time you want to image a plate but are not interested in tracking conditions.
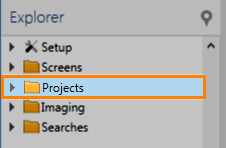
Right-click on the Projects folder in the Explorer and select New Project. Give your project a name.

Right-click on the Projects Folder
Right-click on the project you created and select New Experiment. Give your experiment a name. If you want to, you can adjust the experiment parameters on the Experiment Info page, but for our purpose the default settings will work.
At the bottom of the Imaging Schedule and Imaging Settings area on the Experiment Info page, you will see a Experiment tab and a Canvas tab. Click the Canvas tab.
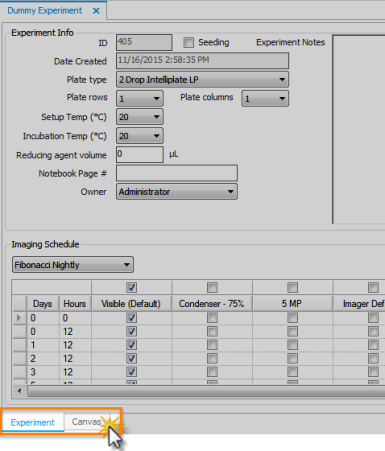
Click the Canvas Tab
Right-click on the Project you created and select New Protein Formulation.
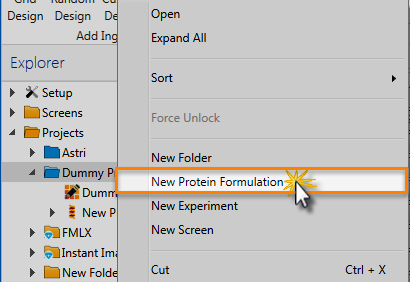
Select New Protein Formulation
On the New Protein Formulation page, right-click in the Ingredients field and select New Ingredient to add a protein. An empty row appears. Select a type (protein, compound, or ligand) from the Type list box in the new row.
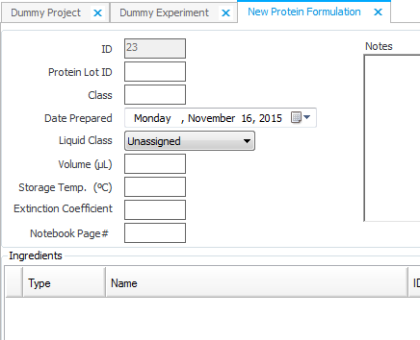
Select New Ingredient to Add a Protein
Go back to your dummy experiment page by clicking on the relevant tab or double-clicking on your experiment in the Explorer.
Drag your protein to the Canvas. The small rectangles in each well (which represent drops) turn green to represent that you have added a protein.
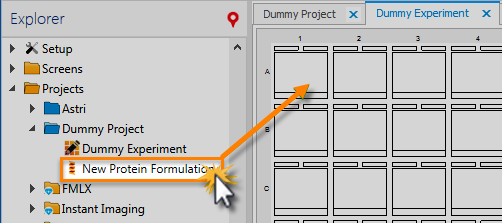
Drag Your Protein to the Canvas
Right-click on your experiment in ROCK MAKER and select Print Barcode to print a barcode for your plate.
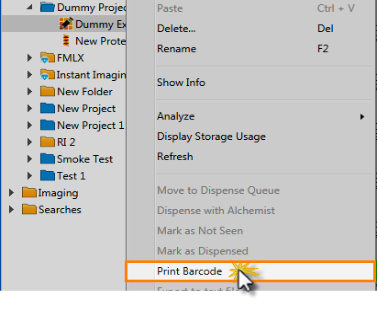
Select Print Barcode to Print a Barcode for Your Plate
Affix the barcode to the short side of the experiment plate furthest away from the A1 position.
You can now proceed with Imaging a Plate.

|
|
| RIC-V38R119 |