The Dispensing Tab
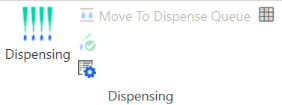
To view dispensing information, you must click the Dispensing button on the Home tab.

Dispensing Group on the Home Tab
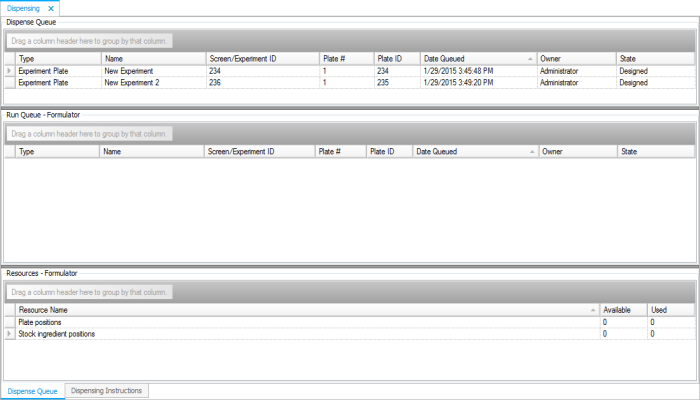
The Dispensing tab itself is made up of three sections: The Dispense Queue, the Run Queue, and the Resources area.

Dispensing Tab
Dispense Queue
The Dispense Queue serves as a holding place for plates that you plan to dispense in the future. Plates can be moved to the Dispense Queue by clicking the plate and then clicking the Move to Dispense Queue button in the Dispensing group on the Home tab (pictured above). You can also move a plate to the Dispense Queue by right-clicking on it in the Explorer and selecting Move to Dispense Queue. If you click on an experiment that contains several plates and then execute the Move to Dispense Queue command, all plates will be moved to the dispense queue.
The State column has several statuses:
Designed — The plate has been designed, but it still needs a plate label.
Label Printed — A label has been printed for the plate.
Dispensed — Successfully dispensed.
Dispense Attempted — A problem occurred during dispensing.
Run Queue
The Run Queue is the holding place for plates that are going to be dispensed.
To move plates from the Dispense Queue to the Run Queue, select the desired plates, right-click on them, and select Move to Run Queue. You can also do this by double-clicking on a plate.
You can move plates back to the Dispense Queue by right-clicking and selecting Remove from Run Queue.
Resources
The Resources area lists resources needed for dispensing all plates currently in the Run Queue. For each resource, you see the number available and the number taken up by the plates in the Run Queue. If there is a shortage of a resource, ROCK MAKER will warn you with an error message. The values in the Resources area columns come from the Rack Editor. See Tracking Ingredients with the Rack Editor for details.

Resources Tab in NT8
Related Topics
 | |
| RMC-V317R221 |