Saving and Deleting Images
From the Drop Tab, you can save well images to your computer for use outside of ROCK MAKER. The scalebar will automatically appear on your images saved from ROCK MAKER. You also have the option to save annotations, regions of interest, and drawings created with the Image Tools.
Note: You can also save a thumbnail image of a drop by right-clicking a well on the Canvas tab and selecting Save Thumbnail.
Saving Images
- From the Drop tab, right-click an image or multiple images that you want to save, and select Save Image.

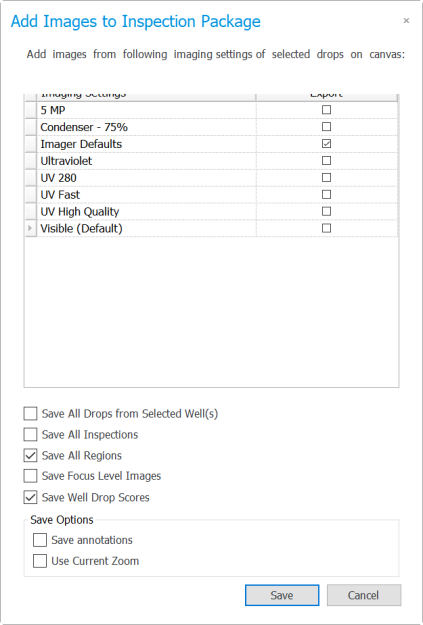
Save Options
Note: You can select which image types will be saved by checking the desired boxes in the Export column.
Note: Select Save All Drops from Selected Well(s) to include all drops from the well(s) that you have selected.
Note: Select Save All Inspections to include all image inspections from all selected Imaging Settings.
Note: Select Save All Regions to include all region images from all selected Imaging Settings.
Note: Select Save Focus Level Images to include focus level images.
Note: Select Save Well Drop Scores to include the Well Drop Scores.
Note: Select Save annotations on the Save Options menu to include annotations.
Note: Select Use Current Zoom on the Save Options menu to include the information about the relative zooming condition of your images.
- Select the desired options, and click Save.
- Choose from the following options:
- If you are saving an image:
- On the Save As window, type a name for your image in the File Name field, and select the file type from the Save as type list.

Type a Name for Your Image
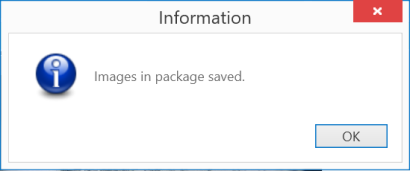
- When you are done, click Save to save your images. Then, click OK when an information message appears, as shown below.

Click OK When an Information Message Appears
OR
- If you are saving multiple images:
- Browse where you want to save your images in the Browse For Folder window.

Browse For Folder Window
Note: Click the Make New Folder button to create a new folder.
- Select OK to save your images.
- OPTIONAL: To open the path for your saved images, click Yes when an information window appears. Otherwise, click No.

Click Yes to Open the Path of Your Saved Images
Deleting Images
While in Images view, select one or more wells.
In the Images tab set, click the Import/Export tab, and then click Delete.
Click Yes to confirm the operation.
Related Topics
 | |
| RMC-V317R221 |