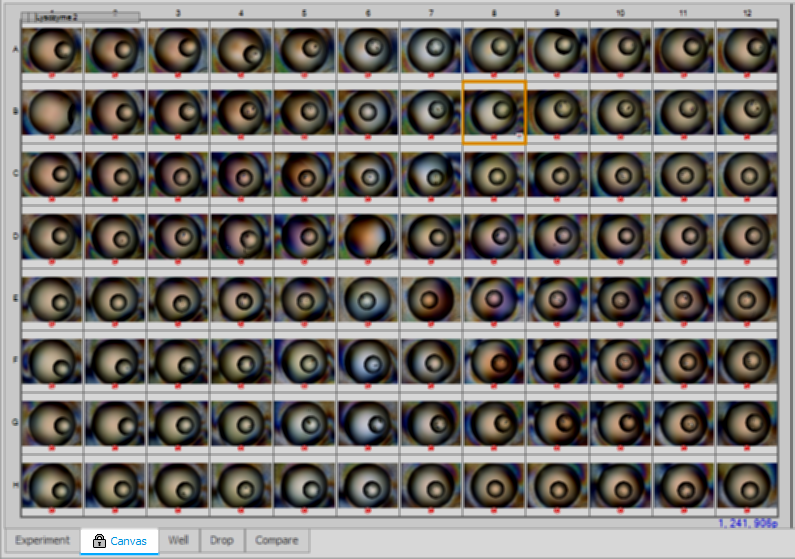
Once you have imaged an experiment, the main workspace is divided into Experiment, Canvas, Well, Drop, and Compare sub-tabs. The tabs that display will depend on which view you're in, because not all tabs are relevant to certain views. You will only see all five tabs if you are viewing your images in Image View or Score View.

Workspace tabs
You can change views through the appropriate ribbon menu:

Image Toolbar buttons
..or the View bar buttons at the bottom of your screen.

View Bar buttons
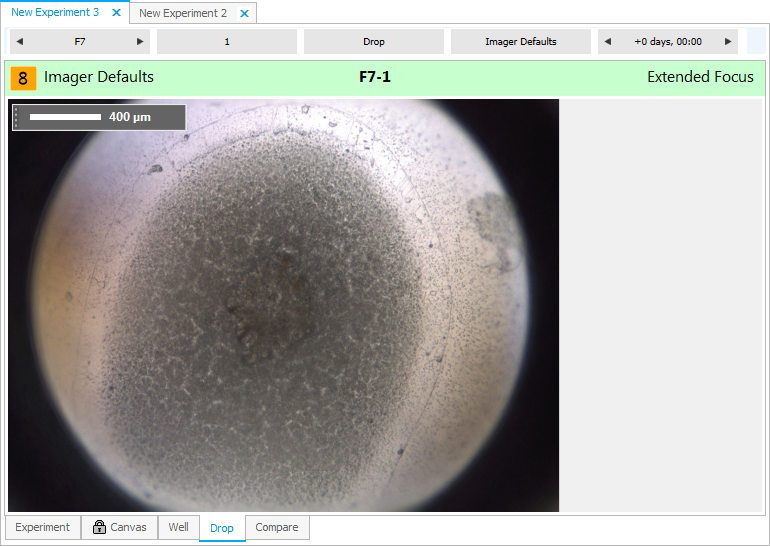
The Drop tab shows you a high-resolution image of the currently selected drop. You can access this tab by clicking the Drop tab or by double-clicking a thumbnail on the Canvas tab.

Drop tab
The default image is the extended focus image (EFI), which is an image of a drop created by combining multiple focus levels together into a single master image. You can view single focus levels by selecting one on the Drop(s) tab, or by right-clicking, pointing to View, and then selecting a focus level. Pressing F12 or F11 will move you either forward or backward through the focus levels.
If you want to save a picture of a drop, right-click it and select Save Image. You may choose to include any annotations with the image or not.
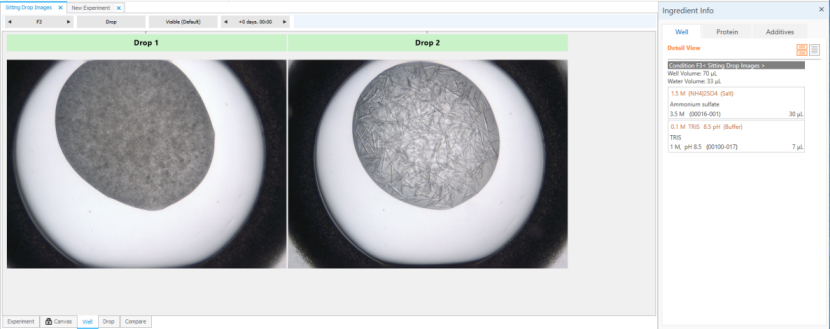
The well tab shows you a high-resolution image of all drops of the selected well along with the scores and ingredient info, making it a more useful view of the drops of a well. In the example image below there was only one drop imaged for the well.

Well tab
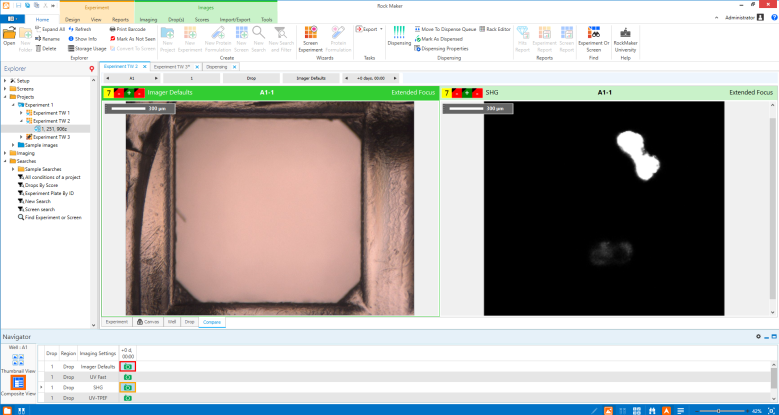
The Compare tab is used to compare different images that you have selected from the Navigator.

Compare tab
On the Navigator, you can select up to four images at a time to compare by holding down the CTRL key while clicking the image thumbnails. When multiple images are selected, they are displayed in the Compare tab on a 2x2 layout. The Compare tab can be used to view images of inspections, regions, imaging settings or, drops of a well.
 | |
| RMC-V37R116 |