Open the Input Option window by clicking the Input button of the assigned reagent.
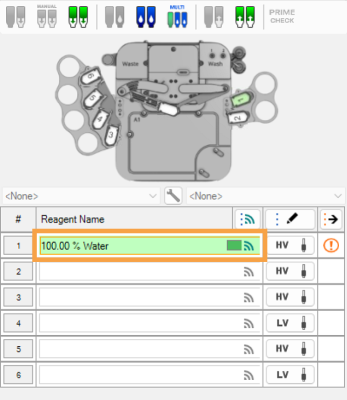
Assign a Reagent and Click the Input Button
-
Select the Check to enable option to activate the Auto Prime settings.
-
Define the Consecutive Drops Requirements for Auto Prime value. More drops will reduce the risk of air bubbles in the input tubing, fewer drops will reduce reagent waste.
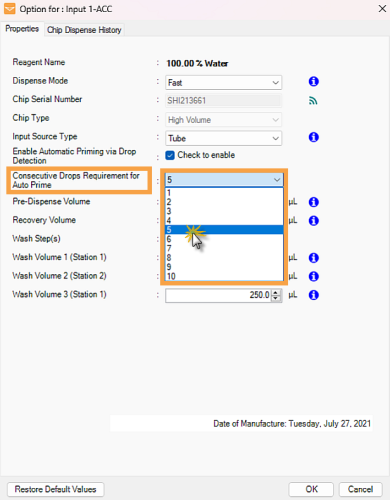
Define the Consecutive Drops Requirements for Auto Prime
-
Click OK to save the changes.
Attach the chip to the MANTIS hand.
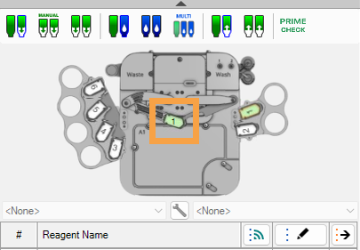
Chip on the MANTIS Hand
Click the Prime Check button to detect liquid drops based on the priming settings in step 2.
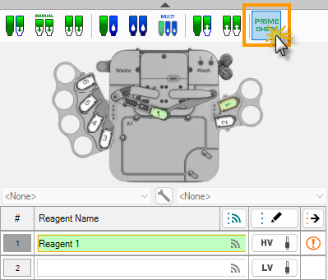
Click the Prime Check Button
Start priming and check the liquid drop on the Waste Station. The indicators turn green as the QC Station detects liquid drops.
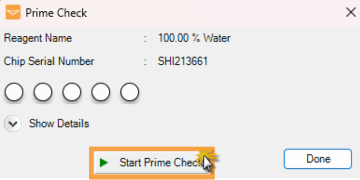
Click the Start Prime Button to Run the Prime Check
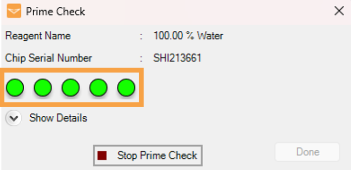
Prime Check Progress Indicator
Note: Click Show Details to display the liquid drop and diaphragm pulse count.
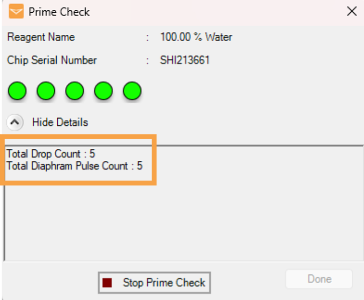
Drops and Diaphragm Pulse Count Information
