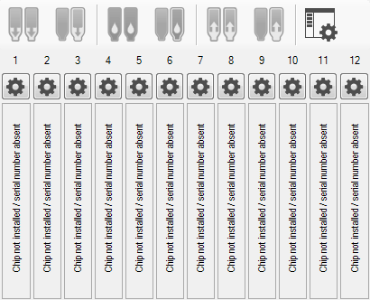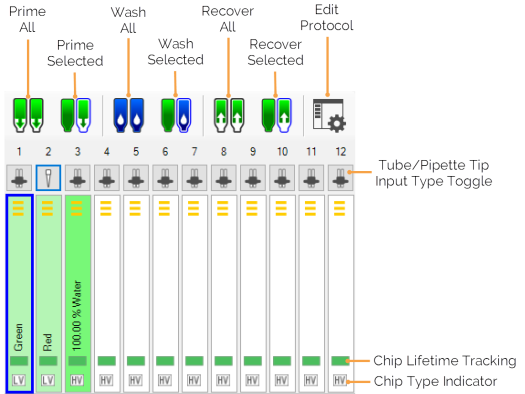
The Input Control Panel is found below the Device Control panel. This panel is used for assigning reagents to chips, setting the input type (tube or pipette tip), and running the prime, wash, and recovery commands on the chips. The image below shows you the Input Control Panel when you first run the TEMPEST software. To assign your reagents to the input chips and start dispensing, you are first required to configure the chips as shown in the Configuring the TEMPEST Chip section.

The Input Control Panel When the Chips Have Not Been Configured Yet

The Installed Chips and Assigned Reagents in the Input Control Panel
From the input control panel, you are able to set the reagent input source (a tube or a pipette tip) and run the following commands on the hardware:
The Input Toolbar provides you with six dedicated buttons to perform specific TEMPEST operations, which are explained below. You can execute these commands on all chips/inputs at once, or multi-select different chips/inputs and run the commands on select chips, or run commands on one chip/input at a time.

Input Toolbar
 Prime All — Clicking the Prime All button will prime every chip that has a reagent assigned to it. This operation can only be executed with tube inputs. You can configure the prime volume by going to the Tools menu, selecting Options, selecting the Prime and Dispense settings under the Dispense Options tab, and editing the Tubing Prime Volume or Pipette Tip Prime Volume accordingly.
 Prime Selected — Clicking the Prime Selected button primes the selected chip/input with a fixed amount of reagent. Prime Selected only works with pipette tips.
 Wash All — Clicking the Wash All button will wash every chip that has a reagent listed in the Reagent Input Field. You can configure the wash by going to the Tools menu, selecting Options, going the Wash and Recovery settings under the Dispense Options tab, and editing the Wash Volume accordingly.
 Wash Selected — Clicking the Wash Selected button will wash the selected chip, provided that it has a reagent listed in the Reagent Input Field.
 Recover All — Clicking the Recover All button runs the reagent recovery process on every chip that has a reagent assigned to it in the Reagent Input Field. You can configure the recovery volume by going to the Tools menu, selecting Options, going to the Recovery and Wash settings under the Dispense Options tab, and then editing the Recovery and Wash volume accordingly.
 Recover Selected — Clicking the Recover Selected button runs the reagent recovery process on the selected chip(s).
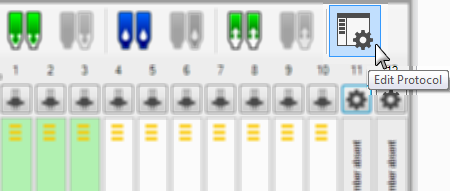
TEMPEST enables you to create dispense protocol to help you work faster and more efficient, especially when you use the same hardware setup or plate design. Input Control Panel settings provide you with the Edit Protocol button to easily access and edit your current dispense protocol. For more information, see Creating and Using a Protocol.

Edit Protocol Button in the Input Control Panel
The Chip Lifetime Tracking indicators give you representations of each chip’s lifespan by tracking chip cycles. Hover over the color bar in each input to see the chip lifespan status as a percentage.
![]()
The Chip Lifetime Tracking Indicator in the Input Control Panel
The chip type indicator shows the chip type used in a dispense:
You can see how to set the chip types in Configuring the TEMPEST Chip.
You will see either yellow lines, a yellow block, or a combination of both on the chip images in the input control panel. A yellow block indicates a commonly-controlled chip — three yellow lines indicates an independently-controlled chip.
To remove reagents from the input control panel, right-click on the reagent. You will be presented with two options:
Important: Recover and wash chips before removing reagents.
 | |
| TEC-V34R020
|