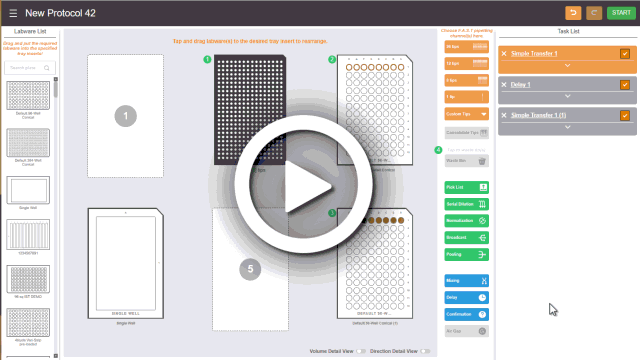
You can add a confirmation message between the pipetting tasks to perform labware preparation outside the instrument during the protocol execution. Continue to run the protocol when you have finished preparing labware and confirmed the message.
A Confirmation Step in the Protocol Editor Page
To add a confirmation message:
Click the Confirmation button located on the Switch Panel.
Note: By default, the new confirmation message card will be added to the end of the pipetting task list. Click and drag the card to move it to the desired location.
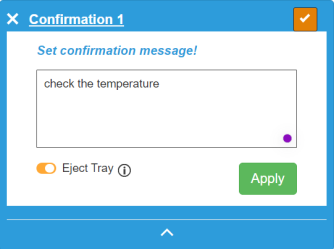
In the Confirmation card, type a message that you want to deliver.

Setting Up a Confirmation Message
Activate the Eject Tray option if you want to check the aspirate dispense result in the microplates before continuing the protocol. F.A.S.T. automatically ejects the tray when the confirmation message appears.
Click APPLY when you’re done.
If you want to add more confirmation messages, repeat steps 1-4.
OPTIONAL: Click the Edit Card button in the Confirmation card to modify the message as needed.
Note: The confirmation message will appear during the protocol execution. Click CONFIRM to close the message and continue the execution.

The Confirmation Message

|
|
| FAOWH-V130R024 |