Open topic with navigation
Setting Up µPULSE
Both the µPULSE instrument and software need to be set up before you can run a profile. If you’re not familiar with the components, see Hardware Overview for more information. Follow the instructions below to set up the hardware before creating and running a profile.
To set up the µPULSE hardware:
Connect the µPULSE to a power outlet using the power cable.
Find the power button located on the back of the µPULSE hardware and turn it on.
Open the chip cover.

The µPULSE Instrument with the Chip Cover Open
Open the permeate door, insert the permeate bottle, and then insert the permeate collector into the slot over the tubes.


The µPULSE Hardware with the Permeate Bottle and Collector are Attached
Fill the sample tube with the sample or your carrier reagent. This tube should go in the left input.

A Sample Tube Is Attached on the Left Input
Fill the buffer tube with the buffer of your choice. This tube should go in the right input.

A Buffer Tube Is Attached on the Right Input
Put the transfer tubing into position, make sure the 1/16" tubings are inside the tubes.

The Transfer Tubing Is Securely Attached to the Tubing Mount
Insert the desired chip with the diaphragm side facing the front of the instrument. µPULSE filter chips come in six membrane cutoff sizes: 5, 10, 30, 50, 100, and 300 kDa. Choose the chip that corresponds to the size of the sample you are using. Typically, you should use a cutoff size that is less than half the size of the sample or target of interest you want to concentrate.

The Filter Chip Is Attached
- Press down the chip cover until the latch has caught. If there is resistance, please make sure that the transfer tubing and filter chip are seated properly.

The Chip Cover and the Permeate Door Are Closed
After setting up the instrument, connect it to a network by following the options below.
Connecting to an Ethernet Cable:
Plug in the ethernet cable to the ethernet port on the back of the µPULSE instrument.
Go to the INFO AND SUPPORT menu. The IP Address will be shown to indicate that µPULSE device is connected to the network.

µPULSE INFO AND SUPPORT Menu
Connecting to a WiFi :
On the Home Screen, tap the WIFI SETTINGS button  located at the top-right of the screen.
OR
Tap the SYSTEM SETTINGS menu and select  .
.

The WIFI SETTINGS Page
Tap the TURN ON button  to activate the WiFi. The system will automatically scan the available WiFi network.
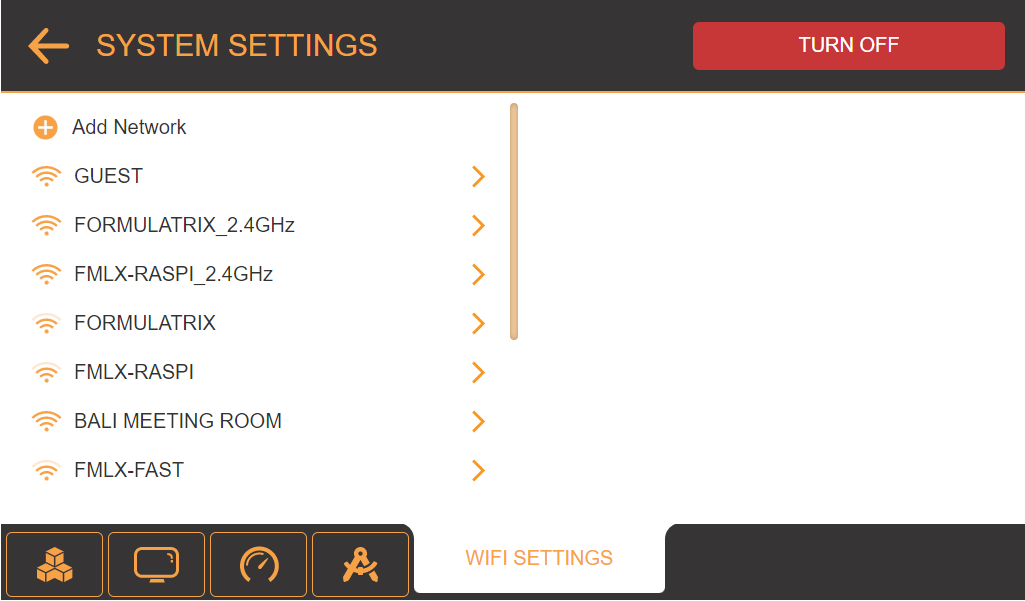
Available WiFi Network
Select the desired network from the list. Then, tap CONNECT.
Tip : Tick the Connect Automatically checkbox to automatically connect to this network in the future.
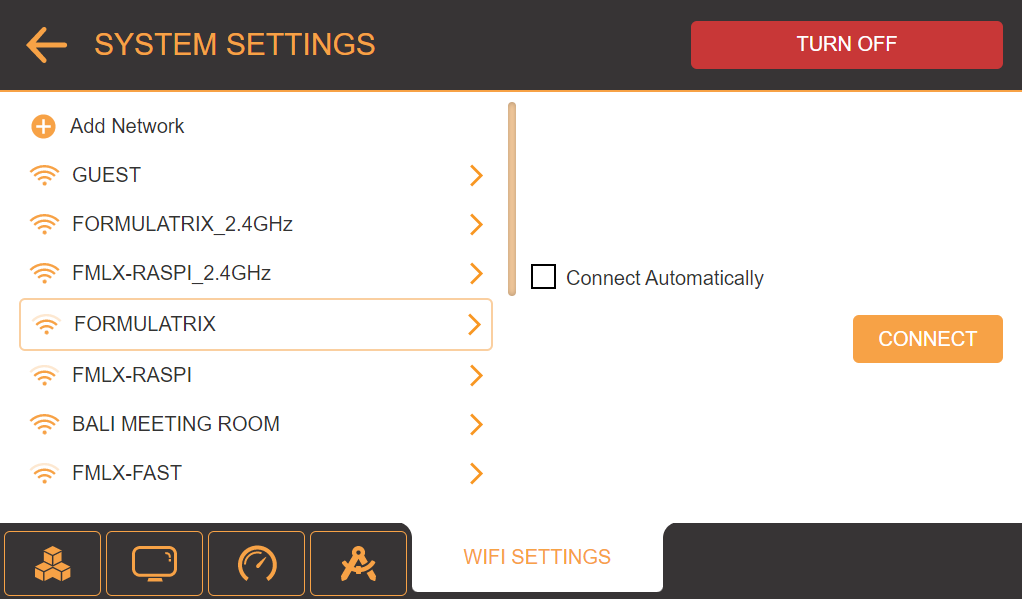
Connecting to a WiFi Network
Enter the password in the available field.
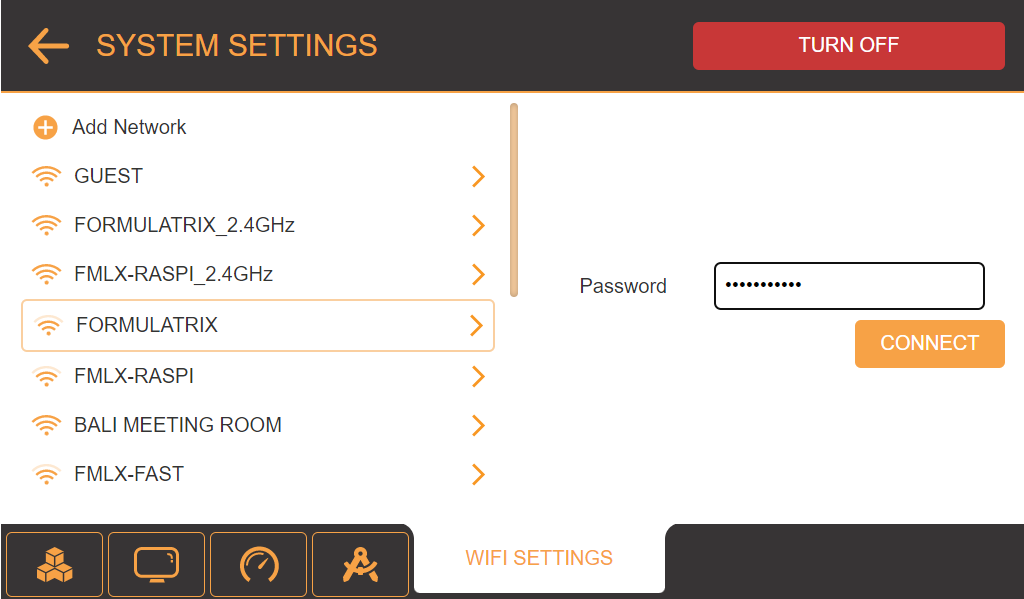
Typing the Password
Tap the CONNECT button and wait while the system connects to the WiFi network.
Note: If the password is incorrect, the software will show an error notification and clear the password field.
When the system is connected to the WiFi network, a green Connected indicator will be displayed next to the selected WiFi network.
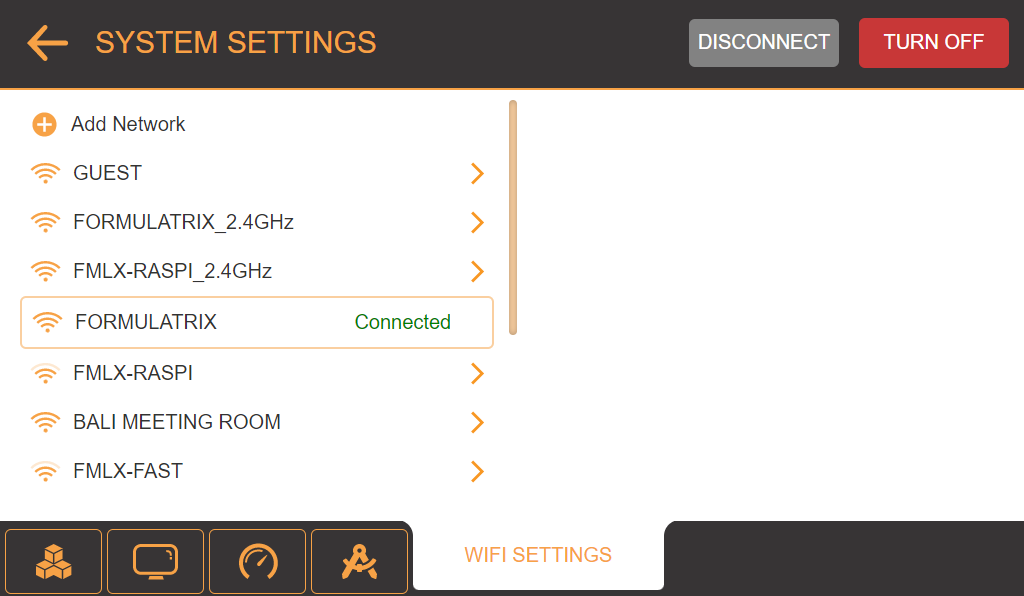
Connecting to the WiFi network
On the Home Screen, the WIFI SETTINGS button will turn to orange.
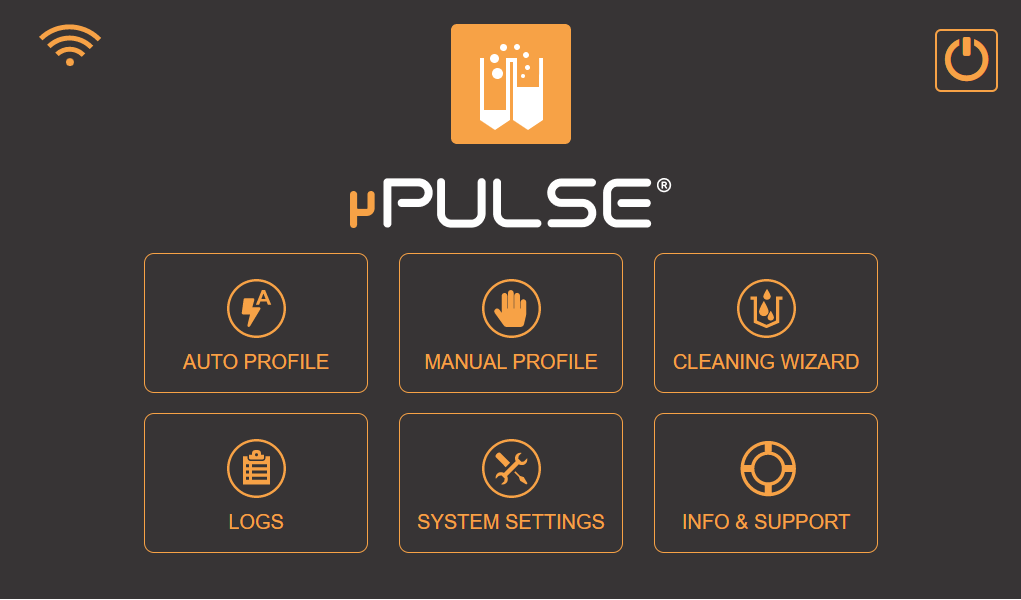
The WIFI SETTINGS button turns orange
Connecting to a Hidden Network:
Make sure you have turned on the WIFI in the SYSTEM SETTINGS.
Select the Add Network option. Then, enter the SSID, Security details, and Password.
Tap SAVE to connect.
Connecting to a Hidden Network
Related Topics
|  |
| PUOWH-V24R023 | |