Instant Imaging enables you to image or manually inspect a plate without a barcode label. This option is specific to ROCK IMAGER 2, and the Benchtop versions of SONICC and FRAP.
When you create an instant imaging session, ROCK MAKER creates a special folder for your experiment and images called Instant Imaging. After the imaging process, you can use ROCK MAKER to move the experiment file to a more appropriate location in the Explorer tree.
Start an Instant Imaging session.
Go to the Imager menu and select Instant Imaging.
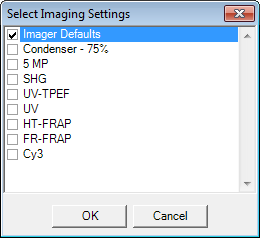
Select which imaging settings you want to use in your imaging process.

Select Imaging Settings
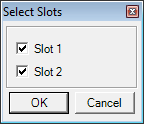
Select which "slot" to image and scan, then click OK. In each imager, slot 1 is on the left and slot 2 is on the right.

Select Slots
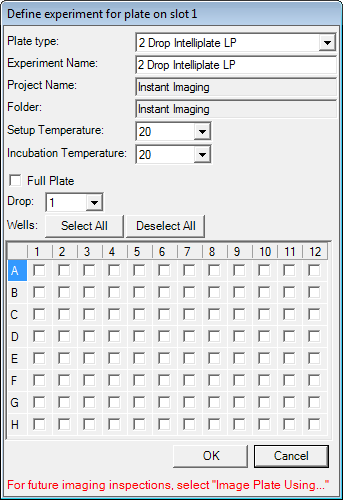
Select your plate type from the Plate Type menu.

Define Experiment for the Plate in Slot 1
Name your experiment. The Project Name and Folder fields are automatically assigned.
Set the Setup Temperature and Incubation Temperature.
Tell ROCK IMAGER which wells you want to image.
If you want to image all drop positions at each well, check the box next to Full Plate.
If you only want to select a certain drop location at each well, select the drop location you used (i.e. 1, 2) from the Drop list.
To image drops at specific wells, select the check box at that location.
Click Select All to image drops at all of the plate’s wells. After clicking Select All, you can clear the check boxes for certain wells if you do not want to image them.
Select Instant Imaging options for a plate at slot 2. Skip this step if you are only using slot 1.

|
|
| RIC-V38R119 |