Click the Side Menu button in the upper-left corner of the page and select Labware Manager.
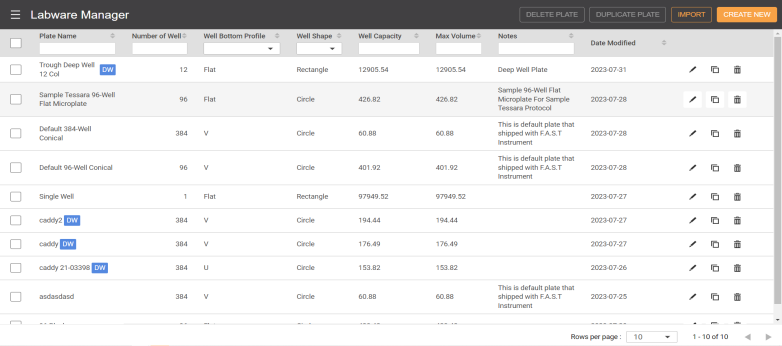
Labware Manager Page
Prerequisite:
To add a plate to the labware list:
Click the Side Menu button in the upper-left corner of the page and select Labware Manager.

Labware Manager Page
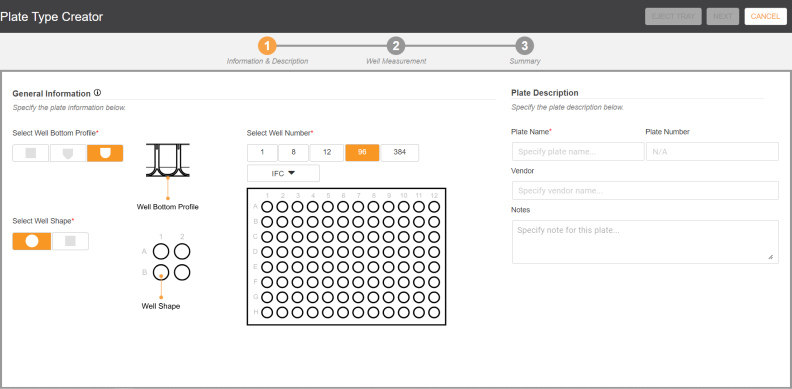
Information & Description Page
In the Information and Description page, specify the plate information below:
Note: Fields marked with an asterisk (*) are required.
General Information
Complete the information in the General Information section.
Select the correct well bottom profile in the Select Well Bottom Profile option. Three types of bottom profiles are available in the option.
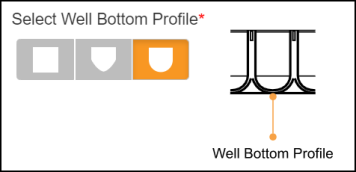
Select Well Bottom Profile
Select the well shape of your plate in the Select Well Shape option. Two types of well shapes are available in the option.
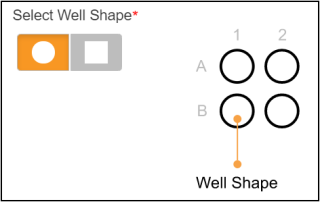
Select Well Shape Option
Select the number of wells in the Select Well Number option. Five types of well numbers are available in the option.
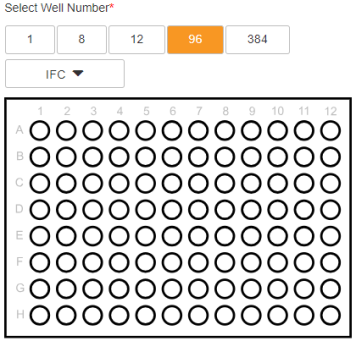
Select Well Number Option
Plate Description
Specify the detailed information of your labware in the Plate Description section, located on the right side of the page.
In the Plate Name field, type the name of your plate.
If any, type the plate part number in the Part Number field.
Specify the plate vendor name in the Vendor field.
Add specific notes for your plate definition.
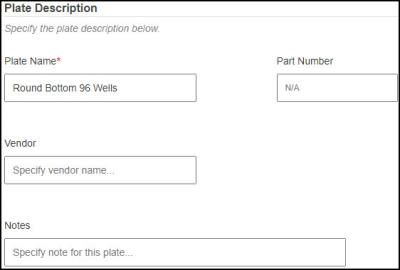
Plate Description
Click NEXT and when the warning message appears, put the required labware on Tray Insert 2 of your F.A.S.T. instrument.
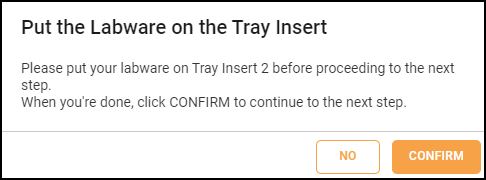
Tray Insert Confirmation Message
When you are done, click CONFIRM to proceed to the next page.
In the Well Measurement page, follow the on-screen instructions on the left side of the page to get the well measurement. See the images in the Guidance section for more detailed descriptions.
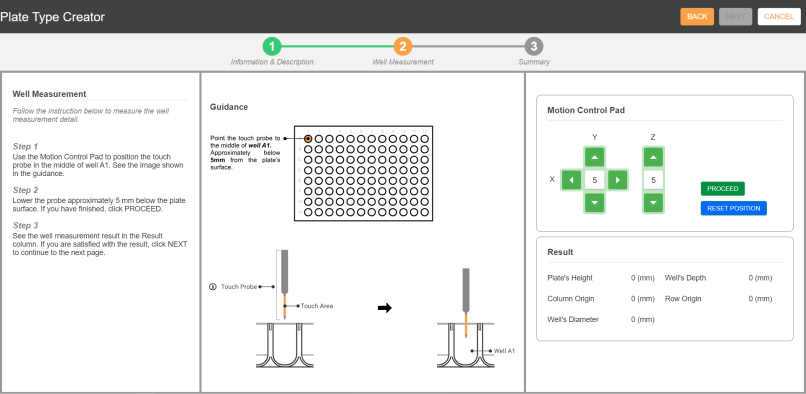
Well Measurement Page
When you are done, click NEXT to proceed to the Summary page or click BACK to go to the previous page.
Note: When you click CANCEL, all of the data you have filled will be lost.
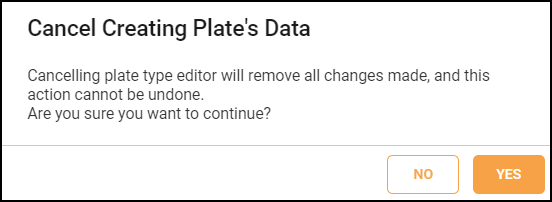
Cancel Creating Plate's Data
In the Summary page, you can see the plate definition summary. There are two parts of the summary:
Information & Description: In this section, you can see the Plate Name, Number of wells, Well Bottom Profile, Well Shape, Well Capacity, and Max. Working Volume.
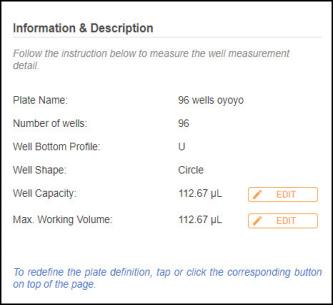
Information and Description Summary
Note: Click the EDIT button to modify value in the Well Capacity or Max. Working Volume options.
Plate Definition Summary: You can see the detailed result of your measurements such as Well Diameter, Column Origin, Column Pitch, Row Origin, Row Pitch, Plate Height, and Well Depth.
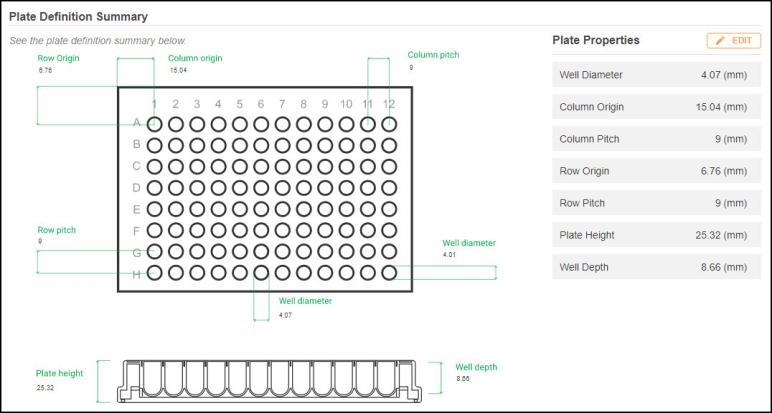
Plate Definition Summary
Note: Click the EDIT button to modify values in the Plate Properties options. Then, click UPDATE to apply the changes.
Click FINISH when you are satisfied with the summary. You will be directed to the Labware Manager page with your new plate listed.
OPTIONAL: To modify the plate definition, follow the instructions below.
Select the plate definition data and click the EDIT button.
Modify the plate information from the Information & Description and/or change the values under the Plate Properties.
Click UPDATE when you’re done.
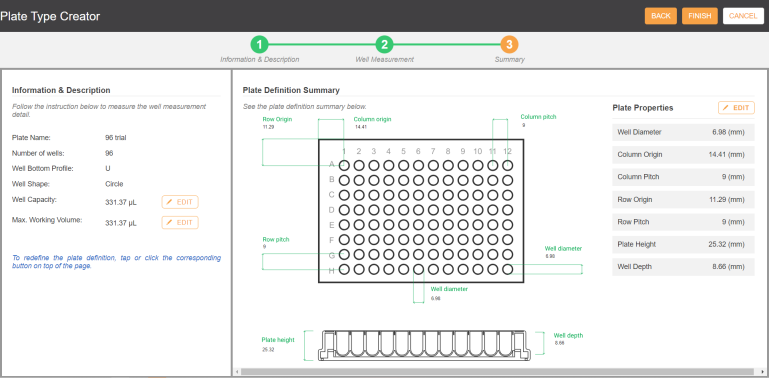
Plate Editor Page

|
|
| FAOWH-V130R024 |