-
Click the New Dispense List button
 on the Dispense List Designer panel or select the New Dispense List option under the File menu.
 -
In the New Dispense List window:
-
Type a name for the dispense list in the Dispense List Name box.
-
Select the plate type you want to dispense into from the available list.
-
Click OK.
-
-
In the Add Reagent To Dispense List window:
-
Define the Reagent Name by typing the reagent name or selecting from the available reagents.
-
Select the dispense location of your plate.
-
If you want to add additional reagents, click Add More and repeat steps a-b.
-
Click OK when you’re done.
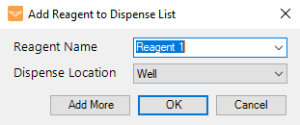
Add Reagent to Dispense List
-
-
Choose from the following options to define the reagent’s volume.
-
Select a single or multiple wells and type the desired volume on the wells to assign the volume at once. You can also assign the volume from the volume field on the plate designer toolbar.
-
Use dispense list designer for more complex volume:
-
Click and drag your mouse over a group of wells to select them, or select a pattern from the Selection group under the plate designer.
-
For a constant volume, type in a volume and press Enter on your keyboard.
-
To use a gradient design, click the Grid button
 , and choose a horizontal gradient, a vertical gradient, a forward diagonal gradient, or a backward diagonal gradient.
 -
To add a backfill volume, click the Grid button
 , and then click the Backfill button
  .
.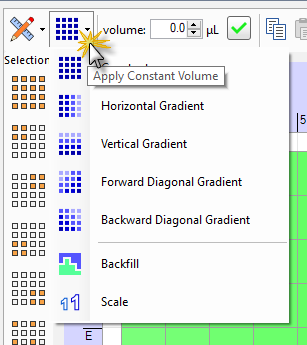
Gradient Design in the Dispense List Designer
-
-
-
To add more dispense list items to the dispense list, click the Add Dispense List Item button
 and repeat steps 3 -4.
 -
Click the Save Dispense List button
 to proceed.
 -
In the Save Dispense List window, choose from the following options:
-
To assign the Dispense List to an existing category, select the desired category from the list.
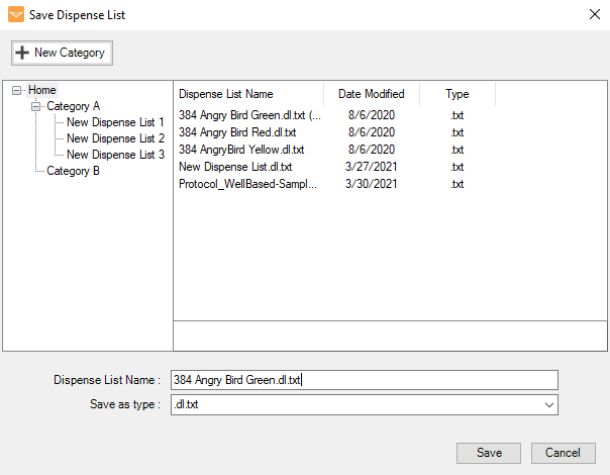
Save Dispense List Window
OR
-
Add a new category to assign the Dispense List to the new category.
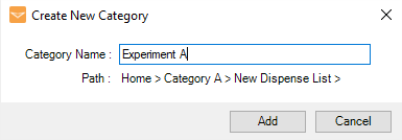
Creating a New Category
-
-
Define the Dispense List Name, and select the file type from the Save as type list from the following options:
- .dl.txt to save the dispense list as a text document that can be accessed quickly and easily.
- .dl.xls to save the dispense list as a spreadsheet file that can be modified in a spreadsheet editor.
-
Click Save when you’re done.
-
Congratulations! Your dispense list is ready to use. Go to Designing a Dispense or Designing a Multi-Plate Dispense for more information.
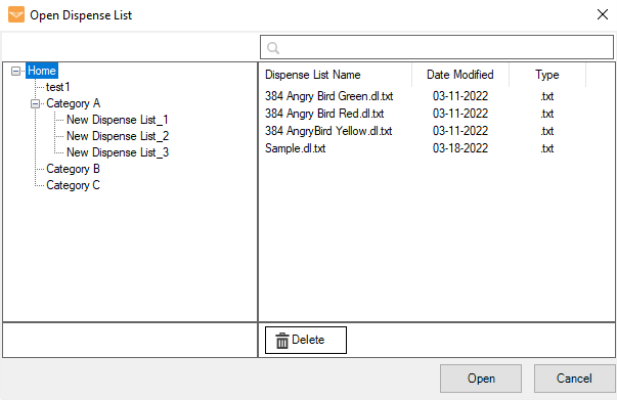
 on the Dispense List Designer panel or select the Open Dispense List option under the File menu.
 .
. .
. .
. .
. to assign the dispense list to a different category.
_623x400.png)
