[ROCK MAKER Integration] Additive Screen Dispensing
Important
This feature is available from NT8 Version 4.13 and ROCK MAKER Version 4.10.
NT8 lets you dispense Additive Screen layers targeted to a drop location using an experiment designed in ROCK MAKER.
Prerequisite:
You have an additive screen experiment designed in ROCK MAKER.
To dispense an additive screen:
Go to the RM Integration mode.
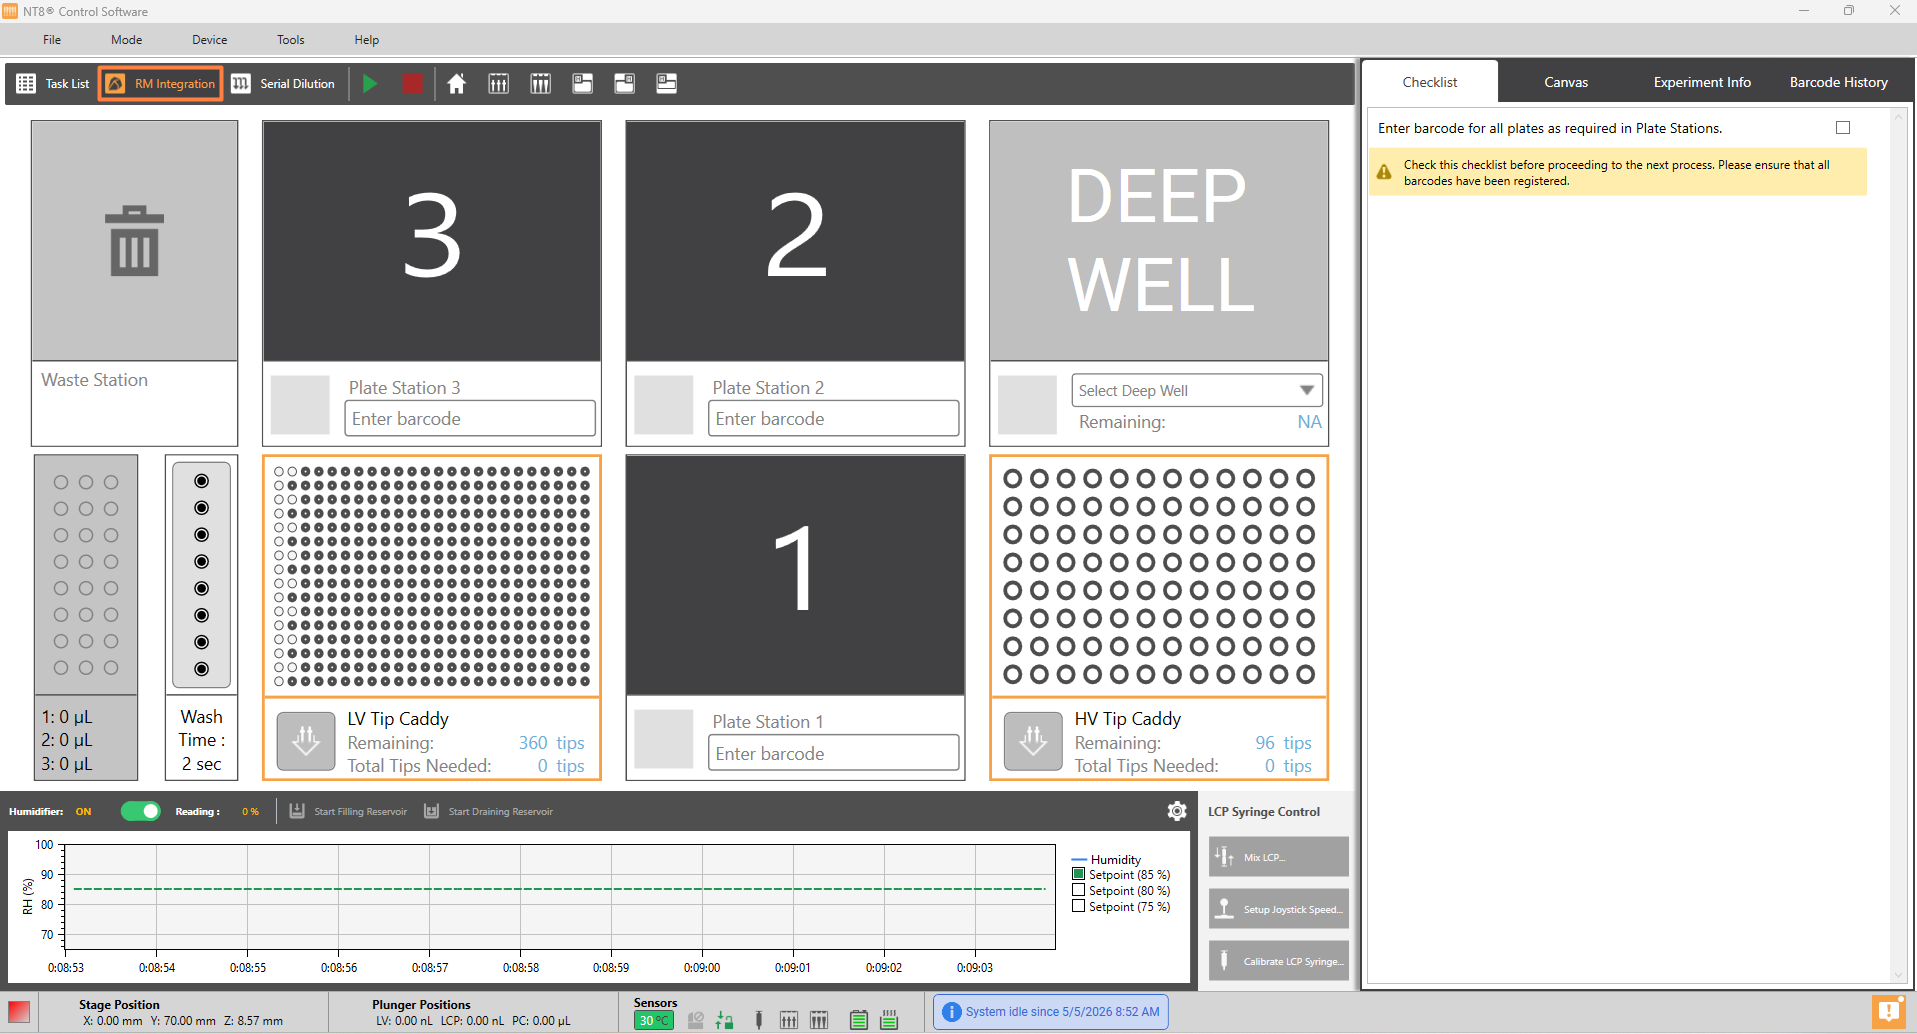
RM Integration Mode
Choose a plate station to dispense the additive screen and enter the experiment barcode number (the following example uses Plate Station 1) or scan the barcode with a barcode scanner (if it is available). If the plate is not defined in the Plate Type Library, a Warning dialog box appears. To proceed, click the Continue button in the dialog box.
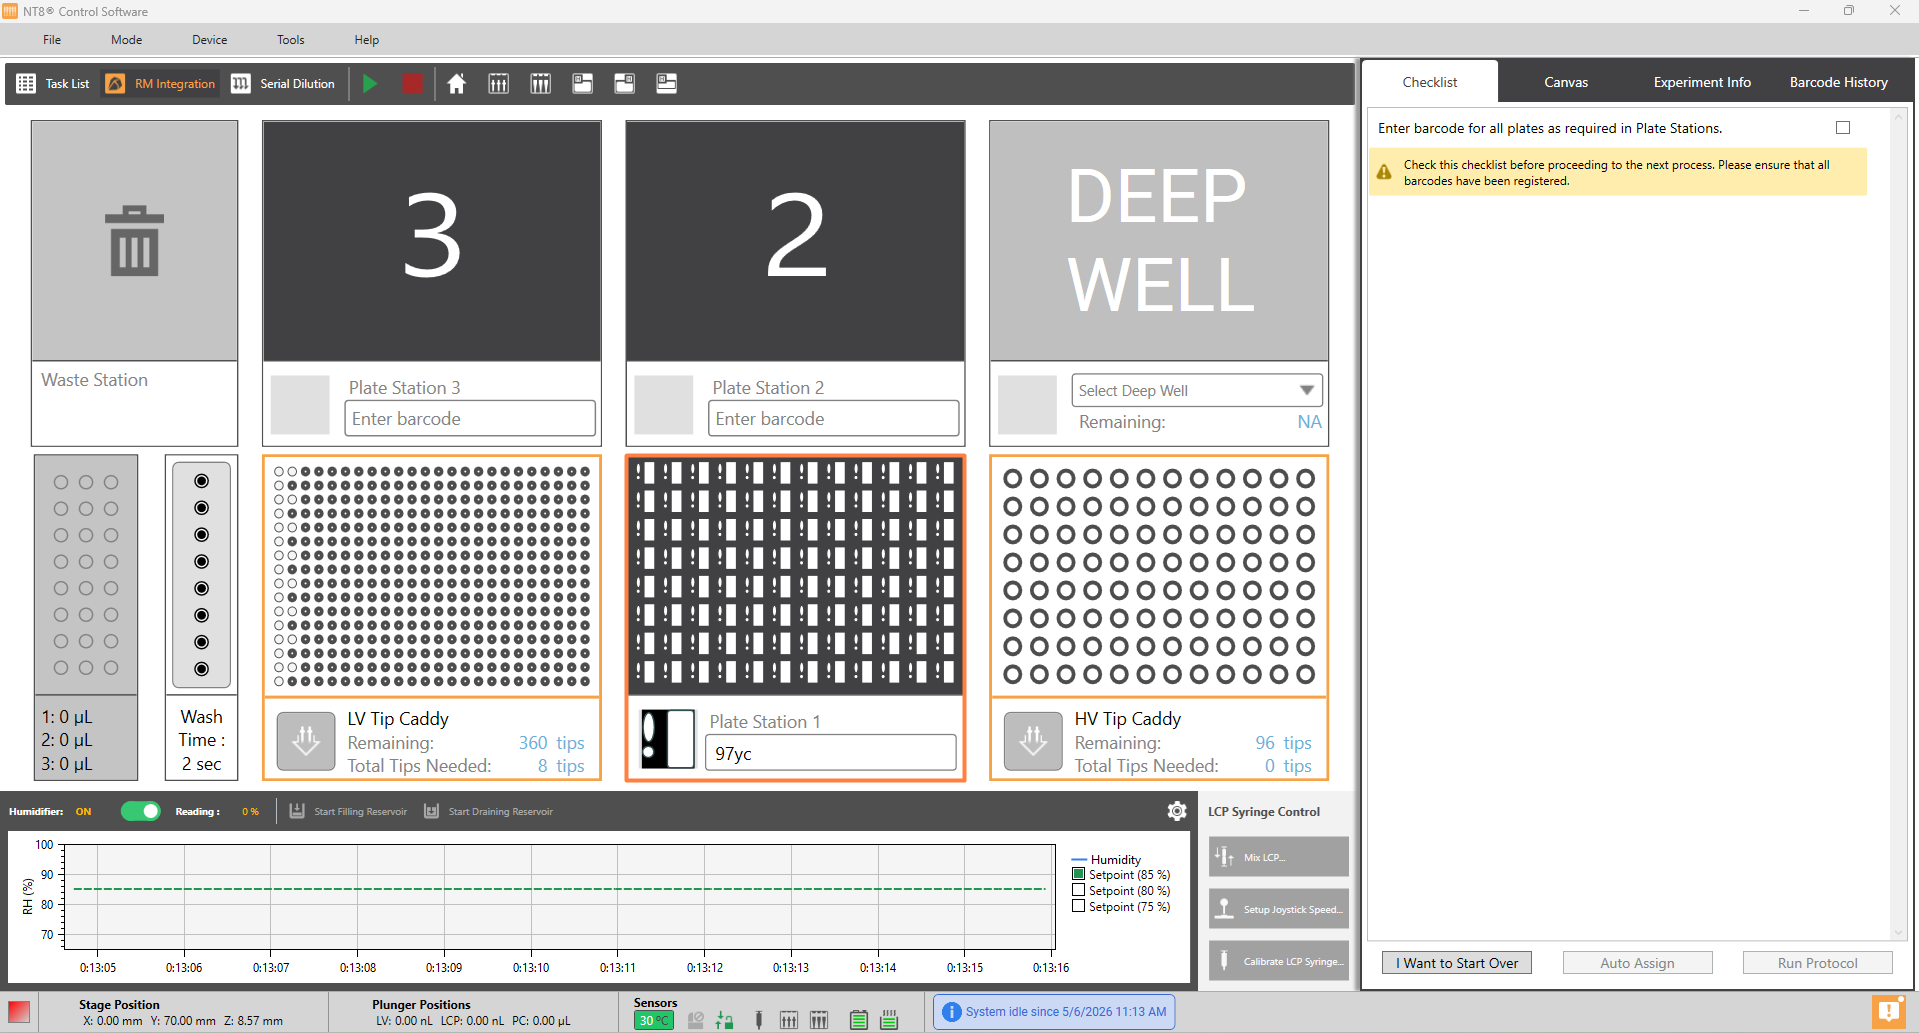
Loading an Experiment
Open the Experiment Info tab. Click the Edit button in the Dispensing Properties section.
Click Customize to modify the Dispense Protocol. Then, assign any skipped components (the ones in the component box) to any appropriate Component Sequence box. For further details, read Experiment Info Tab and Dispense Protocol.
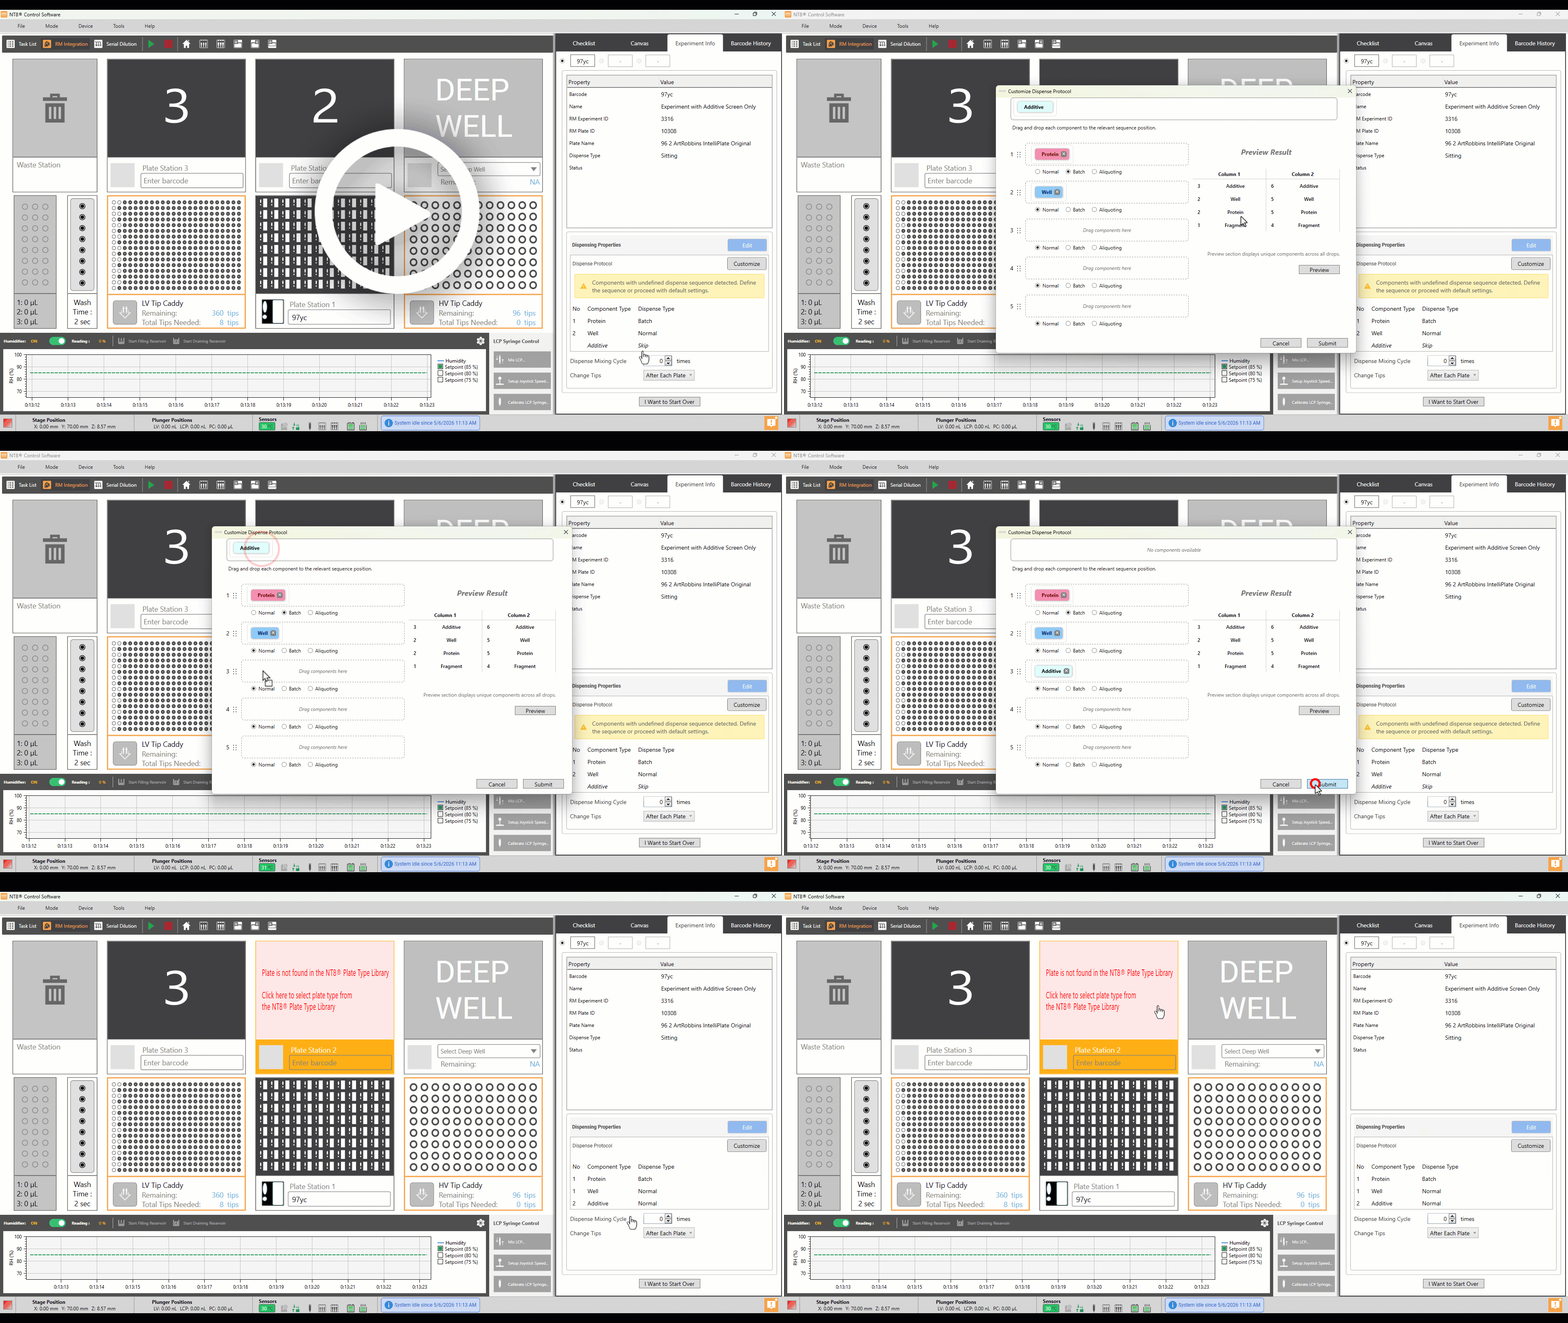
Assigning Skipped Component to the Component Sequence Box
Click the plate station where the additive screen source plate is placed (highlighted in red). The example below uses Plate Station 2 as the additive screen source plate. Then, select a plate type.
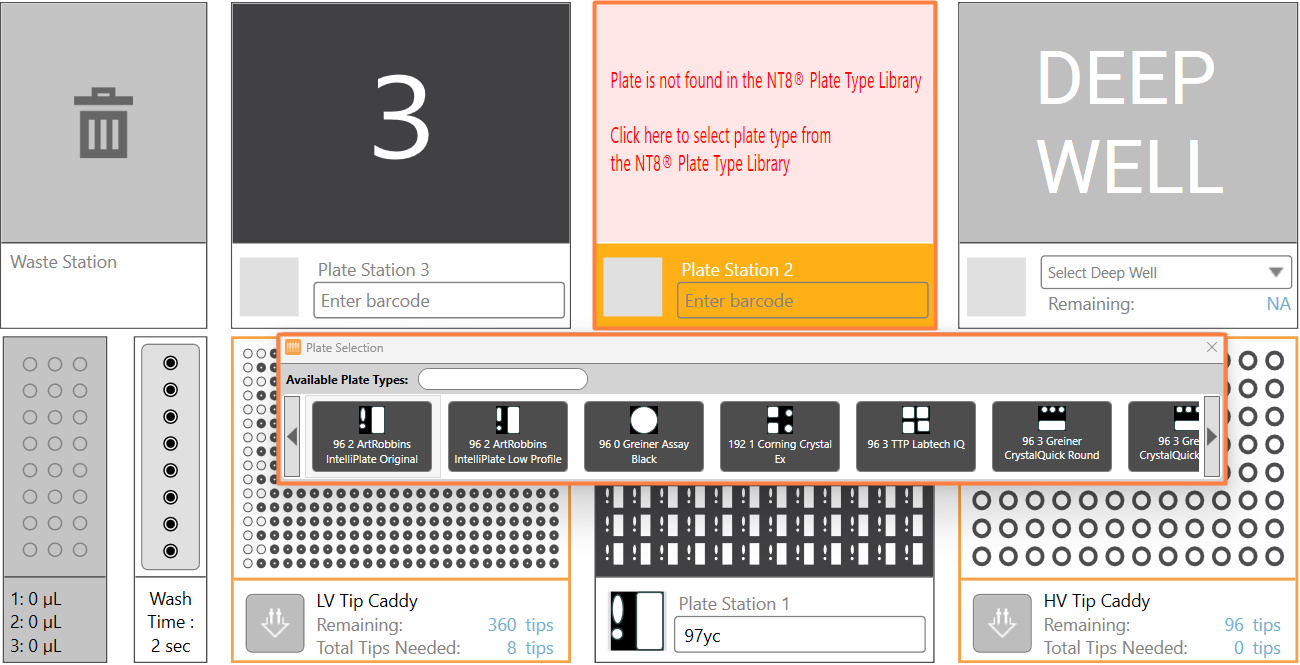
Selecting a Plate Type
Note
Each additive screen experiment requires its own additive screen source plate. If you upload multiple additive screens—in one or multiple experiments—you must assign one additive screen source plate per additive screen experiment.
OPTIONAL: Open the Canvas Tab and modify the Liquid Class set by ROCK MAKER. For further details, read Canvas Tab.
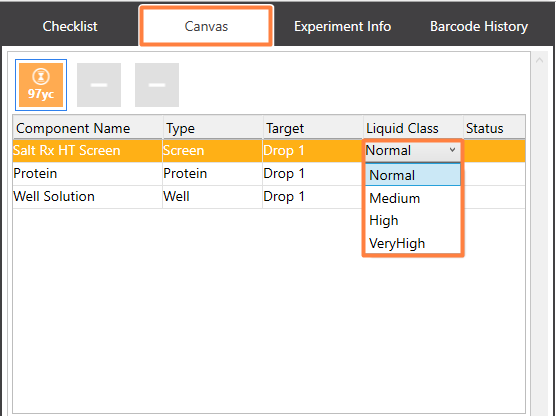
Additive Screen Liquid Class
On the Checklist tab, tick the checkbox to view the instructions that guide you to physically prepare your labware. You can modify the instructions if necessary. Read Checklist Tab for more information.
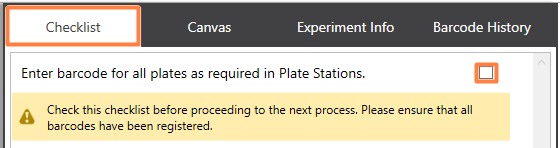
Checklist Tab’s Checkbox
If everything is set, click the Run Protocol button.
Select Yes, run the protocol in the Run Protocol dialog box.
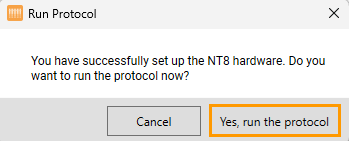
Run Protocol Dialog Box
Related Topics: