[ROCK MAKER Integration] Modifying Source Locations
Starting from version 4.14, NT8 provides greater flexibility in defining source locations on the deck. If necessary, you can modify the default experiment data set in ROCK MAKER from NT8’s Checklist tab.
Prerequisite:
To dispense additive and fragment screens using RM Integration, you must run ROCK MAKER version 4.11 or newer.
To modify a source location:
Go to the RM Integration mode.
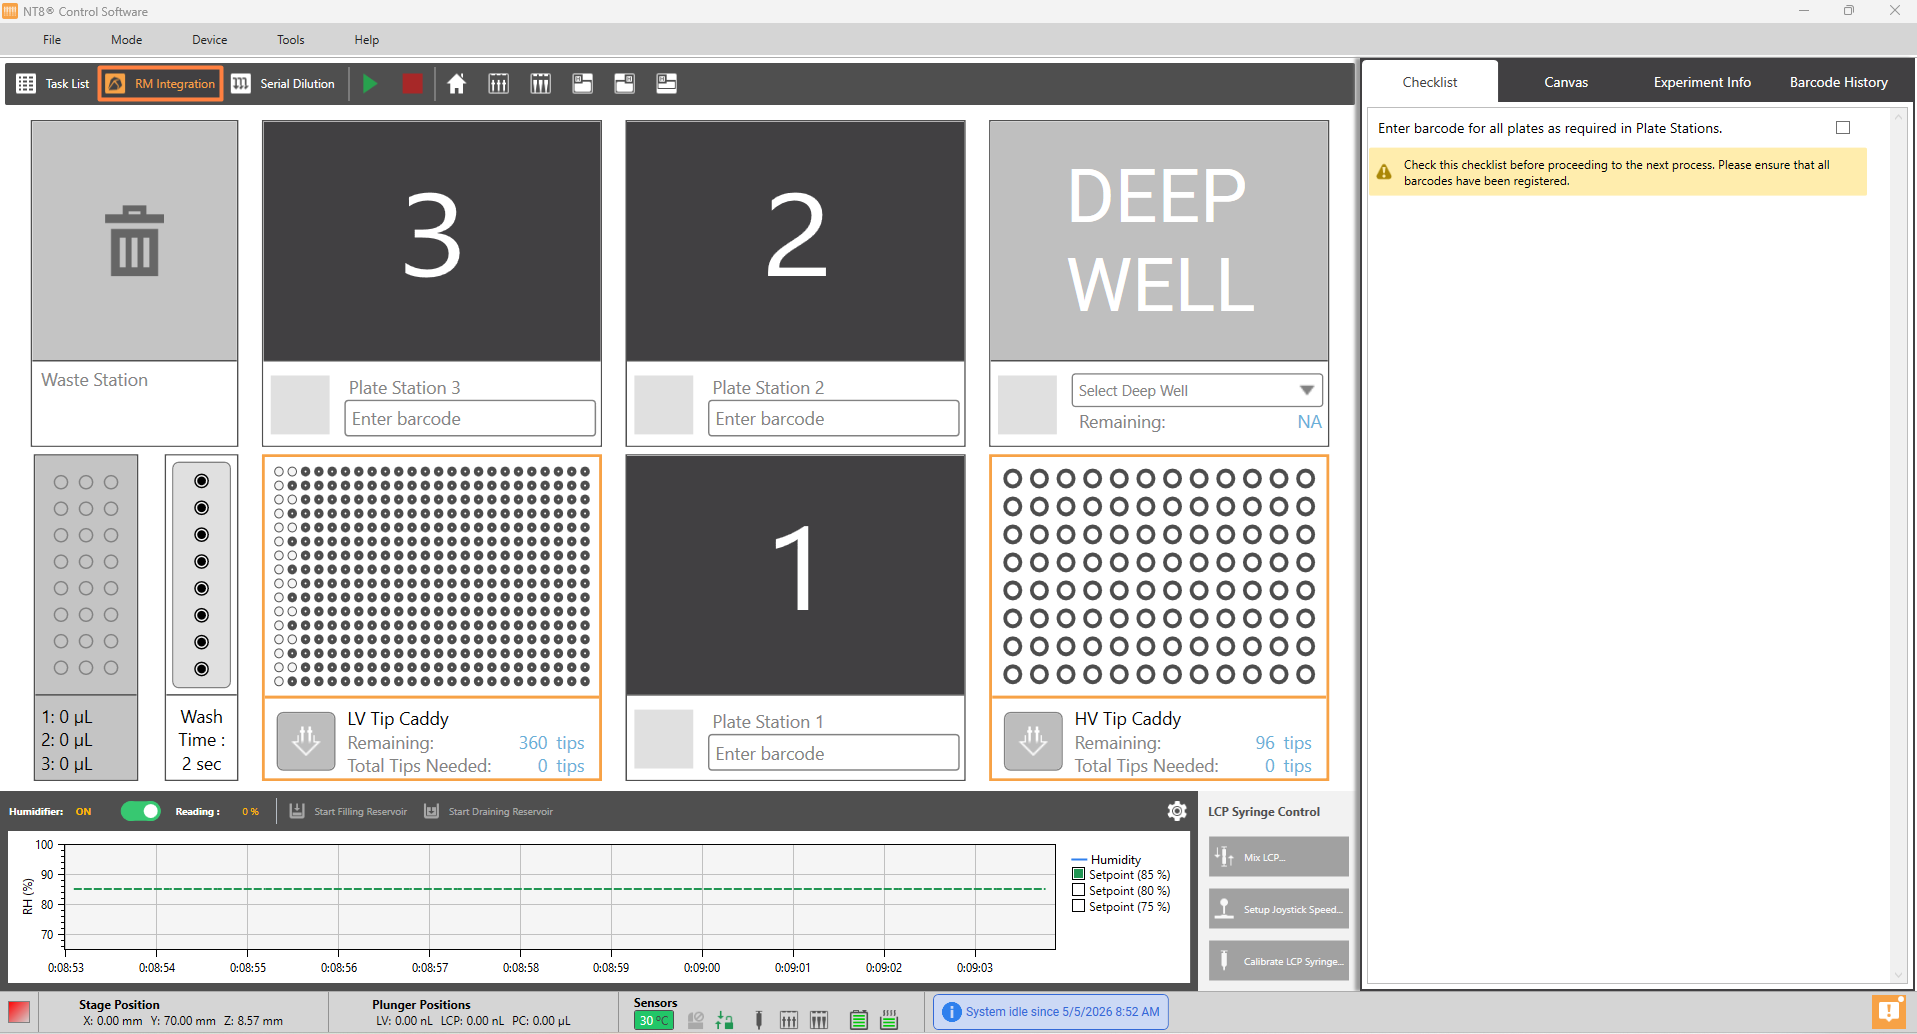
RM Integration Mode
Choose a plate station and enter the experiment barcode number or scan it with a barcode scanner (if it is available). If the plate is not defined in the Plate Type Library, a Warning dialog box appears. To proceed, click Continue.
Locate the Checklist tab and tick the checkbox to view the experiment configuration set in ROCK MAKER.
Important
Make sure all experiment barcodes are loaded in the RM Integration mode before ticking the checkbox in the Checklist tab. Once it is clicked, the Enter barcode field is disabled.
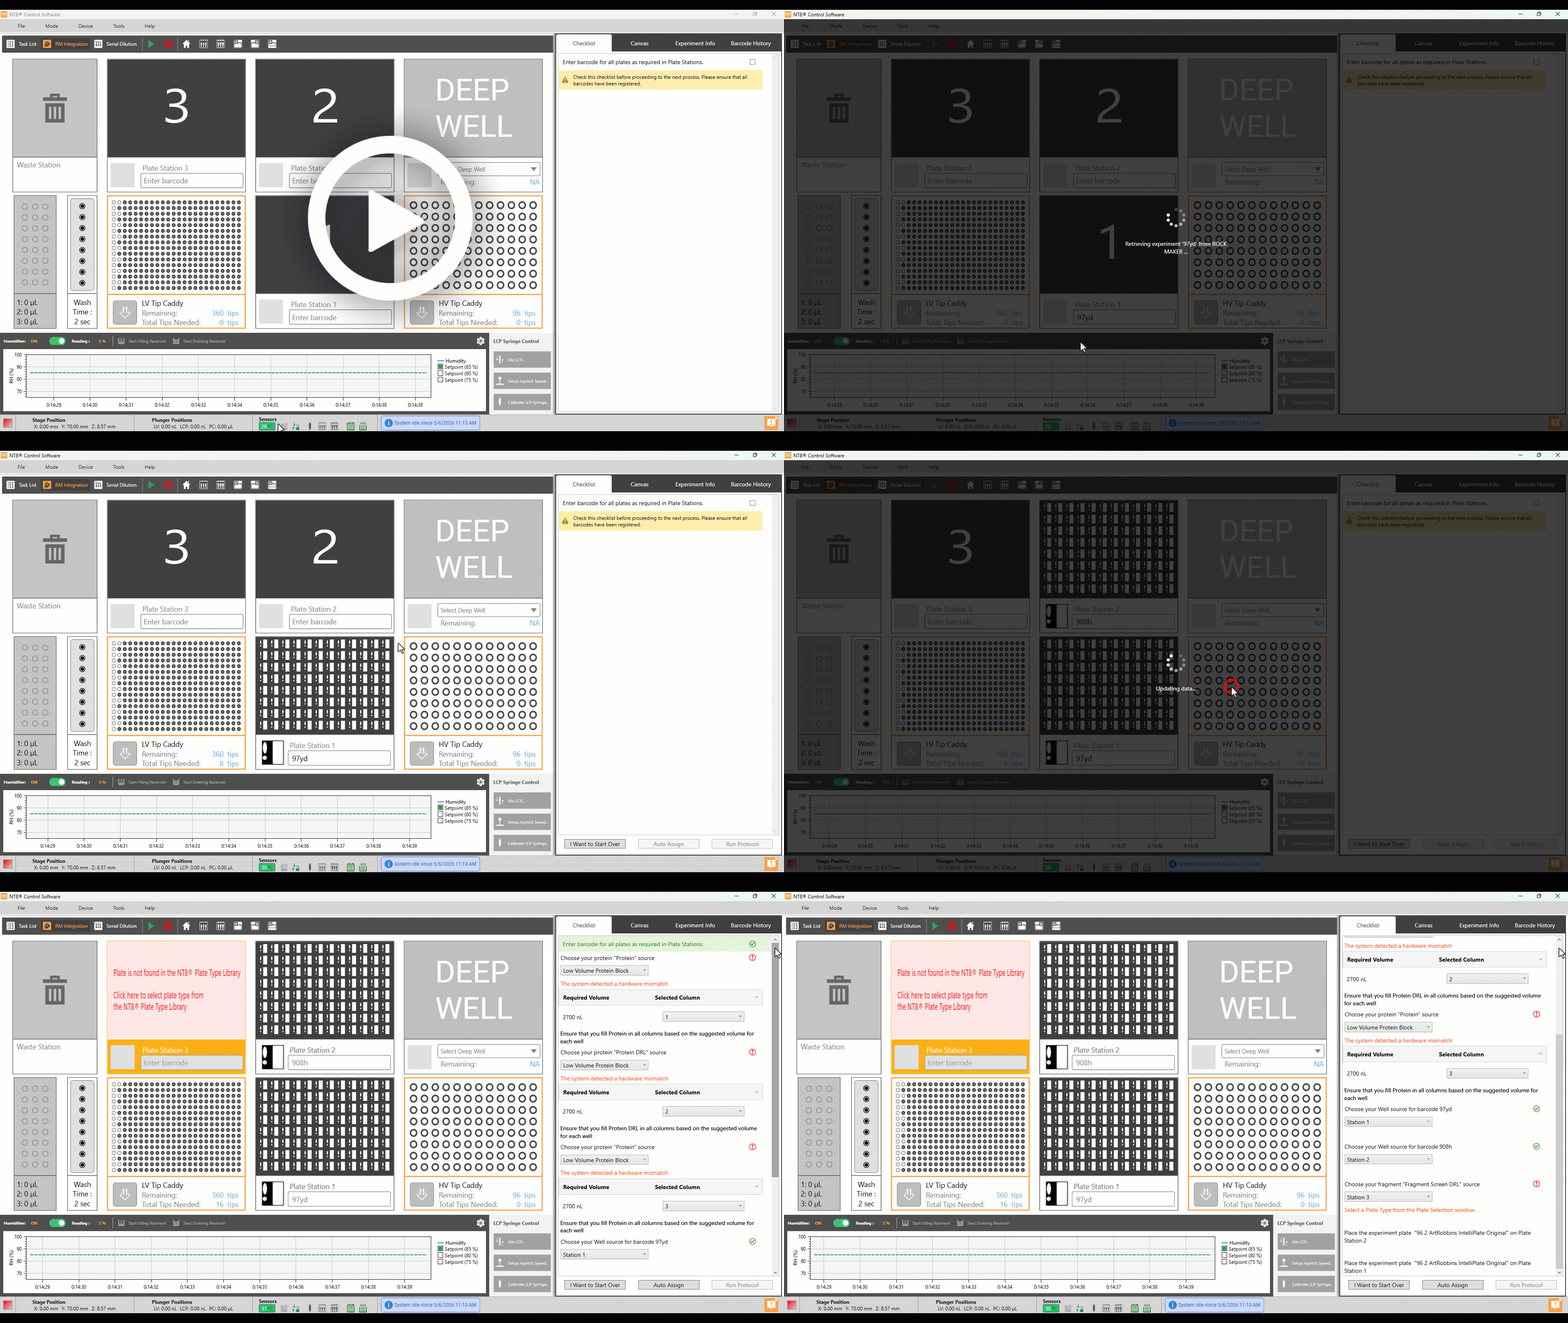
Displaying the Checklist Tab
Modify the configuration in the Checklist tab accordingly to define the source locations and protein block on the NT8 deck.
Note
The system generates instructions based on the components included in the experiments designed in ROCK MAKER and on what is installed on the hardware.
Protein Source
When an experiment contains protein, the system displays the Choose your protein “[X]” source section.
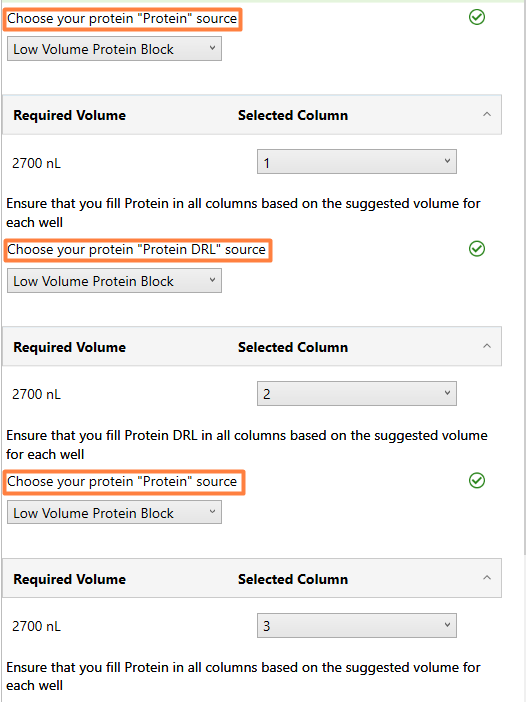
Protein Section
Click the protein block dropdown to change the source location for protein.
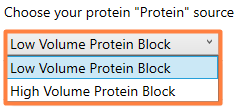
Protein Source Dropdown
The source locations available for protein are LV Protein Block, HV Protein Block, and Multiprotein Block. The Multiprotein Block option is available only when the hardware supports it.
Click the dropdown below the Selected Column to change the column number to fill its wells with protein based on the Required Volume.
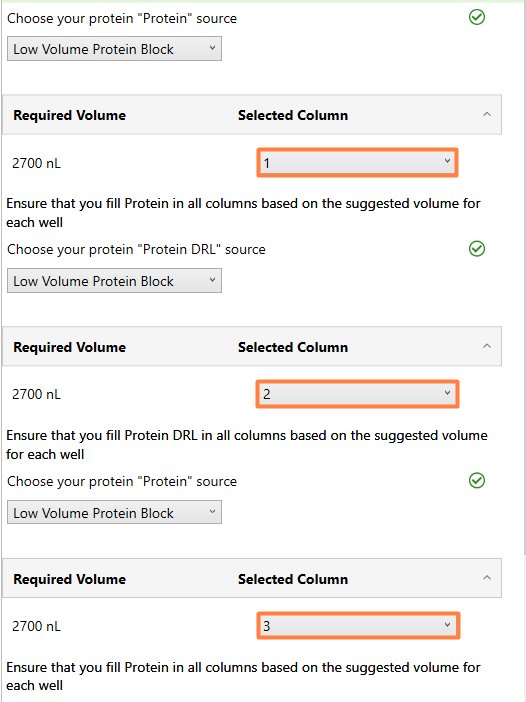
Protein Source Column
Note
One column must be occupied by 1 component only. If you have components other than protein, assign them to separate columns.
Continue with the next sections if there is more than one.
Seed Source
When an experiment contains seed, the system displays the Choose your seed “[X]” source section.
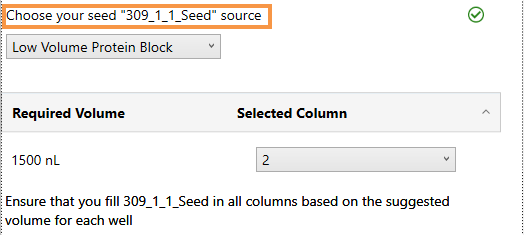
Seed Section
Click the dropdown to change the source location for seed. Make sure the location is the same as the protein source.
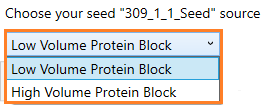
Seed Source Dropdown
The source locations available for seed are LV Protein Block, HV Protein Block, and Multiprotein Block. The Multiprotein Block option is available only when the hardware supports it.
Click the dropdown below the Selected Column to change the column number to fill its wells with seed based on the Required Volume.
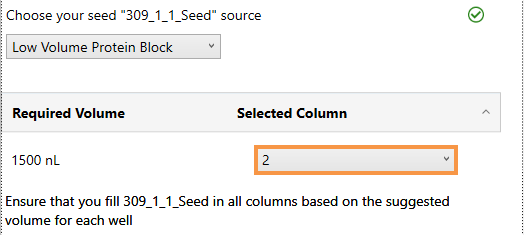
Seed Source Column
Note
One column must be occupied by 1 component only. If you have components other than seed, assign them to separate columns.
Continue with the next sections if there is more than one.
For further information on how to create a seeding experiment, read Seeding Experiments with ROCK MAKER Integration.
Additive Screen Source
To modify the source location for Additive Screen, first assign the Additive component to a Component Sequence box. To do so, open the Experiment Info tab and click the Edit button in the Dispensing Properties section. Then, click Customize to modify the Dispense Protocol. Next, drag the Additive component from the Component box to any appropriate Component Sequence box.
When you return to the Checklist tab, the system will display the Choose your Additive “[X]” source section.

Additive Screen Section
Note
Additive screen dispensing and aspirating uses LV tips only.
Click the dropdown to change the source plate for additive screen.
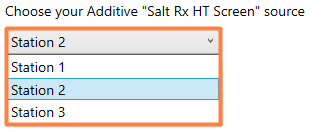
Additive Screen Source Dropdown
Click on the selected plate station (highlighted in red) to select the plate type (select the one with a well) for additive screen source plate. The following example uses Plate Station 2.
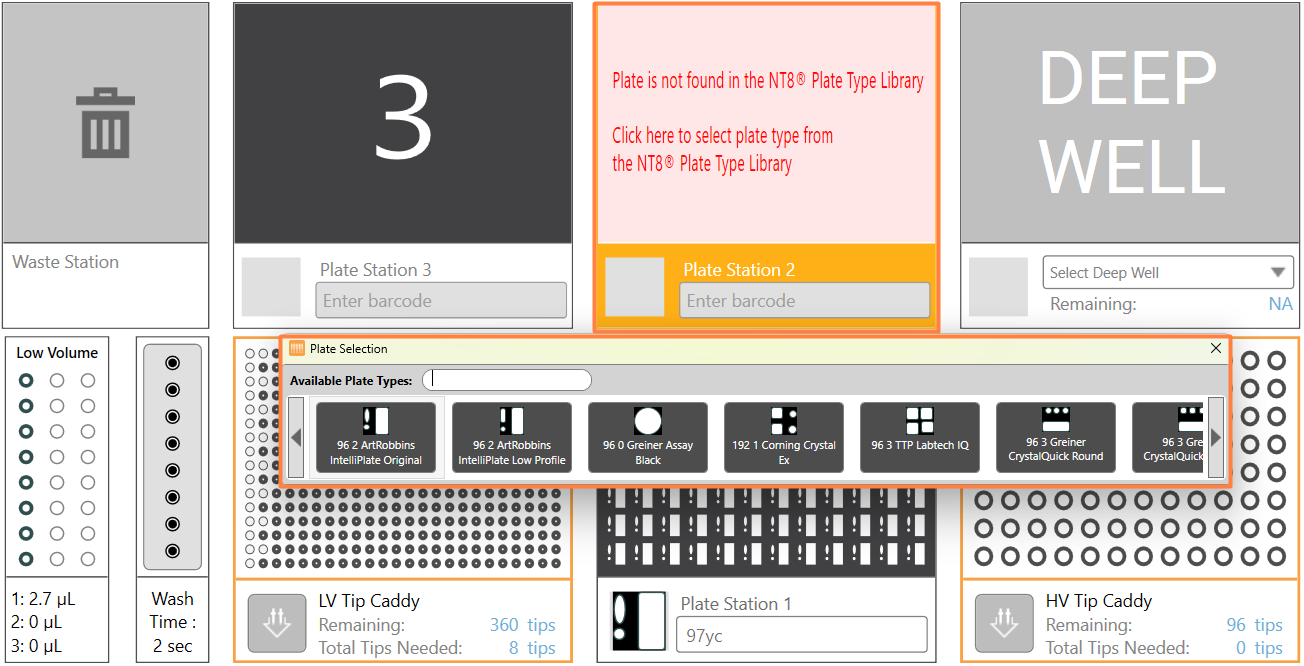
Selecting an Additive Screen Source Plate
Continue with the next sections if there is more than one.
For further information on how to dispense additive screens, read Additive Screen Dispensing.
Fragment Screen Source
When an experiment contains a fragment screen, the system displays the Choose your fragment “[X]” source section.

Fragment Screen Section
Note
Fragment screen dispensing and aspirating uses LV tips only.
Fragment liquid class is set to Very High by default.
Click the dropdown to change the source plate for the fragment screen.
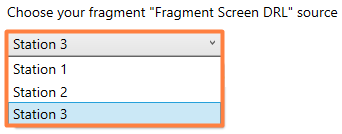
Fragment Screen Source Dropdown
Click on the selected plate station (highlighted in red) to select the plate type (select the one with a well) for fragment screen source plate. The following example uses Plate Station 3.
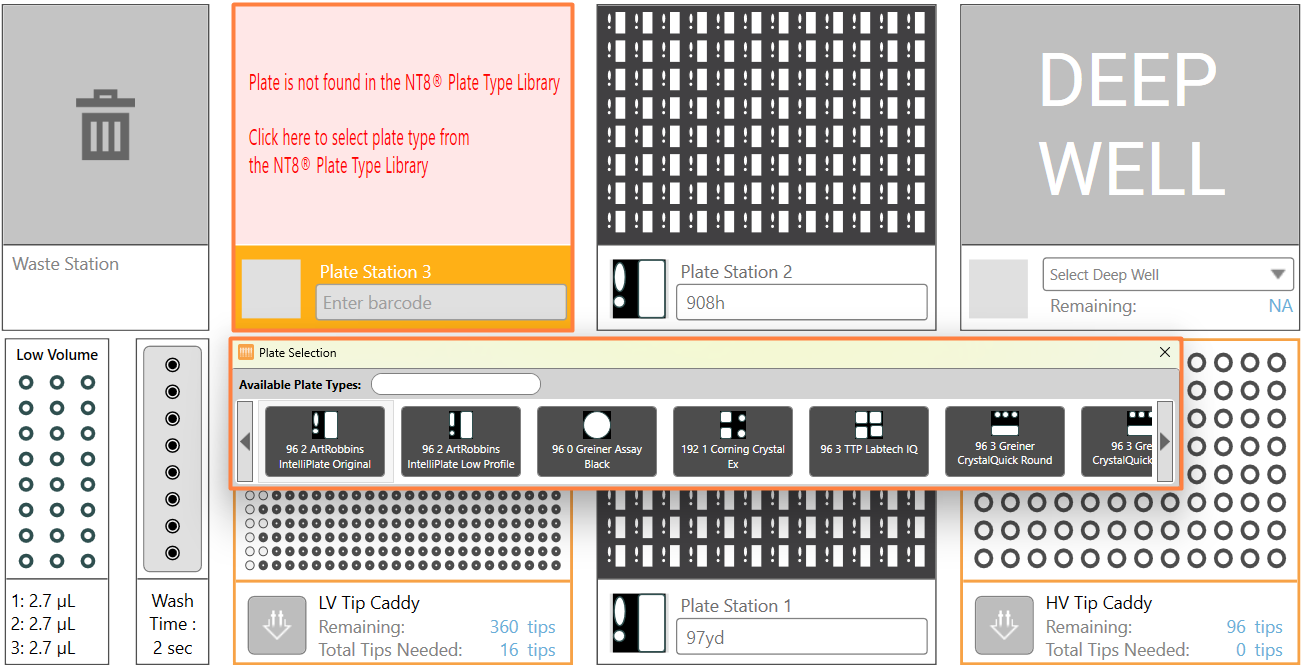
Selecting a Fragment Screen Source Plate
Continue with the next sections if there is more than one.
For further information on how to dispense fragment screens, read Fragment Screen Dispensing.
Well Solution Source
When an experiment contains a well solution, the system displays the Choose your Well source section.
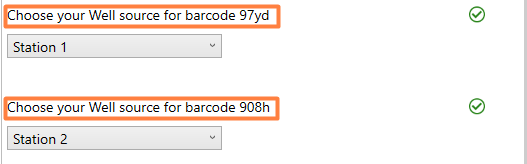
Well Solution Section
To change the source plate for well solution, click the dropdown.
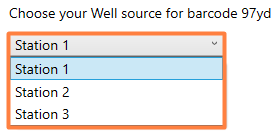
Well Solution Source Dropdown
Note
The location of the well solution source and experiment plate is usually the same in sitting drop experiments. However, you can place the well source in a different plate station. In this case, you need to choose a plate type. Use a plate with a well for sitting drop experiments.
For a hanging drop experiment and LCP experiment, a well solution source plate is required. The system automatically places the source plate in the next available plate station.
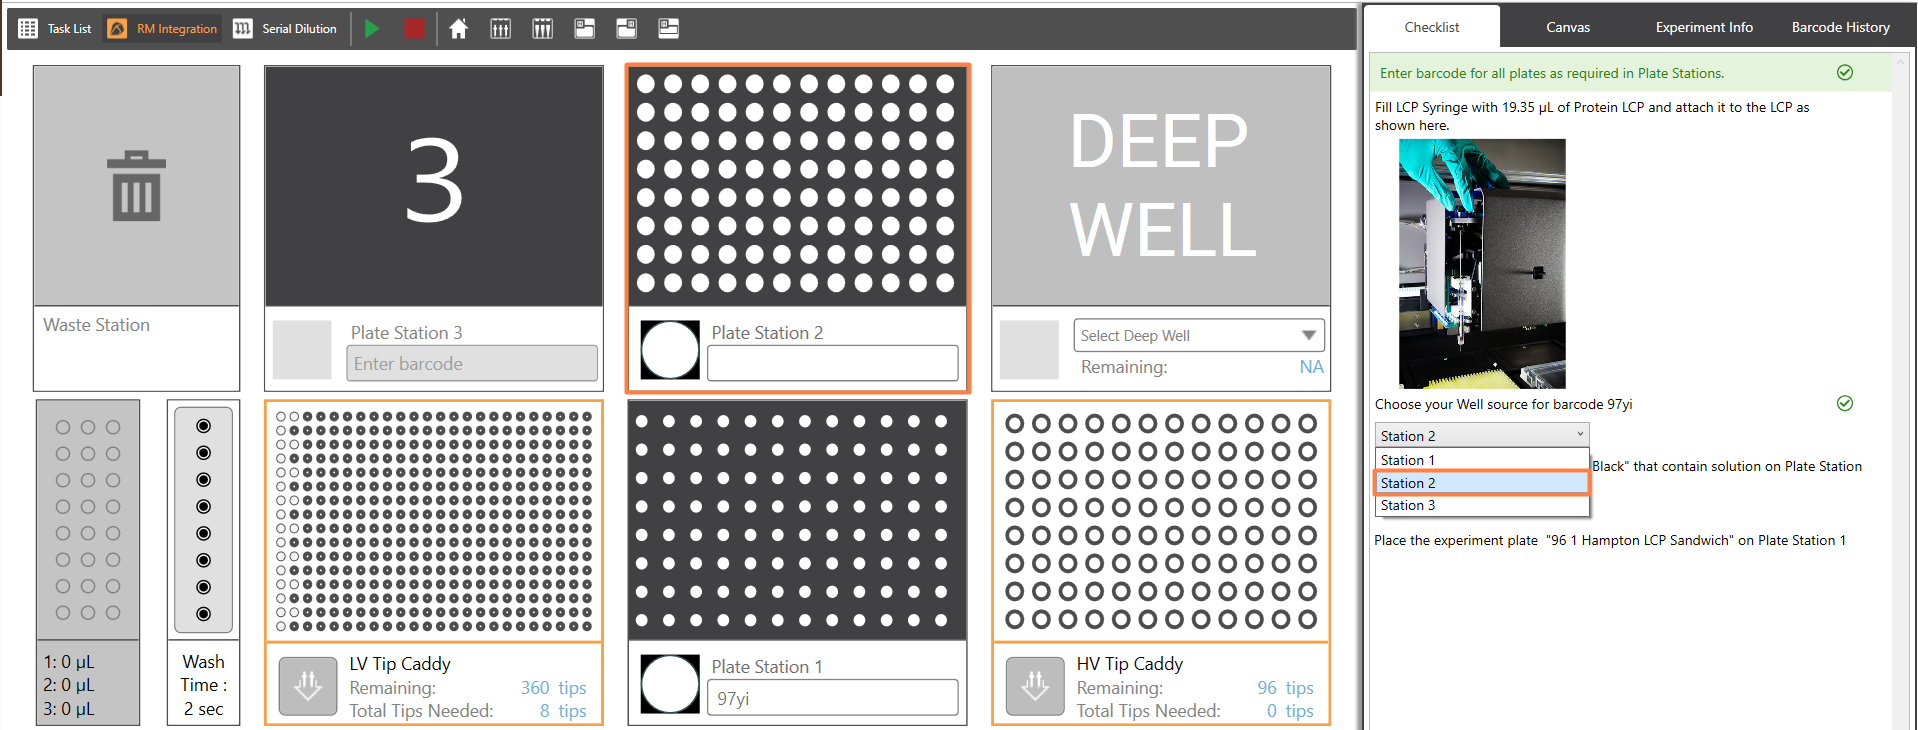
Well Solution Source Plate for LCP Experiment
If everything is set, click Run Protocol.

Run Protocol Button
Related Topics: