Setting Up Dispensing Properties
Note
Only a ROCK MAKER administrator can execute this task.
You can set up dispensing properties for all experiments or an experiment only.
Setting Up Dispensing Properties for All Experiments
To set up dispensing properties for all experiments:
Open ROCK MAKER and click Setup
 in the navigation menu panel.
Click the Dispensing Properties submenu
 and go to a dispensing robot tab.
In the following image, the selected dispensing robot tab is NT8.
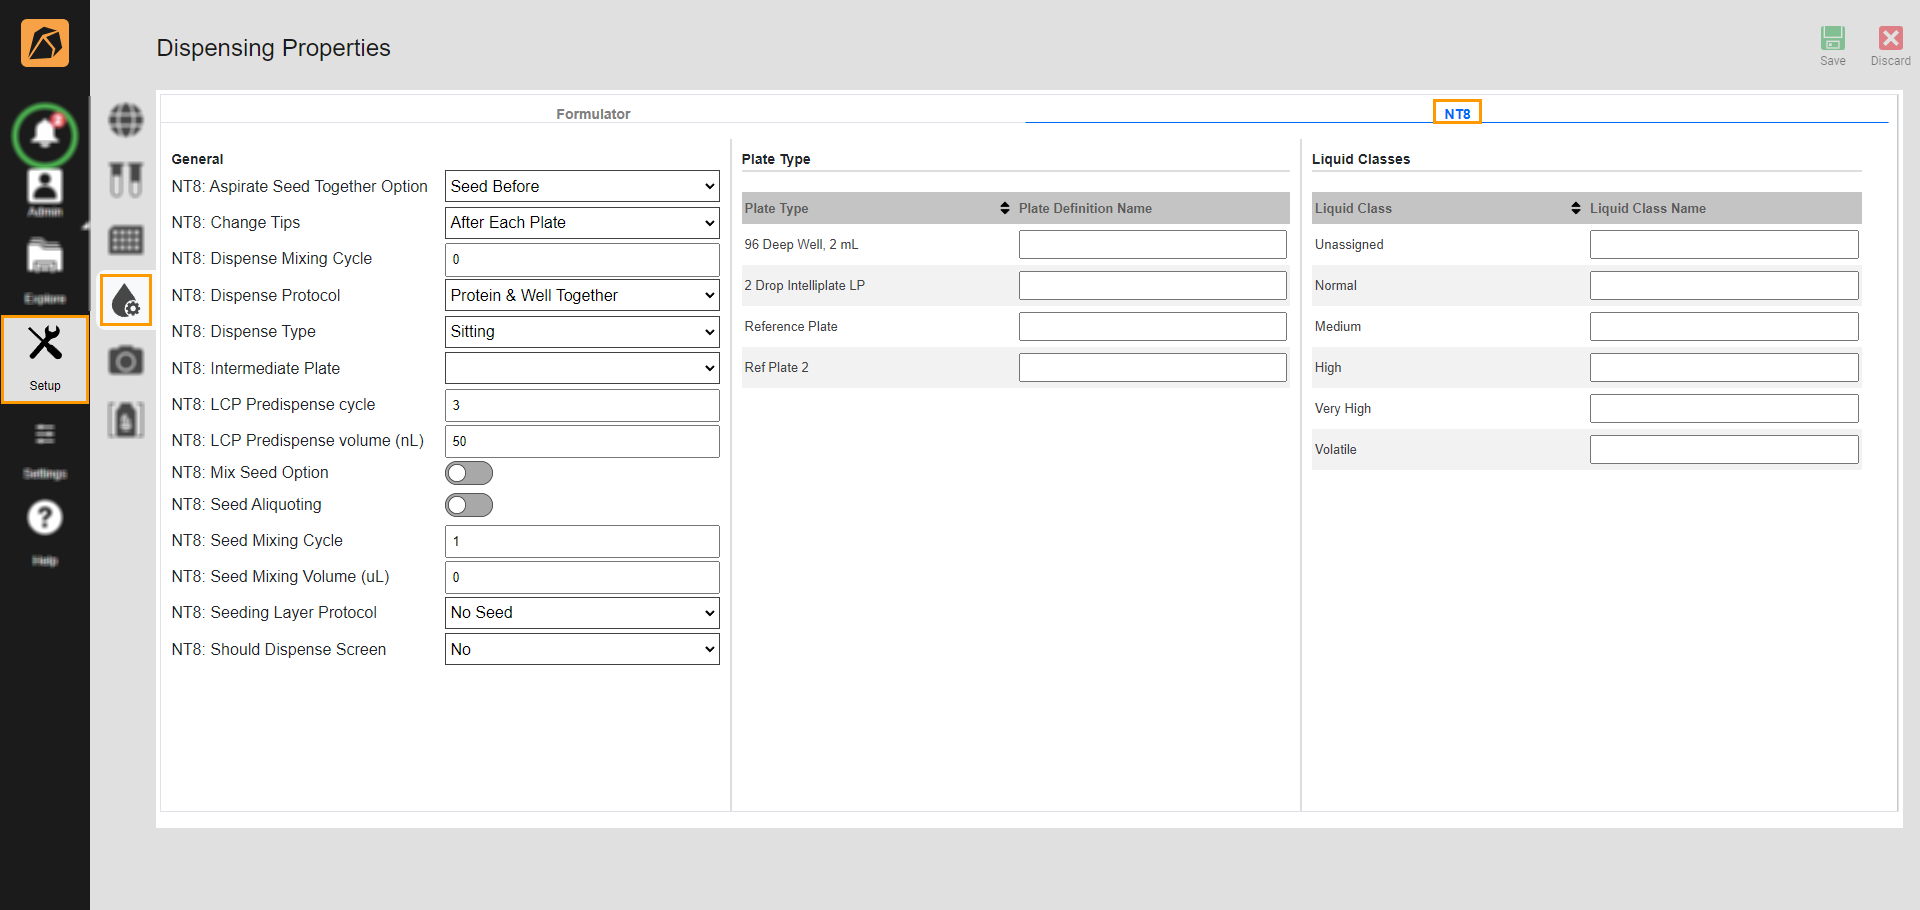
Selected Dispensing Robot Tab in Dispensing Properties Submenu
In the General section, select an option or enter a value in any appropriate fields.
Note
If your dispensing robot is NT8, use the following information to complete the fields.
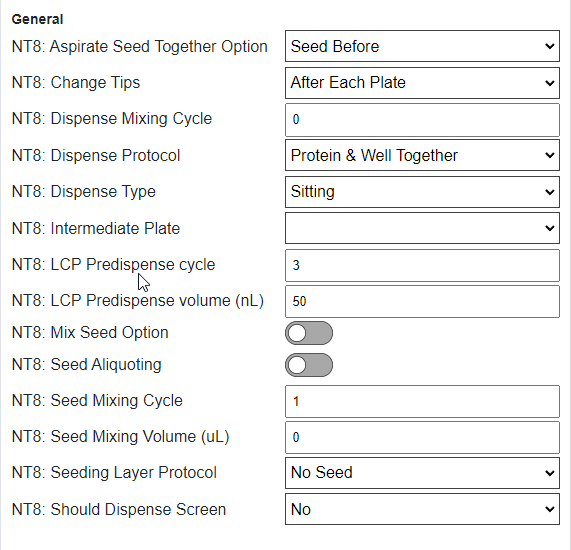
General Section Example
NT8: Dispense Protocol
Select the NT8 protocol to dispense the ingredients of your experiment.
Protein then Well: Aspirate protein from the protein block and dispense it to a drop, then aspirate well solution from the well and dispense it to the same drop. This action is repeated until all drops are filled. In case of more than one column, NT8 finishes one column first before proceeding to the others.
All Protein First then Well: Aspirate protein and dispense it to every drop, then aspirate well solution and dispense it to all drops with protein.
Well Then Protein: Aspirate solution from the well and dispense it to a drop, then aspirate protein from the protein block and dispense it to the same drop. This action is repeated until all drops are filled. In case of more than one column, NT8 finishes one column first before proceeding to the others.
Protein & Well Together: Aspirate protein from the protein block and well solution from the plate before dispensing the mixture to all drops.
NT8: Change Tips
Select when NT8 changes the low volume (LV) tips.
When Switching Ingredients: After completing the dispensing of a particular ingredient.
After Each Plate: After completing a plate dispense.
After Every Dispense: After completing every dispense.
NT8: LCP Predispense Cycle
Note
This field is only applicable for LCP dispensing.
Enter the number of times to pre-dispense an experiment.
NT8: LCP Predispense Volume (nL)
Note
This field is only applicable for LCP dispensing.
Enter the number of pre-dispense volumes. Follow the volume range set by NT8; otherwise your experiment will be dispensed using the nearest volume range, with a minimum volume of 30 nL and a maximum of 300.
30 to 100: Multiples of five (35, 40, 45, etc.)
100 to 300: Multiples of fifty (150, 200, 250, etc.)
NT8: Intermediate Plate
Note
This field is only applicable for LCP dispensing.
Select an intermediate plate to place your well solutions in before dispensing in the experiment plate.
NT8: Should Dispense Screen
Note
This field is only applicable for systems with the Plate Copy feature, which is usually used when there is a need to transfer screen ingredients from a deepwell block to an experiment plate.
Select to dispense an experiment to a screen using (Yes) or not using (No) Plate Copy.
NT8: Dispense Type
Select the dispense type for the experiment plate type you use: hanging drop (Hanging) or sitting drop (Sitting).
NT8: Seeding Layer Protocol
Select how to dispense the seeding layer.
Note
The NT8: Dispense Protocol field determines how the seed is dispensed.
Last: Dispense the seed after completing the Dispense Protocol. For example, if you choose the Protein then Well option from the NT8: Dispense Protocol field, the NT8 will aspirate and dispense the protein, then the well solution, before aspirating and dispensing the seed.
With Second: Dispense the seed along with the second component in the Dispense Protocol. For example, if you choose the Protein then Well option from the NT8: Dispense Protocol field, the NT8 will first aspirate and dispense the protein from the protein block to a drop. Then, the seed will be aspirated and dispensed along with the well solution.
Second: Dispense the seed after dispensing the first component in the Dispense Protocol. For example, if you choose the Protein then Well option from the NT8: Dispense Protocol field, the NT8 will first aspirate the protein from the protein block and dispense it to a drop. The seed will then be aspirated and dispensed from the protein block right after the protein. Finally, the well solution will be aspirated and dispensed into the drop.
With First: Dispense the seed at the same time as the first component in the Dispense Protocol. For example, if you choose the Protein then Well option from the NT8: Dispense Protocol field, the seed will be aspirated and dispensed along with the protein. Then, the NT8 will aspirate and dispense the well solution separately.
First: Dispense the seed before dispensing the first component in the Dispense Protocol. For example, if you choose the Protein then Well option from the NT8: Dispense Protocol field, the NT8 will first aspirate the seed from the protein block, dispense it into a drop, and then aspirate protein from the protein block and dispense it to the drop with seed. After that, the NT8 will aspirate the well solution and dispense it to the drop with seed and protein.
Important
This option is not applicable with the All Protein First Then Well option from the NT8: Dispense Protocol field due to an inconsistent dispense order.
No Seed: Dispense no seed.
NT8: Aspirate Seed Together Option
Select a component to aspirate first.
Note
This field is only applicable for the With First and the With Second options in the Seeding Layer Protocol field.
Seed After: Aspirate the seed after the component (well solution or protein) in the dispense protocol. For example, if you choose Protein then Well option from NT8: Dispense Protocol and With First from NT8: Seeding Layer Protocol, the NT8 will first aspirate the protein before aspirating the seed.
Seed Before: Aspirate the seed before the component (well solution or protein) from the dispense protocol. For example, if you choose Protein then Well from NT8: Dispense Protocol and With First from Seeding Protocol, the NT8 will first aspirate the seed before aspirating the protein.
NT8: Mix Seed Option
Enable the toggle button to mix the seed in the protein source block before aspirating. Mixing is performed by aspirating and dispensing the seed several times as defined in the NT8: Seed Mixing Cycle field.
NT8: Seed Aliquoting
Note
This field is only applicable for the First and the Second options in the NT8: Seeding Layer Protocol field.
Enable the toggle button to aspirate and dispense the total seed volume of a plate at once. For example, if you have 12 columns and the volume of each column is 25 nL, then NT8 will directly aspirate and dispense all 300 nL.
Important
The seeding protocol has specific restrictions on the dispensing order, which depend on the selected seeding and dispensing protocols. Incorrect combinations may lead to inconsistent and unreliable experimental results.
NT8: Seed Aliquoting is compatible with the following seeding and dispense protocol combinations.
The First option in the NT8: Seeding Layer Protocol field with either Protein then Well, Well then Protein, or Protein & Well Together in the NT8: Dispense Protocol field.
The Second option in the NT8: Seeding Layer Protocol field is only allowed when using All Protein First then Well in the NT8: Dispense Protocol field.
NT8: Seed Mixing Volume (uL)
Note
This field is applicable if you enable the NT8: Mix Seed Option toggle button.
Enter the volume of seed mixing (aspirating and dispensing).
NT8: Seed Mixing Cycle
Note
This field is applicable if you enable the NT8: Mix Seed Option toggle button.
Enter the number of seed mixing (aspirating and dispensing) cycles.
NT8: Dispense Mixing Cycle
Enter the number of cycles to mix all ingredients after dispensing.
In the Plate Type section, enter the corresponding plate type name used in the dispensing robot in the Plate Definition Name field.
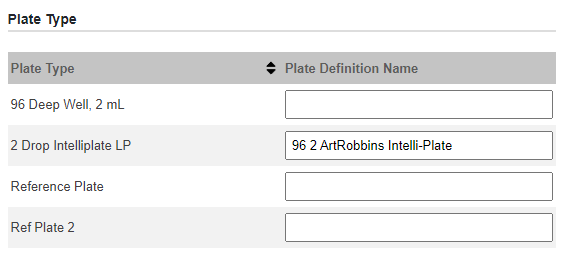
Plate Type Section Example
In the Liquid Classes section, enter the corresponding liquid class name used in the dispensing robot in the Liquid Class Name field.
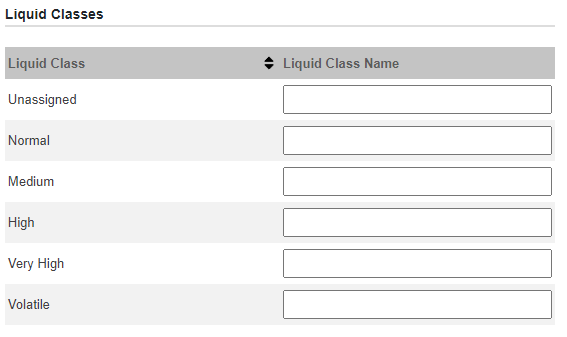
Liquid Classes Section Example
Setting Up Dispensing Properties for An Experiment
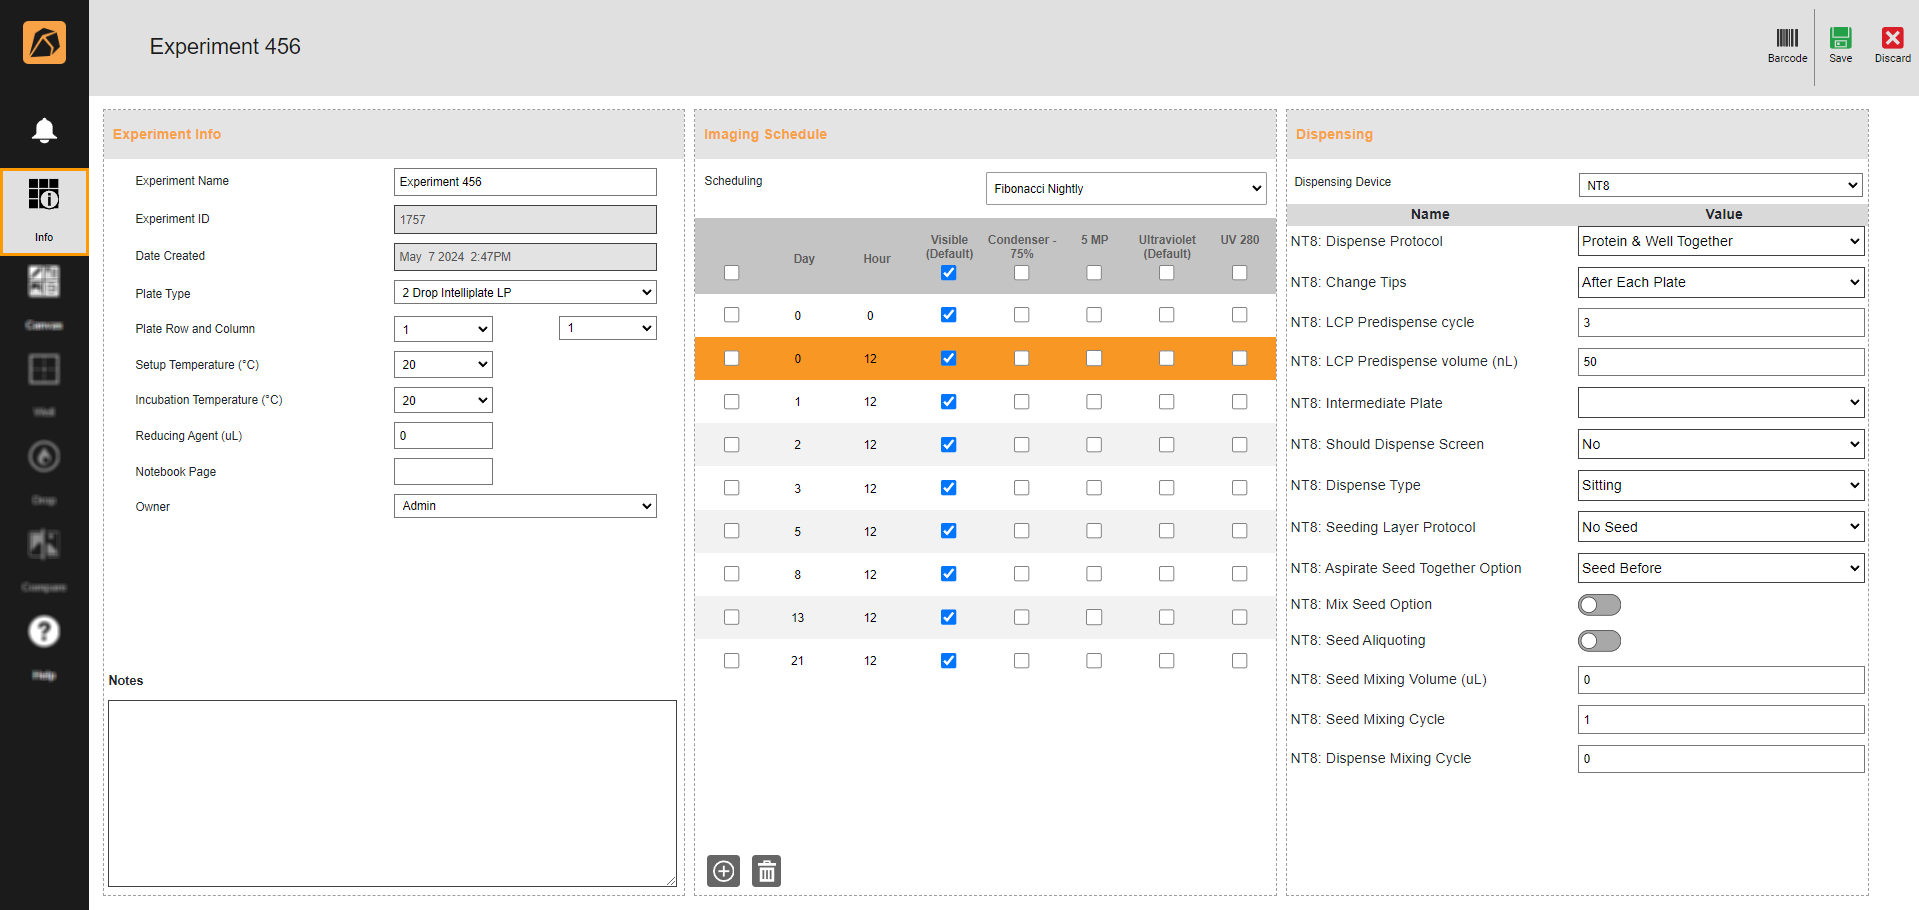
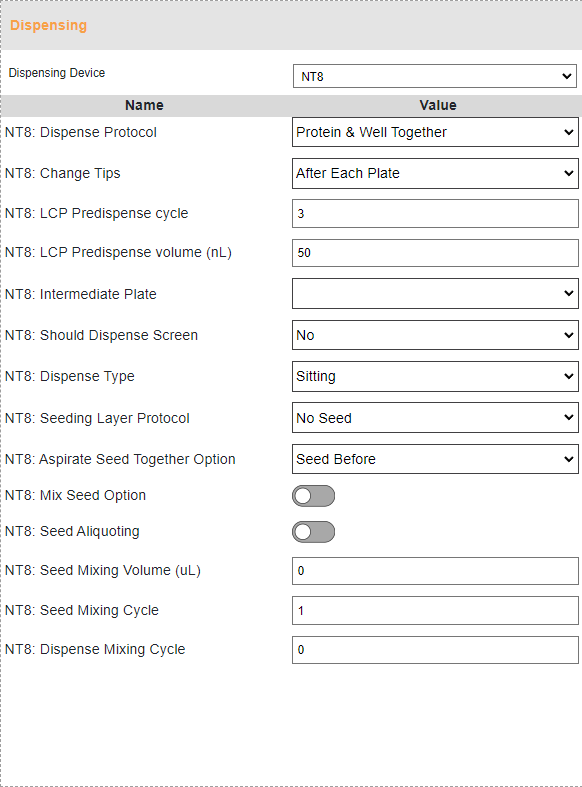
You can set up the dispensing properties for an experiment from the experiment page.
To set up the dispensing properties for an experiment:
Related Topics:

