Open topic with navigation
Creating a Broadcast Protocol
Click this option to design a pipetting task to broadcast your samples from the source well(s) to the destination well(s) in an easy way.
Different from the simple transfer, the broadcast mode doesn’t require you to design complex steps, such as adding pipetting channels, defining aspirate and dispense volume, as well as adding a task to dispose of the used tips. Simply define your sample source well(s), the destination well(s), and set the broadcast volume. The instrument will automatically execute the broadcasting task in sequence.
The Broadcast option in F.A.S.T. allows you to use a single-well or multiple-well source and broadcast the sample to the destination well(s) by row or column. You can broadcast your sample using a 96-well microplate and a 384-well microplate as the source or the destination.
Prerequisite:
Note: Trough plates cannot be used for broadcasting tasks.
To add a broadcasting task:
-
Click the Broadcast button , located on the Switch Panel.
-
Click a single source well or swipe multiple wells by row or column to define the source.

Defining the Source Well(s) by Row
-
Then, click or swipe to define your destination well(s).
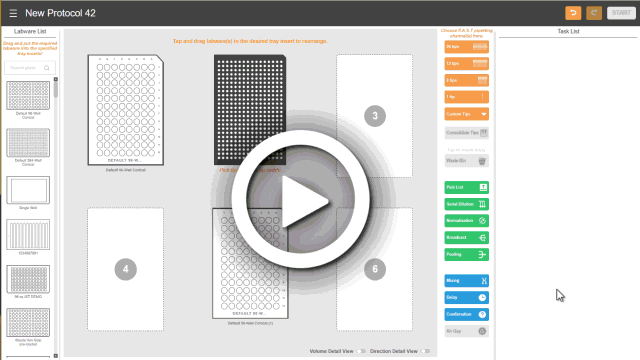
Note: You can only define the destination well(s) based on the selection you have made in the source well(s). If you have defined the source by row, you can only define the destination well(s) by row as well, as shown in the .GIF below.
Setting the Broadcast Volume
-
When the Set broadcast volume box appears, type the desired volume in the text field.
Tip: Alternatively, you can scroll your mouse up or down or click the up/down arrow button to define the volume.
-
OPTIONAL: To modify the pipetting parameters click the Show more dropdown and edit the values as desired. See Using the Pipetting Parameters for more information.
-
You can add more tasks to the protocol or add mixing, add a delay, user confirmation, or an air gap.
Note: You can easily return to the previous action or reverse the last Undo that you performed by clicking the Undo or Redo
  button located on the top right section of the page.
-
Then, click START to run your protocol. See Running a Protocol for more information.
Related Topics:
|
|

|
| FAOWH-V130R024
|
|
 , located on the Switch Panel.

 to define the volume.
 and edit the values as desired. See
  or Redo
  button located on the top right section of the page.