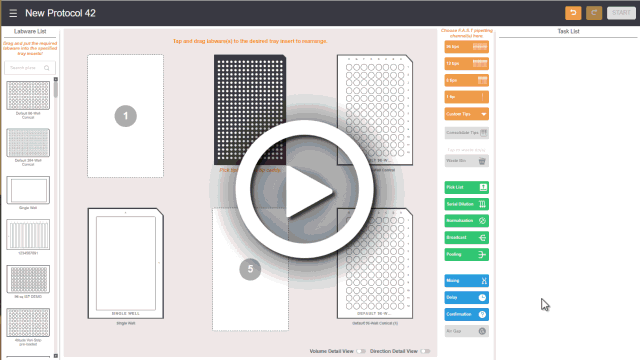
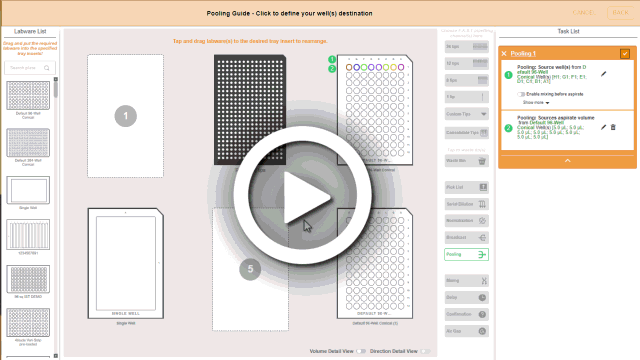
Click the Pooling button , located on the Switch Panel.
Click and swipe the wells by row or column to define the source.
When the Set aspirate volume per well box appears, type the desired volume in the text field and then press Enter to validate the value. For more details, see the .GIF below.
Defining the Source Well(s) and the Aspirate Volume
Tip: Alternatively, you can scroll your mouse up or down or click the up/down arrow button to define the volume.
Then, click the destination well.
Note: To indicate that samples originate from various wells, the destination well will change to multiple colors.
Defining the Destination Well
OPTIONAL: To modify the pipetting parameters click the Show more dropdown and edit the values as desired. See Using the Pipetting Parameters for more information.
You can add more tasks to the protocol or add mixing, add a delay, user confirmation, and an air gap.


 or Redo
  button located on the top right section of the page.