Rock Maker Control Panel

Rock Maker Control Panel is now available, offering easy access to service updates and Windows settings. Accessible from the Windows tray, Rock Maker Control Panel runs automatically when the PC starts.

Rock Maker Control Panel

Rock Maker Control Panel

Note

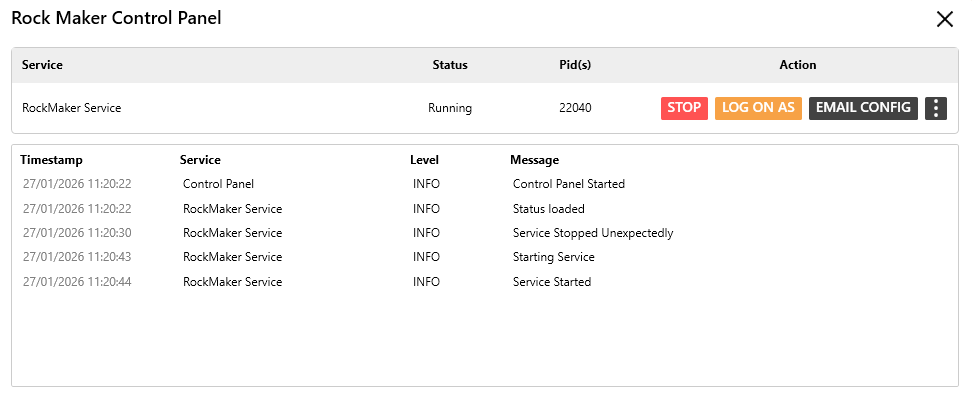
If your ROCK MAKER is inaccessible, check the Service section in the Rock Maker Control Panel. If the Status is Stopped, click the START button under Action.
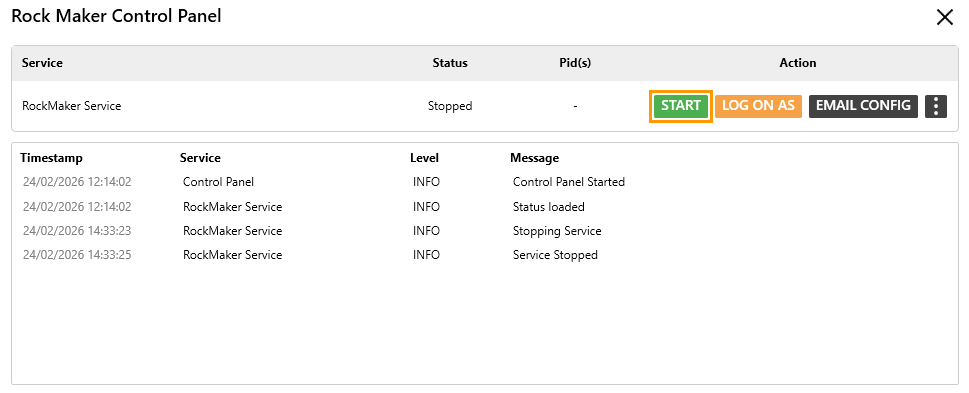
START Button

START Button

Rock Maker Control Panel includes the following features, each with its own functions.

Field

Description

Service

Displays the service name: RockMaker Service.

Status

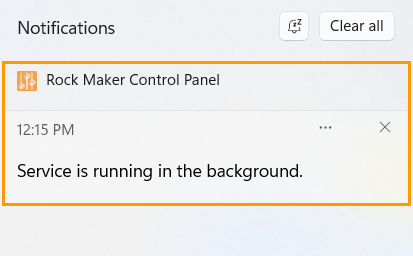
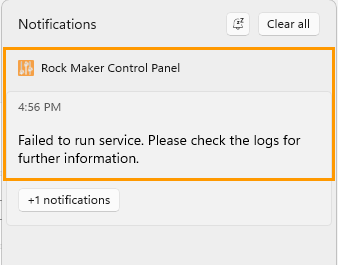
Displays the current service status. There are 2 statuses.

  • Running: The service is running.

  • Stopped: The service is inactive.

You can also view the status through the Rock Maker Control Panel notifications in the Windows Notifications panel, accessible through the Calendar in the Windows tray.

Notifications Panel: Running

Notifications Panel: Running

Notifications Panel: Failed to run service

Notifications Panel: Failed to run service

Pid(s)

Displays the ROCK MAKER Process ID.
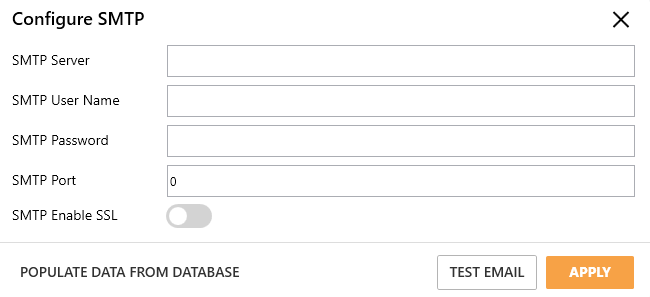
Action

Allows you to perform the following tasks.

  • START/STOP starts or stops the service, depending on the current state. When the service is running, the button shows STOP, and when the service stops or encounters an error, the button shows START.

  • LOG ON AS lets you select which account to log on as: Local System Account or This Account.

    • Selecting Local System Account allows you to log on using the built-in account. The checkbox below this option is synchronized with the Log On tab in the Microsoft Windows Services, allowing the service to interact with the device if selected.

    • Selecting This Account allows you to log on using a specific Windows account.

  • EMAIL CONFIG lets you configure SMTP settings. When the service fails to start, ROCK MAKER automatically sends an email to FORMULATRIX Support. You can also configure it in the appsettings.json file. For more information, contact support@formulatrix.com.

    In the dialog box, click POPULATE DATA FROM DATABASE if all of the data are available in your database. Otherwise, you can configure SMTP settings as follows.

    Configure SMTP Dialog Box

    Configure SMTP Dialog Box

    • Enter the SMTP server in the SMTP Server field to send error notifications to FORMULATRIX.

    • Enter the user name in the SMTP User Name field to authenticate the SMTP server.

    • Enter the password in the SMTP Password field to authenticate the SMTP server with the specified user name.

    • Enter the SMTP port number in the SMTP Port field.

    • Enable the toggle button in the SMTP Enable SSL field to require SSL for authentication.

    To test whether the SMTP configuration works, click TEST EMAIL. To save the current settings, click APPLY.

  • More morebuttoncontrolpanel provides you with the following actions and their functions.

    • Open Web directs you to ROCK MAKER.

    • Config opens the configuration folder.

    • Logs opens the log folder.