Administrator Submenu
Note
Only administrators can manage users. There is no maximum number of administrators.
ROCK MAKER implements administrator and user roles. In this tutorial, you can learn how to perform each role.
Administrator
Important
The tasks in this section can only be executed by administrators.
Note
The ROCK MAKER Lite checkbox in the Administrator submenu is only available for users with the ROCK MAKER Lite license.
Creating a New User
To create a new user:
In the navigation menu panel, click Settings
 and go to the Administrator submenu
  .
.Go to the Users section and click the Add button on the top right side to add a new row at the top of the list.
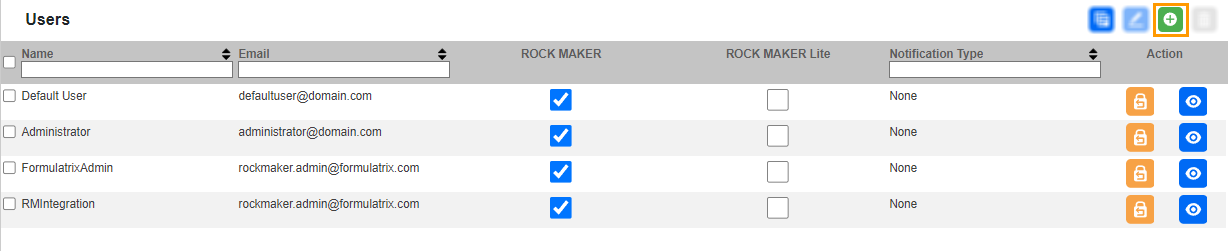
Add Button
In the new row, do the following.
Enter a username in the Name field.
Enter the user’s email address in the Email field.
Tick:
ROCK MAKER checkbox to grant access to ROCK MAKER version 4 only.
ROCK MAKER Lite checkbox to grant access to ROCK MAKER Lite only.
ROCK MAKER and ROCK MAKER Lite checkboxes to grant access to both.
Note
By default, the Notification Type field is set to Immediately. However, you can change it to None or DailyDigest.

New User Row
Once everything is set, click the Save button
 on the top right bar of the Administrator submenu.
Editing a User
To edit a user:
In the navigation menu panel, click Settings
and go to the Administrator submenu .Go to the Users section and click on a username checkbox. Then, click the Edit button on the top right side to update the desired field(s).
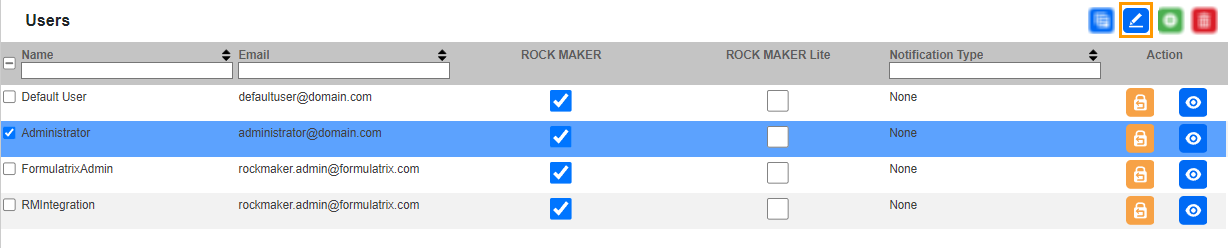
Edit Button
Once everything is set, click the Save button
on the top right bar of the Administrator submenu.
Deleting a User
To delete a user:
In the navigation menu panel, click Settings
and go to the Administrator submenu .Go to the Users section and click on a username checkbox(es). Then, click the Delete button on the top right side.

Delete Button
In the Delete User(s) dialog box, click DELETE.
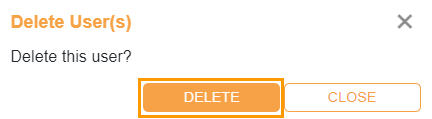
DELETE Button in Delete User(s) Dialog Box
Once everything is set, click the Save button
on the top right bar of the Administrator submenu.
Creating a New Group
ROCK MAKER comes with two default groups, Administrators and AllRockMakerUsers, which you can add if necessary. A group consists of multiple ROCK MAKER users with the same access to software features.
To create a new group:
In the navigation menu panel, click Settings
and go to the Administrator submenu .Locate the Groups section and click the Add button.

Groups Section
In the new row, enter the group name in the Group Name field.
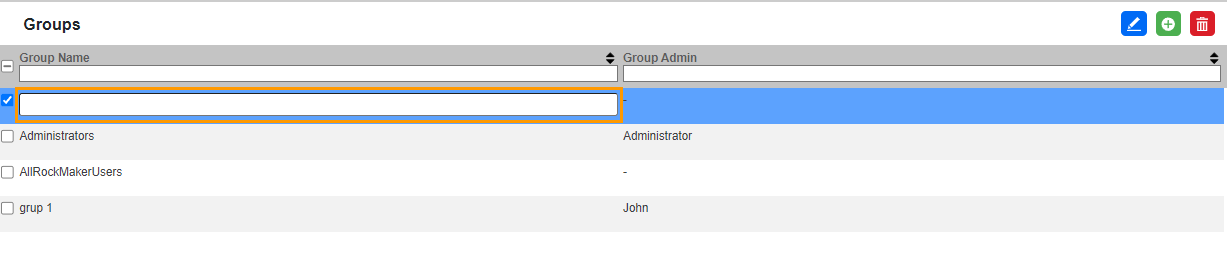
New Group Row
Click the Save button
on the top right bar of the Administrator submenu.
Adding Users to a Group
To add users to a group:
In the navigation menu panel, click Settings
and go to the Administrator submenu .Locate the Groups section and select a group by clicking the available checkbox(es)
 .
.
Groups Section
Go to Group Member and click the Add button.

Group Member
The User List dialog box will appear. Then, select the user(s) you want to add to the group by clicking the provided checkbox(es) and click ADD.
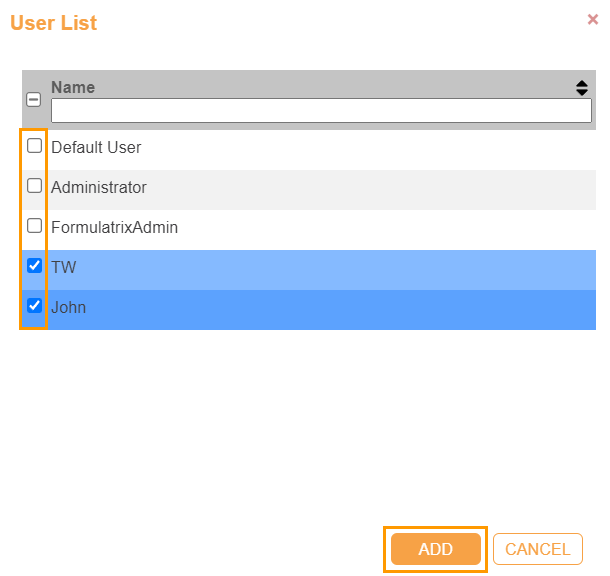
User List Dialog Box
You can find the added user(s) in Group Member and set one or more users as Group Admin.
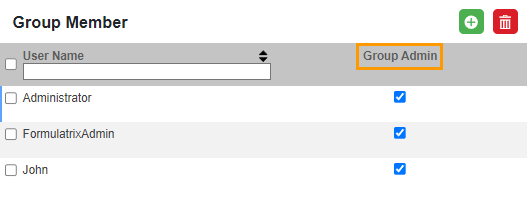
Selecting a Group Admin
If everything is set, click the Save button
on the top right bar of the Administrator submenu.
Resetting a User’s Password
This action applies only to users without registered emails or internet connections.
To reset a user password:
In the navigation menu panel, click Settings
and go to the Administrator submenu .Go to the Users section and click the Reset Password button
 in a user row.
In the Reset Password dialog box, enter your password in the Password fields and click GENERATE CODE to open the View Code dialog box where you can find the user data.
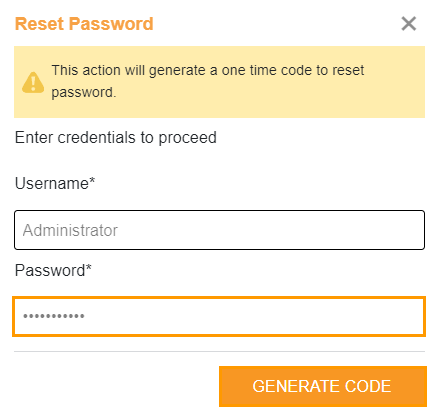
Reset Password Dialog Box
In the View Code dialog box, click COPY CODE and send it to the corresponding user.
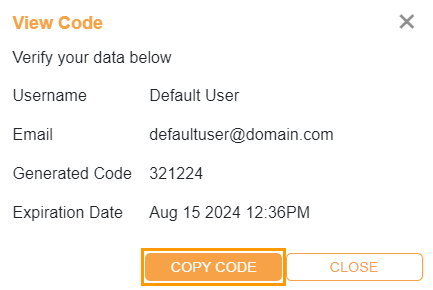
COPY CODE Button
Note
In case users request a password reset, click the View Code button
 to view and send them the one time code. You can find the active code and its validity period in the Generated Code and Expiration Date fields.
Managing Access Right
As a part of authorization offered by ROCK MAKER, Access Right allows administrators to determine which users have access to a particular project, screen, or folder, and the type of access they have. This feature ensures the security of each experiment even though multiple users use the software.
Note
To enable authorization in ROCK MAKER, please contact FORMULATRIX Support.
The followings are steps to manage Access Right:
Note
A user’s access rights will affect search results. Whenever a user conducts a search, only the nodes to which the user has access will be included in the search.
Go to the Explore menu.
Click a screen, project, or folder. Then, click the More button
 in the Administrative Tools section on the right side of your ROCK MAKER window.
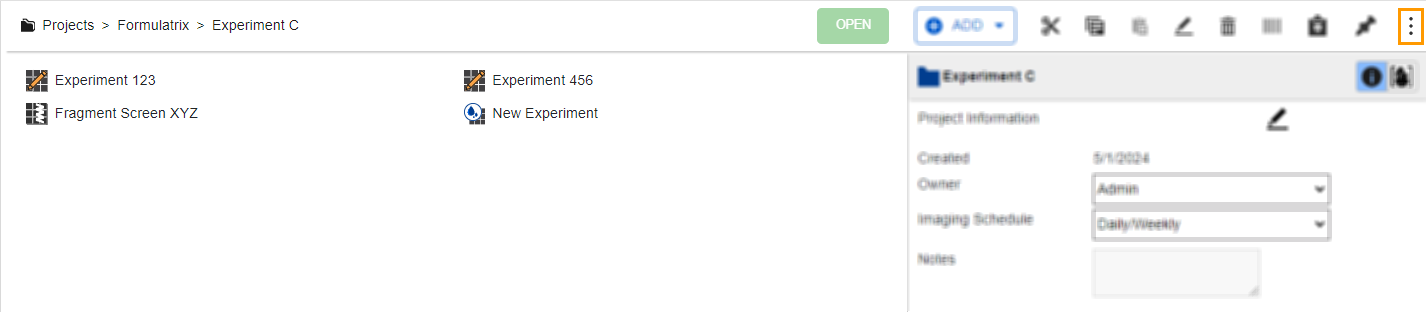
More Button
Select Access Right. The Manage Access Rights dialog box will appear.
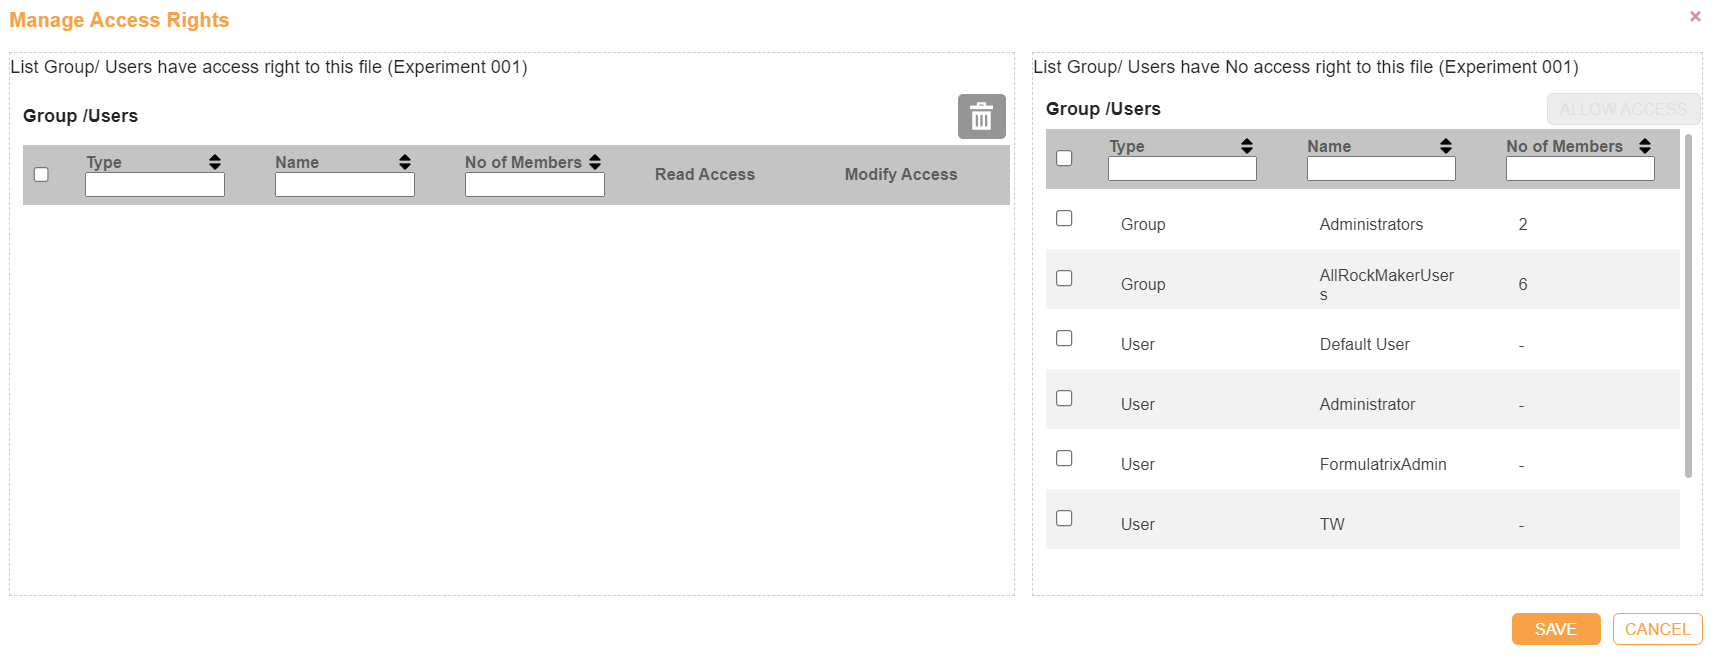
Manage Access Rights Dialog Box
From the Group/User having no access right to this file section, select the user(s) you want to share the access with by clicking the checkbox(es)
. Then, click Allow Access.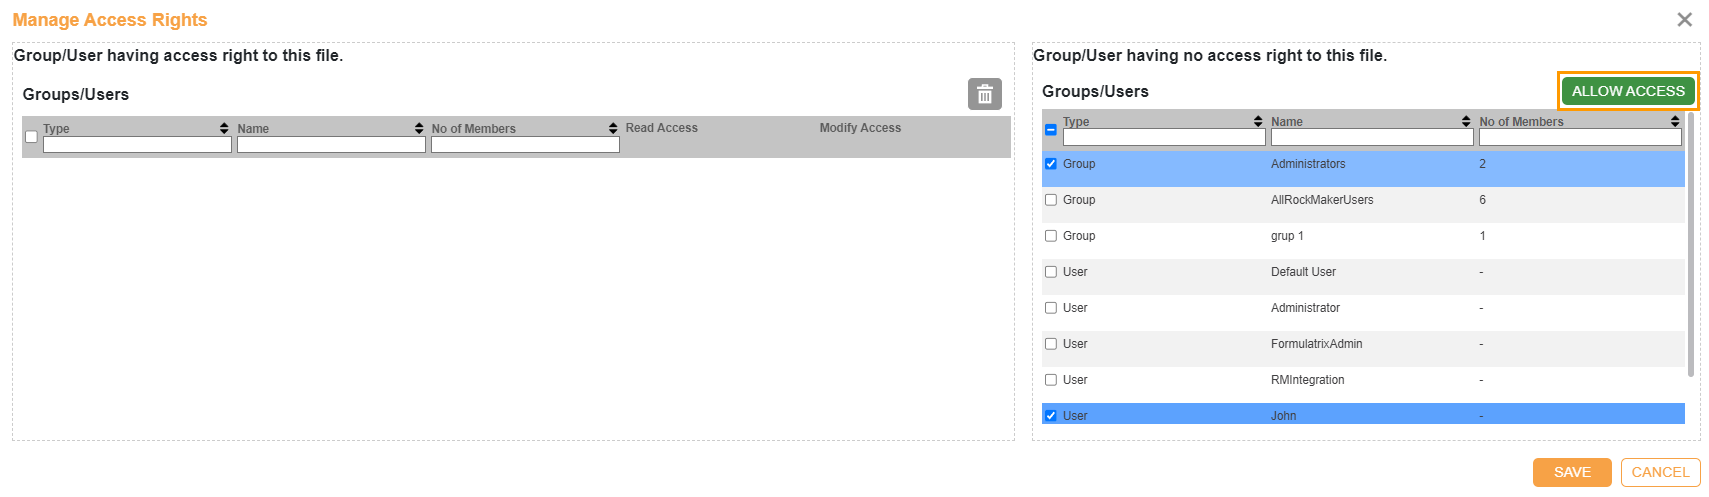
Sharing Access with User(s)
The user you share access with will be added to the Group/User having access to this file list. Then, choose the access option(s) you want to grant. Read Access enables users to read a folder or an experiment, while Modify Access allows users to modify a folder or an experiment.
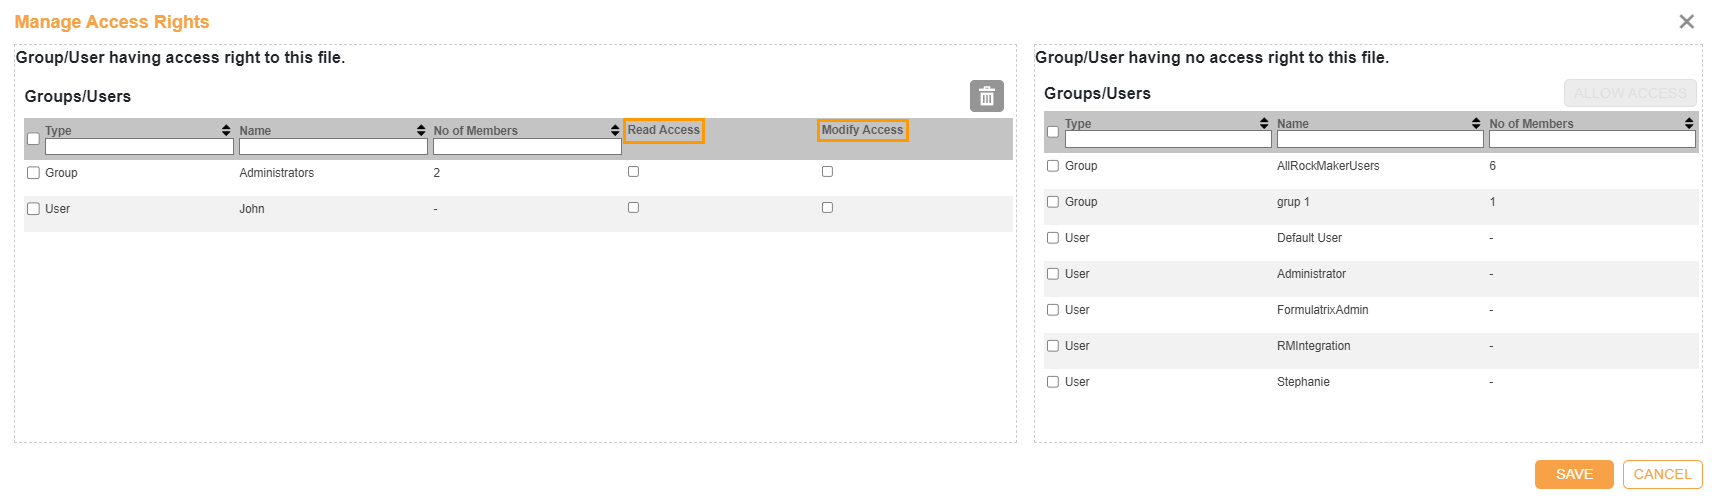
Selecting Access for User(s)
Click Save
 .
.
Sharing ROCK MAKER and ROCK MAKER Lite Accessibility
An administrator may allow a user to access both ROCK MAKER and ROCK MAKER Lite or just one of them by setting it up from the ROCK MAKER’s Settings menu.
Important
Only the ROCK MAKER administrator can execute this task.
To manage ROCK MAKER or ROCK MAKER Lite accessibility:
In the ROCK MAKER, open the Settings menu
and select Administrator .In the Users section, select a user and click
 .
.In the selected user row, tick one of the following options.
ROCK MAKER and ROCK MAKER Lite checkboxes to grant access to both.
ROCK MAKER checkbox to grant access only to ROCK MAKER.
ROCK MAKER Lite checkbox to grant access only to ROCK MAKER Lite.
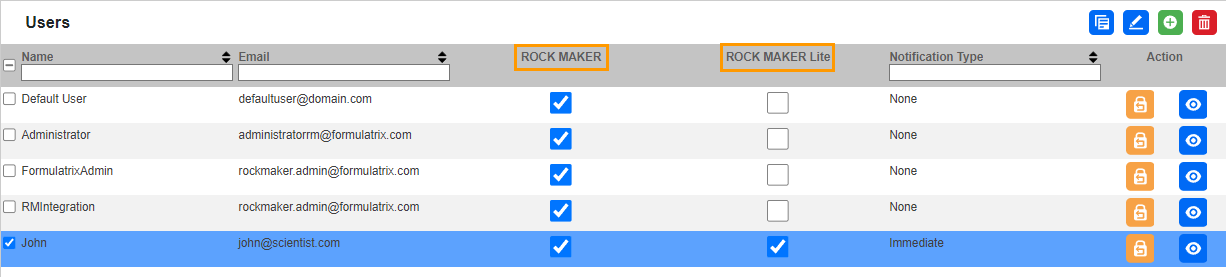
ROCK MAKER and ROCK MAKER Lite Checkboxes
Click Save
on the top right bar.
User
Editing Your Account
To edit your user account:
In the navigation menu, click User and select Edit User.
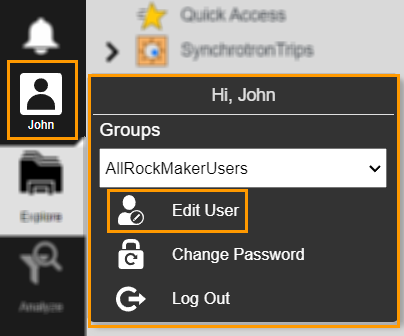
Edit User Option
The Edit User dialog box will appear. Update any applicable fields: Name, Email, or both. If you are an administrator, the Name field will be uneditable.
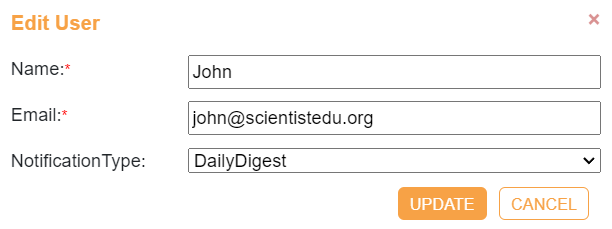
Edit User Dialog Box
Note
The asterisk icons in the two fields indicate that those fields are required.
Click UPDATE.
Managing Your Password
As a new user, you should create a password to log in to your account. You can later change your password or reset it if you forget.
To create a password
On your ROCK MAKER login page, enter your username in the Username field. Then, click Login or press Enter on your keyboard.
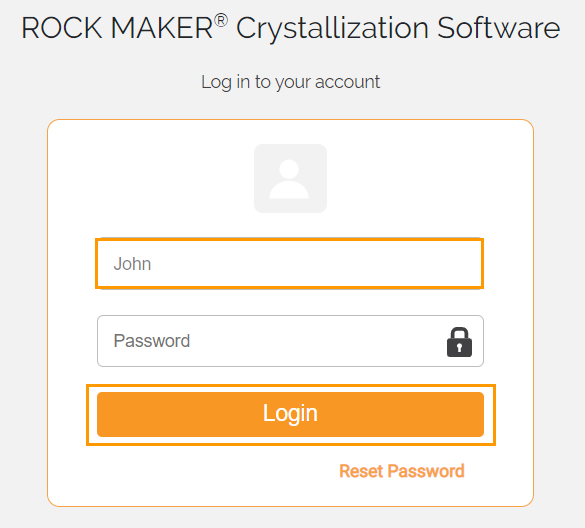
Login Page
The Change User Password dialog box will appear. Type your password and confirm in the corresponding fields.

Change User Password Dialog Box
If they are set, click CONFIRM.
You will be redirected to the login page. A message on top of the login page notifies you that your password has been successfully saved.
To change your password
Log in to your ROCK MAKER account.
In the navigation menu panel, click the User menu and select Change Password.
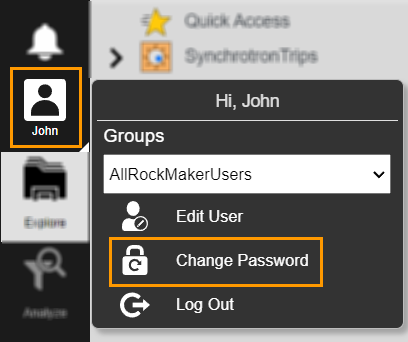
Change Password Option
The Change User Password dialog box will appear. Enter and confirm your new password. Then, click CONFIRM.
Change User Password Dialog Box
You will be redirected to the login page. A message on top of the login page notifies you that your password has been successfully changed.
To request a password reset
You can request a password reset using the Forgot password button on the login page.
On your ROCK MAKER login page, click Forgot password.
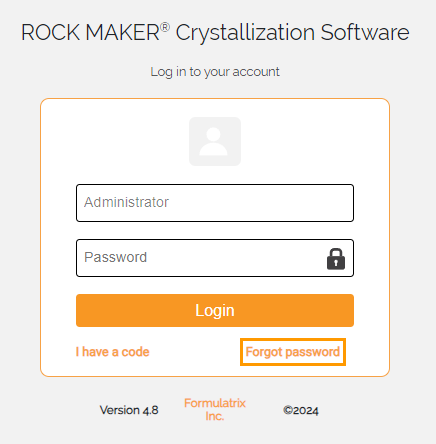
Forgot password Button
On the available page, enter your username or email in the Username or Email field and click PROCEED. ROCK MAKER then sends a one time code, expiring in 1 hour, to your registered email.
Important
SMTP settings must be configured before you can receive a one time code via email. Otherwise, contact your administrator.
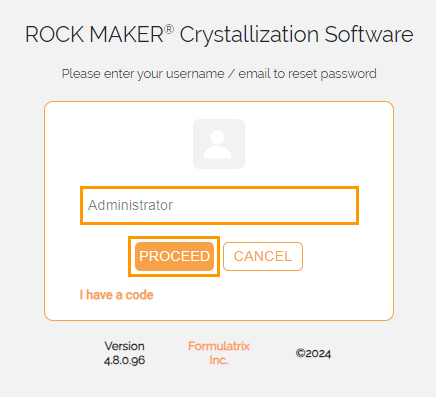
Username or Email Field and PROCEED Button
Important
If you forget your username or email, please contact your administrator to request a one time code.
Open your email and copy the one time code.
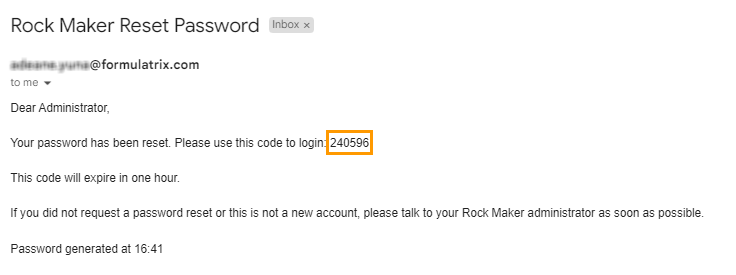
One Time Code Sent to Email
Go to your ROCK MAKER login page and click I have a code.
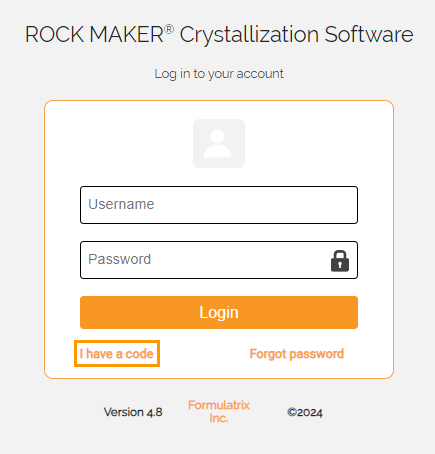
I have a code Button
On the available page, do the following.
Paste the one time code to the Code field.
Note
Make sure you paste the correct and valid code. If the one time code expires, click Forgot Password on the ROCK MAKER login page to request a new one.
Enter your username in the User Name field.
Enter your new password in the New Password and Confirmation Password fields.
Once everything is set, click PROCEED. A message on top of the login page notifies you that your password has been updated.
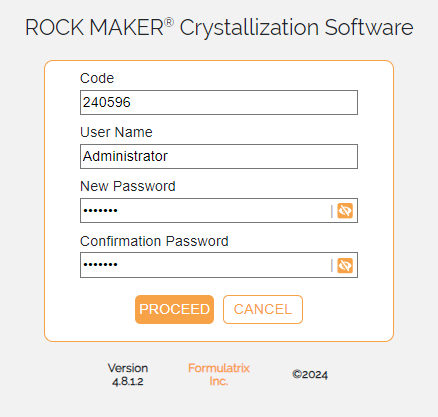
Password Reset Page
Logging In with Multiple Access
If you are granted accessibility to ROCK MAKER and ROCK MAKER Lite, you can select which edition you want to access from a pop-up message appearing upon login.
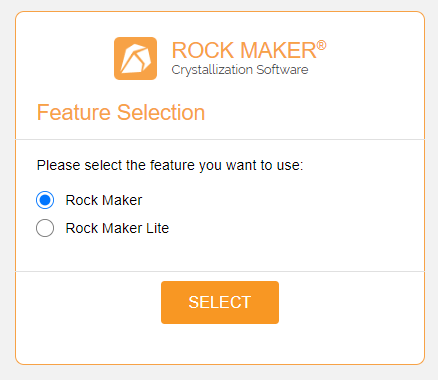
Feature Selection Page