Using Image Tools
The Tools button is available in the Well, Drop, and Compare menus to help you manipulate images using available options. Once you click the Tools button, its panel appears on the right side of your window.
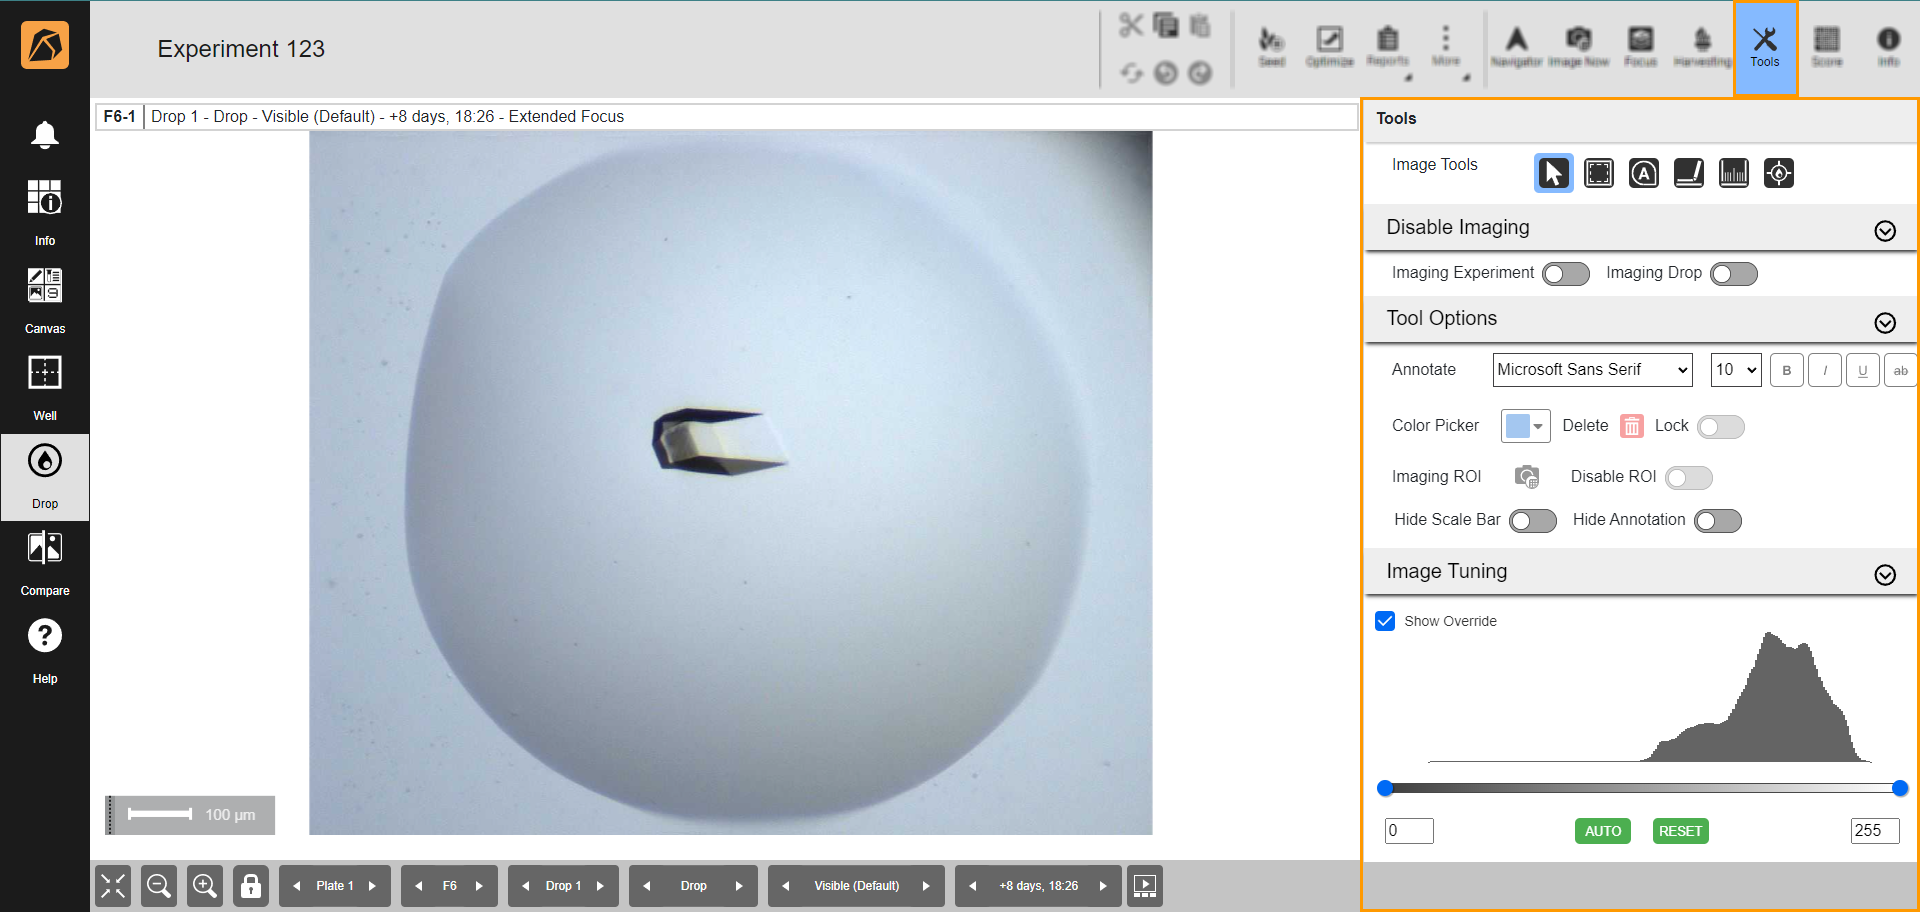
Tools Panel
Image Tools
Tools |
Icon |
Description |
|---|---|---|
Pointer |
Lets you change the cursor to the pointer while using Tools, allowing you to point the image more comfortably. |
|
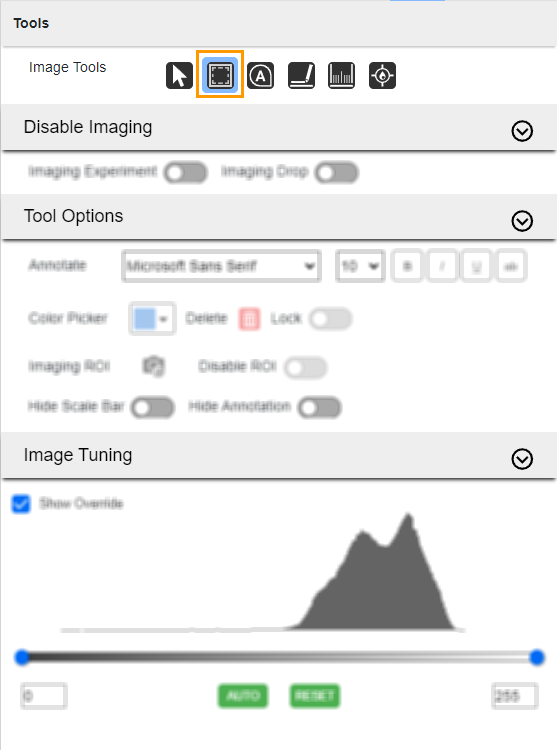
ROI |
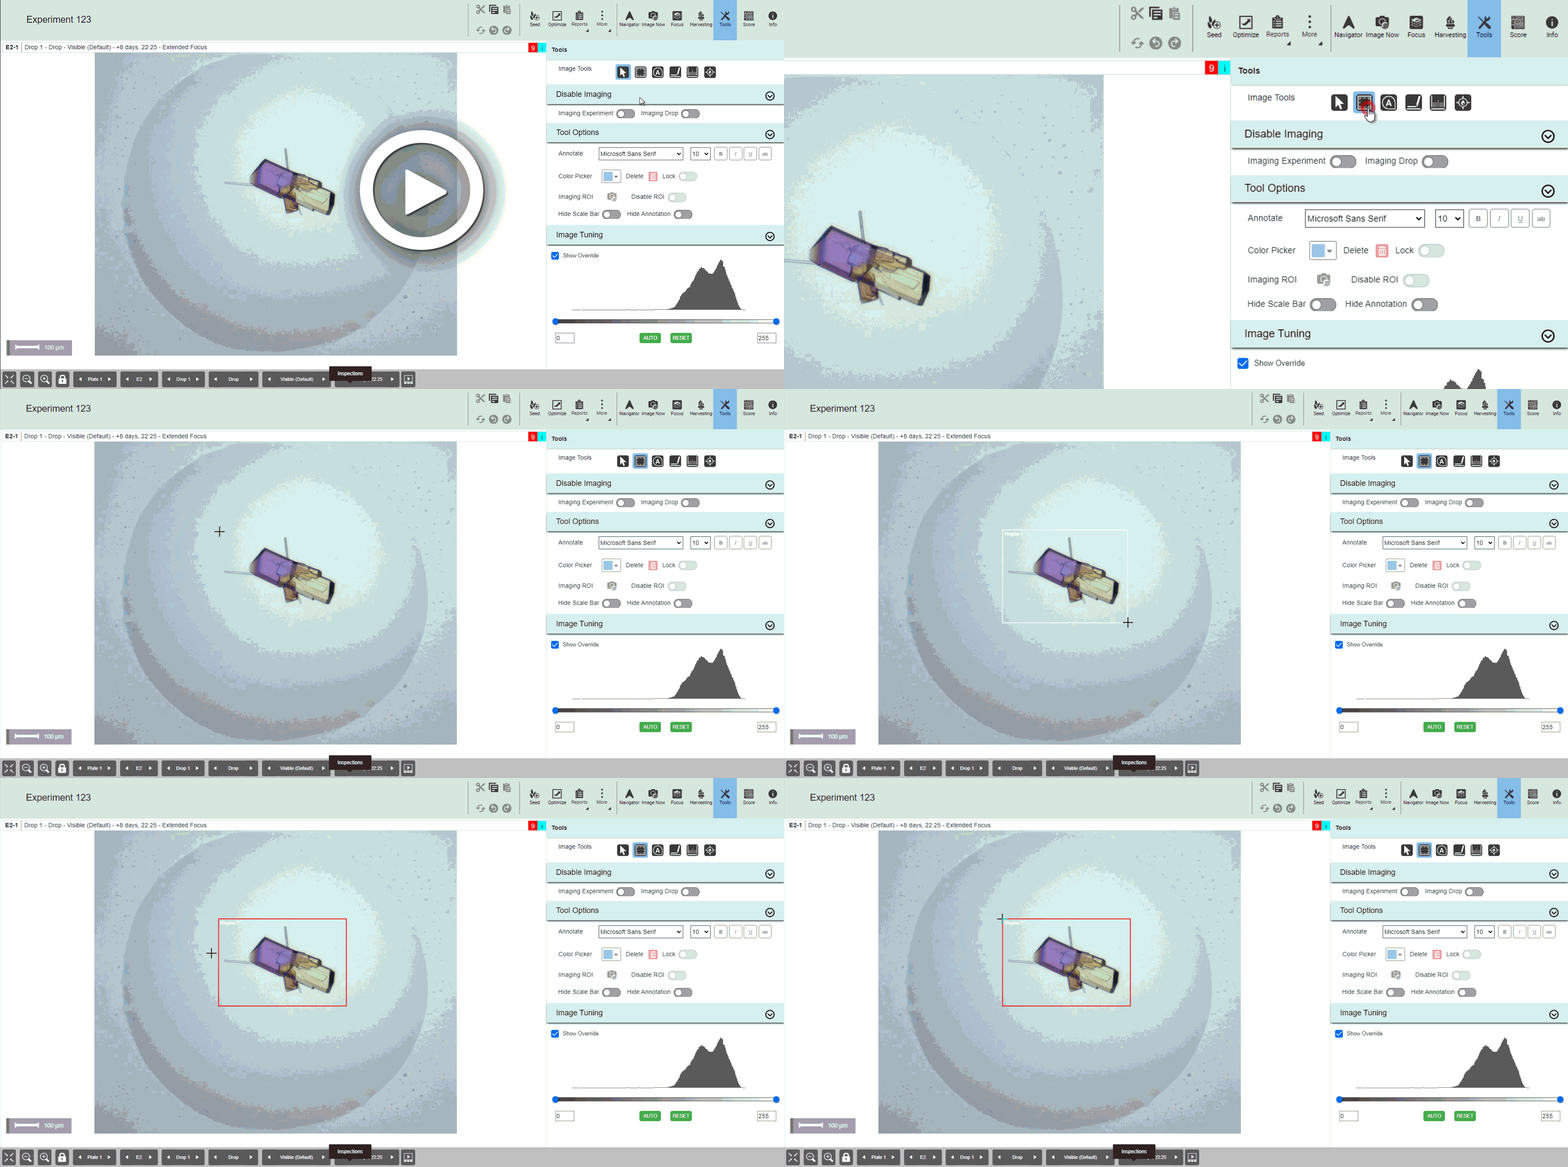
Allows you to define a region of interest in the image. To do so, click the ROI button and click anywhere in the image, then drag the mouse over an area. |
|
Annotation |
Allows you to add notes to your images. |
|
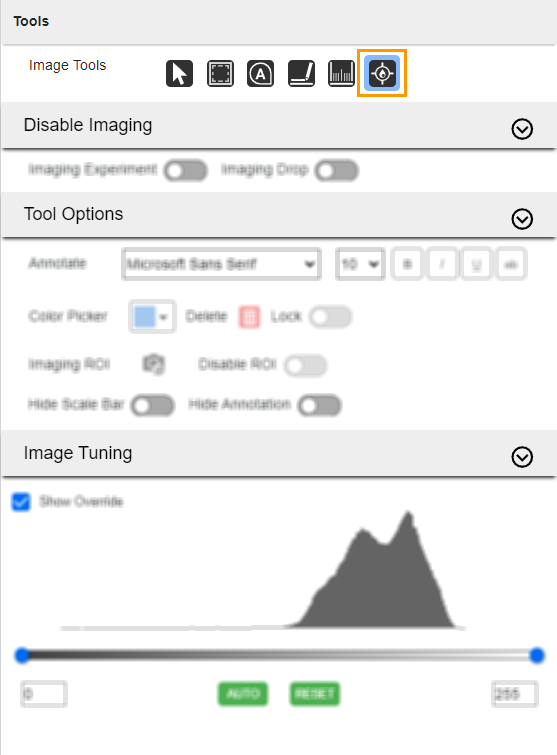
Drop Location |
||
Scribble |
Lets you scribble on your images. |
|
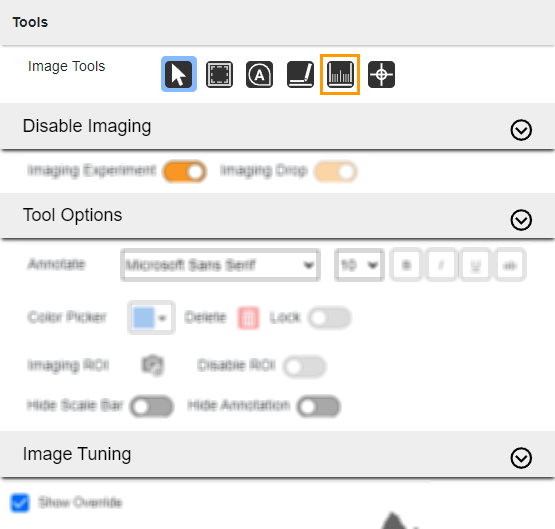
Ruler |
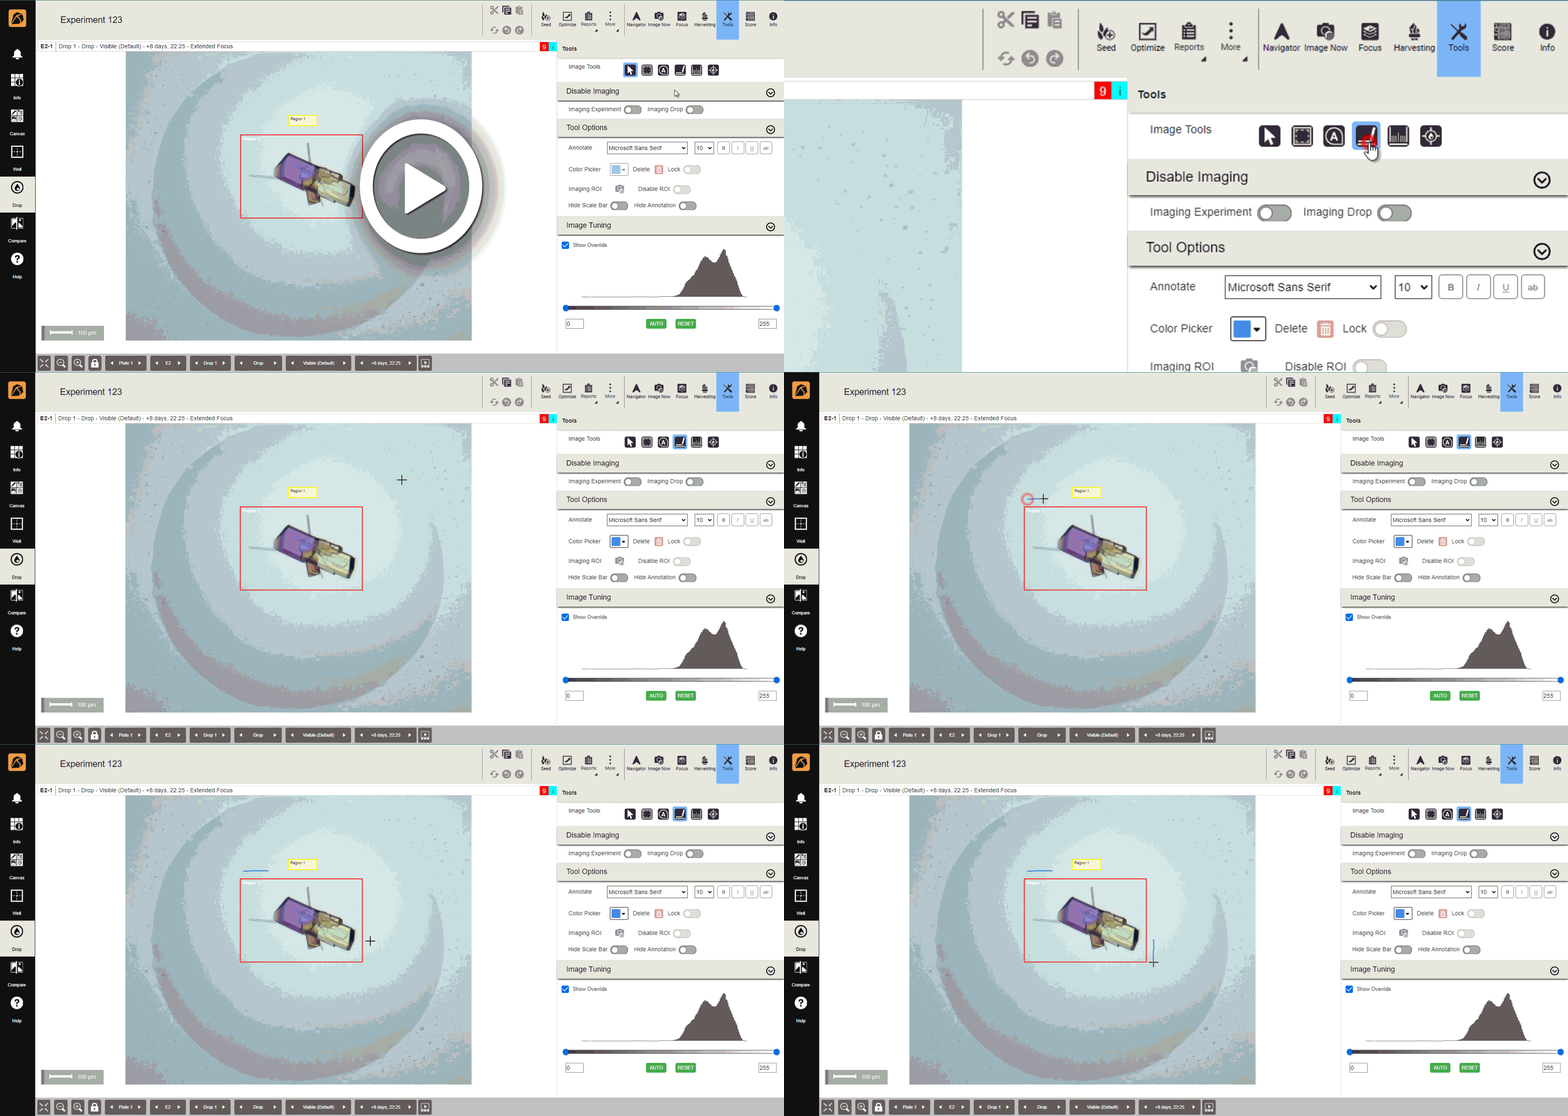
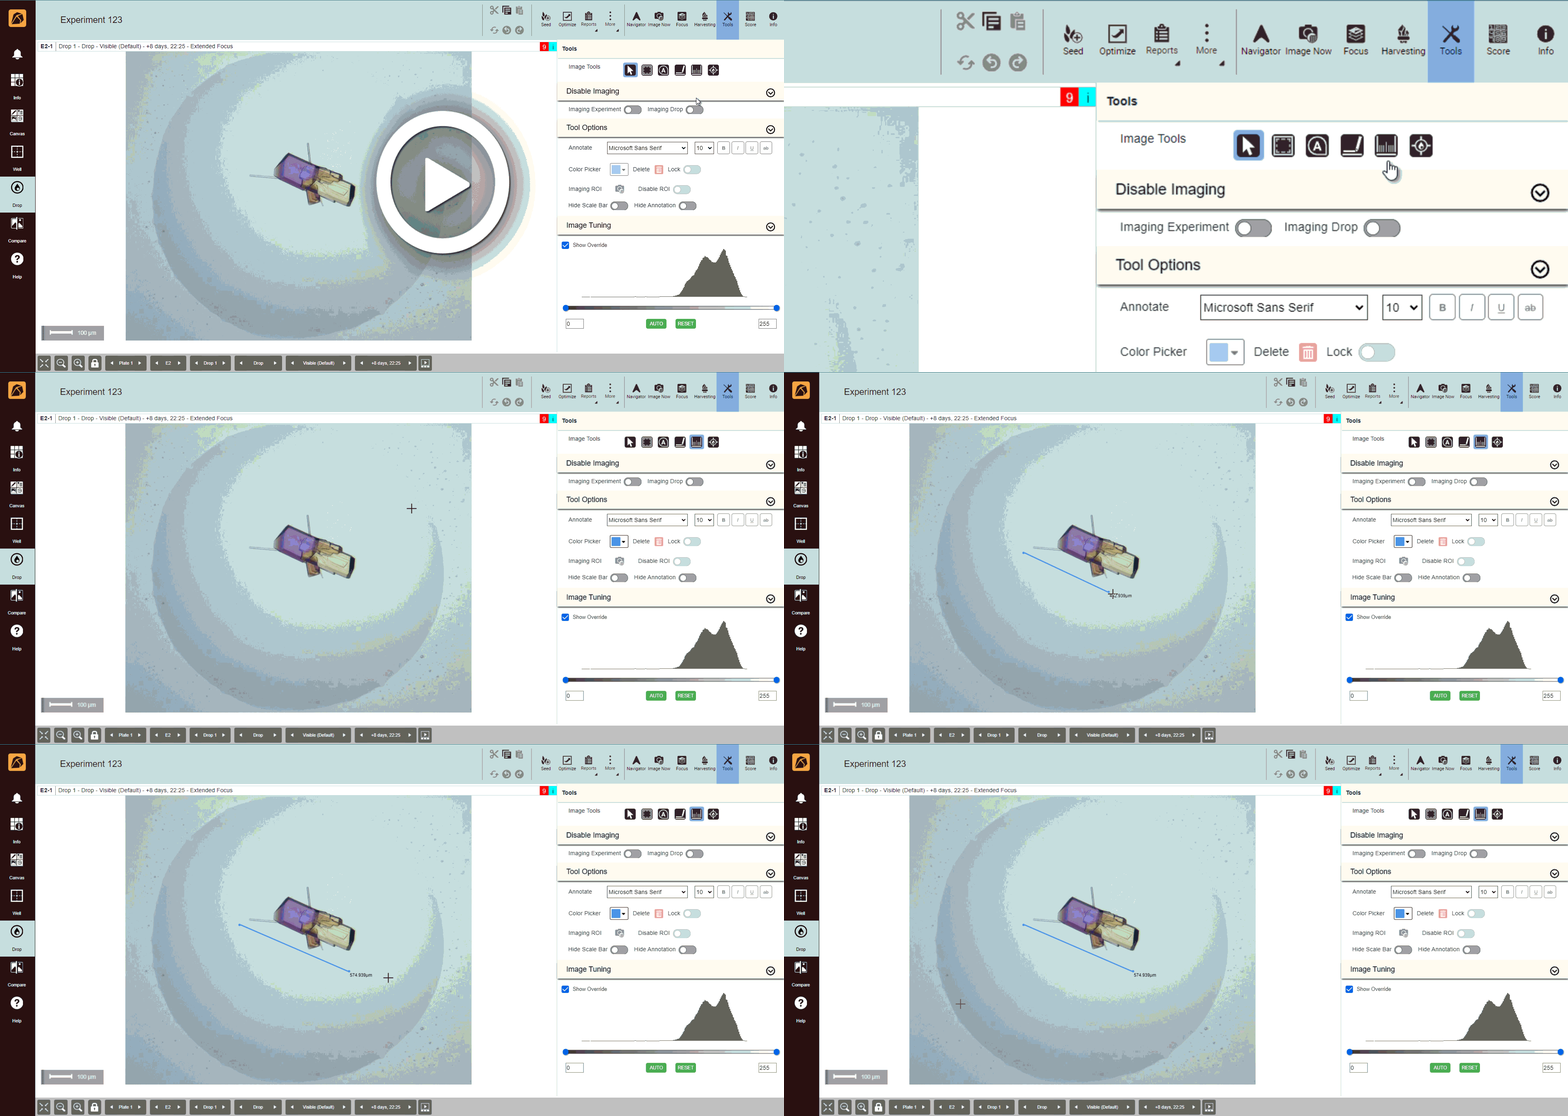
Allows you to measure crystals in your images. |
|
POI |
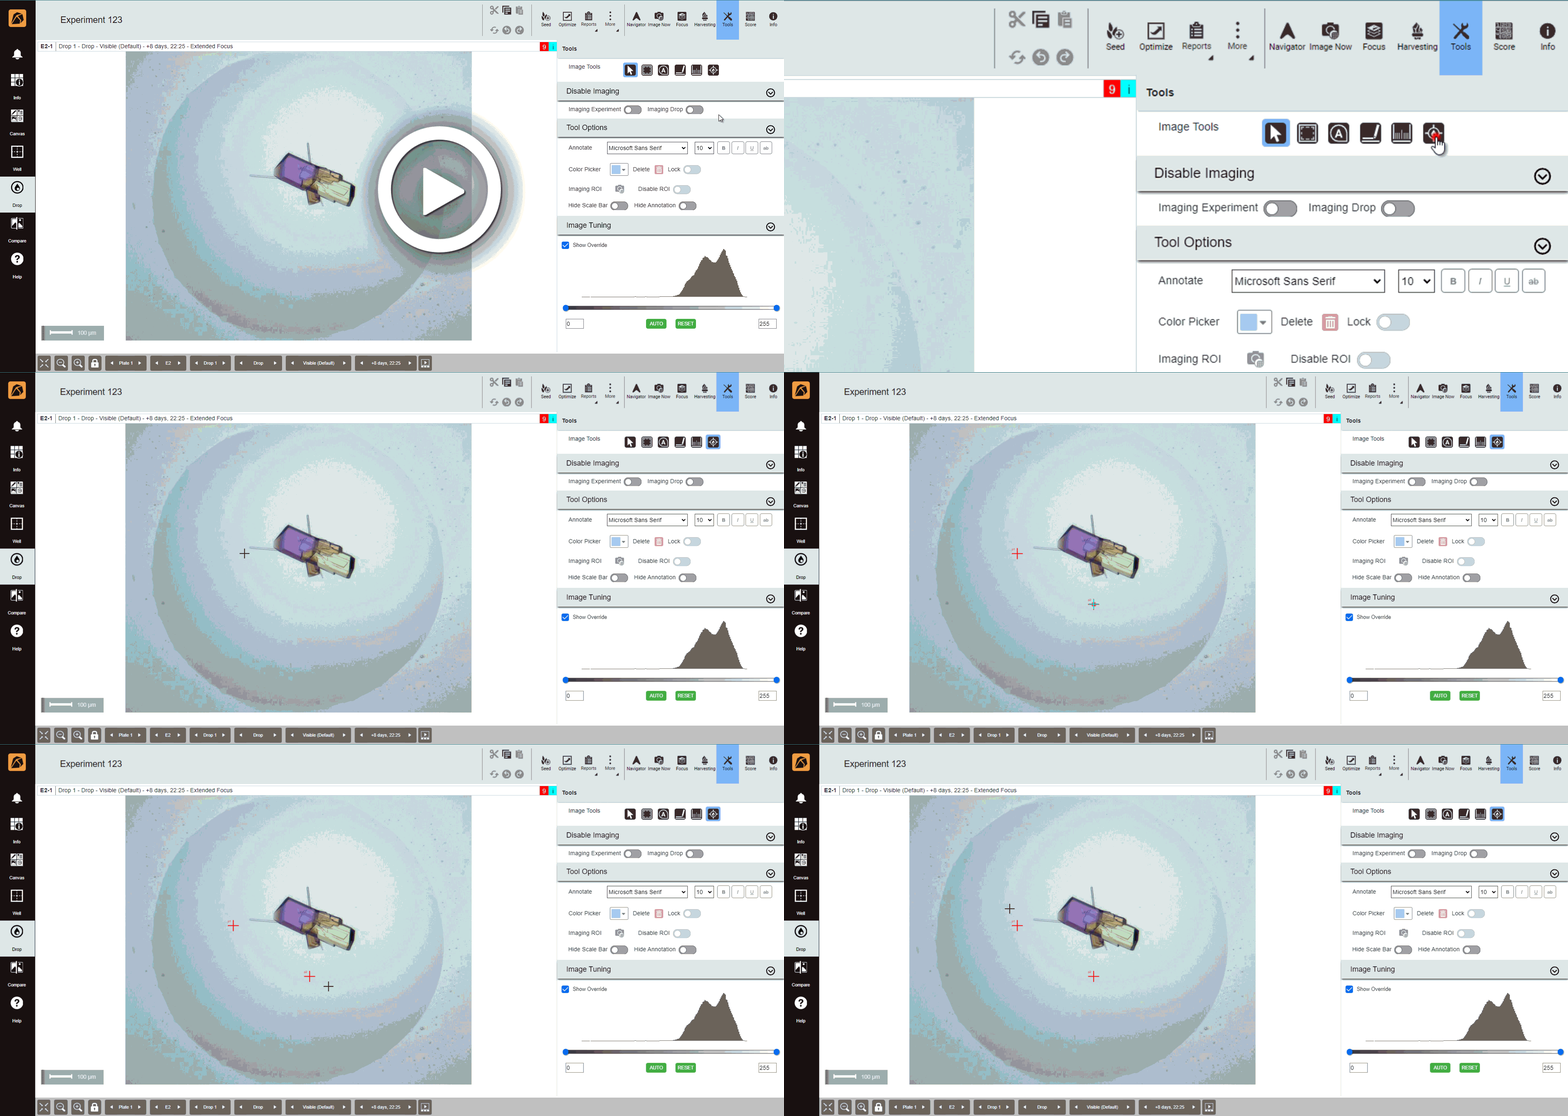
Allows you to mark any point within a drop to get its coordinates. |
Drawing Regions of Interest
To draw a region of interest:
Adding Annotations
To add an annotation:
Click the Annotation button
 in the Image Tools field in the Tools panel.
Annotation Button
Go to your image. Your mouse cursor will change to a + icon. Click a point in your image and drag your mouse to open the Enter Text dialog box.
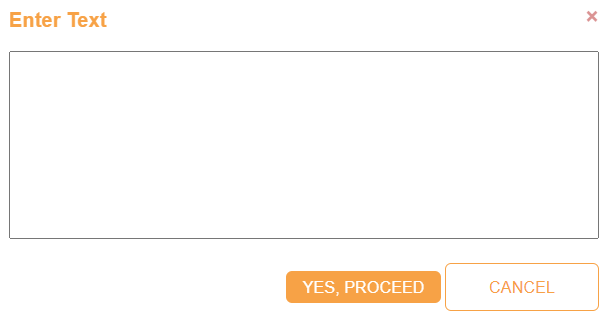
Enter Text Dialog Box
Write a note in the box. Then, click YES, PROCEED, and the note appears on your image.
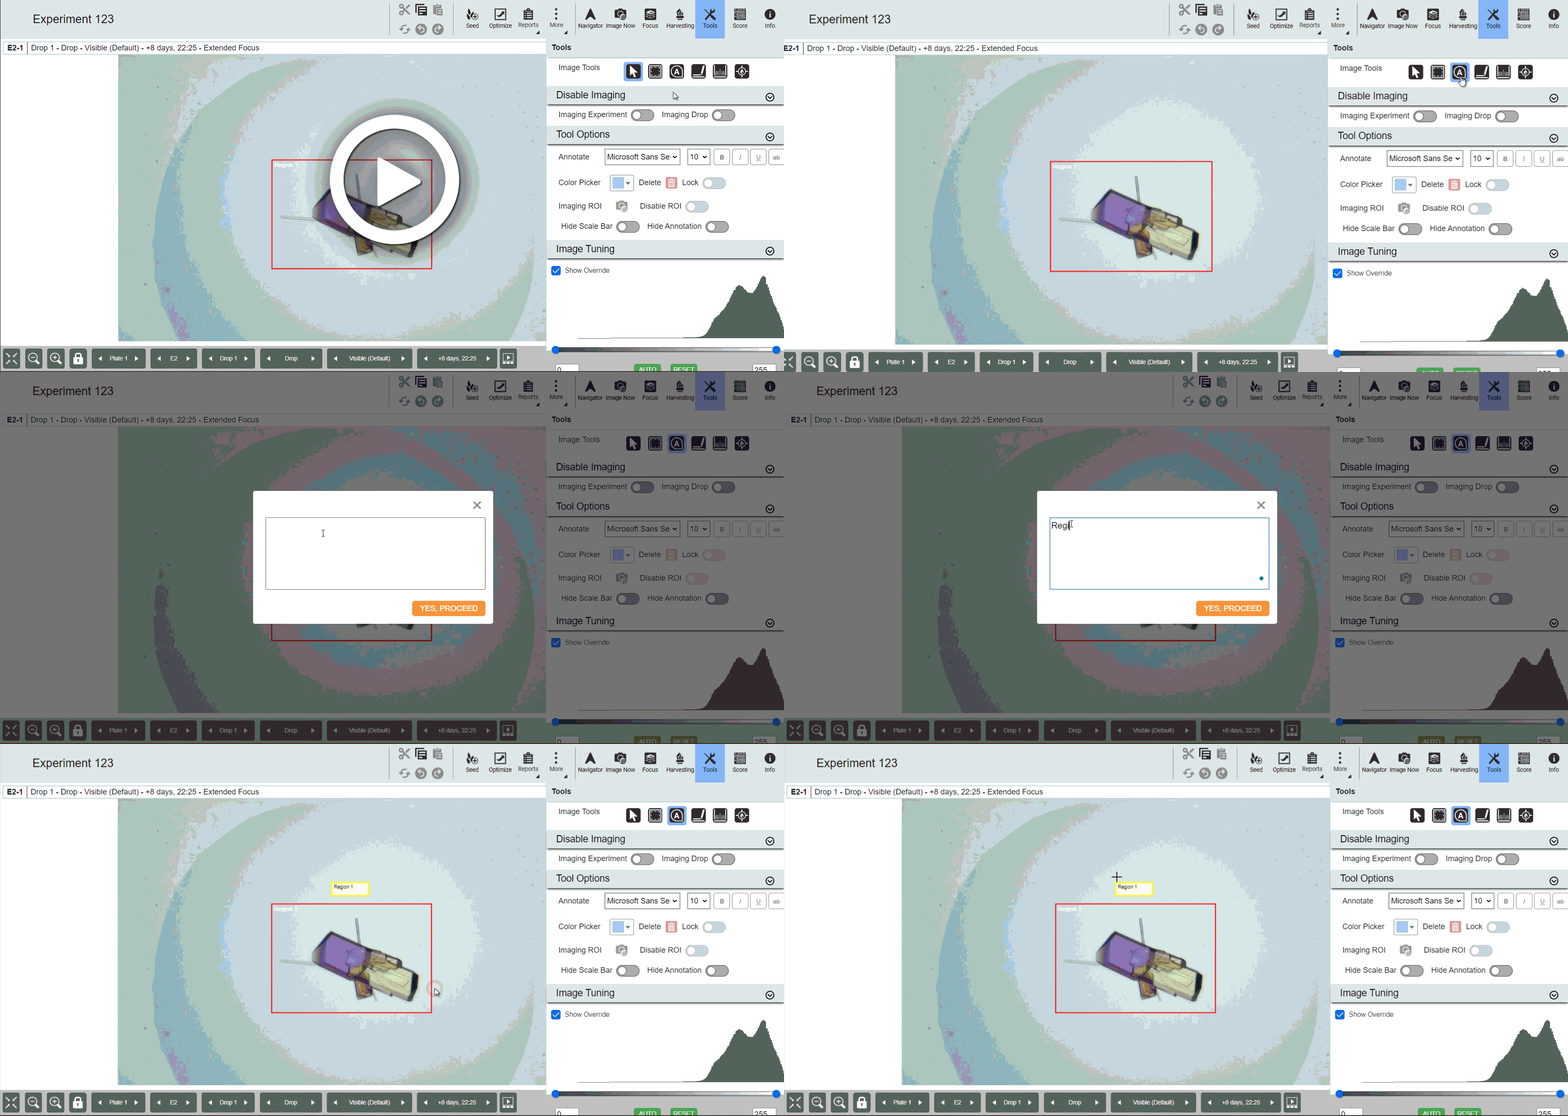
Adding an Annotation
Drawing Drop Locations
Prerequisite:
You are in the Overview region (accessible from the Region button on the bottom bar).
To draw a drop location:
Using Scribble
To create a free-form drawing with Scribble:
Measuring Crystals with Ruler
To measure crystals with Ruler:
Disable Imaging Section

Disable Imaging Section
In this section, you can disable or enable the imaging of:
The experiment by clicking the Imaging Experiment radio button.
The selected drop by clicking the Imaging Drop radio button.
Tool Options Section
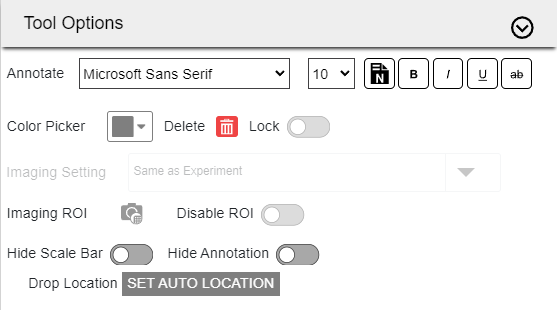
Tool Options Section
In this section, you can:
Modify your text format (font, size, style) using the options in the Annotate field.
Change the color of Scribble and Ruler using Color Picker. By default, Color Picker displays light blue color.
Customize the imaging setting of a selected drop for the next inspection in the Imaging Setting field. The default option is Same as Experiment, but you can change it by clicking Customize Settings. Select None to skip the imaging of the selected drop.
Important
You can’t customize the imaging setting of drops with disabled imaging.
You can customize the imaging settings of drops in multiple wells from the Canvas menu.
Changing the imaging setting from the Drop menu will change the setting of that particular drop in the Canvas menu and vice versa.
Delete the selected image tool by clicking the Delete button
 .
.Lock or unlock ROI and POI by clicking the Lock radio button.
Initiate an on-demand imaging session for an ROI by clicking the Imaging ROI button
 .
.Disable ROI imaging by clicking the Disable ROI radio button.
Hide or unhide the scale bar in the image by clicking the Hide Scale Bar radio button.
Hide or unhide annotations in the image by clicking the Hide Annotations radio button.
Apply the drop location from the imager to ROCK MAKER by clicking SET AUTO LOCATION. This button is active when the drop location from ROCK MAKER is applied, and the Region button in the bottom bar is set to Overview.
Image Tuning Histogram
You can use Image Tuning to adjust your image brightness and contrast level. This feature is important for UV and SONICC images. You can adjust the level on a per-plate or per-drop basis, depending on whether you view the entire plate from the Image submenu in the Canvas menu or a single drop from the Drop or Compare menu.
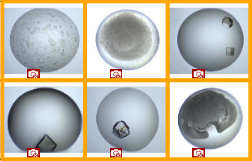
Before Image Tuning
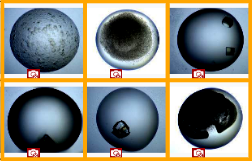
After Image Tuning
Image tuning settings can be defined at three levels in ROCK MAKER: global, plate, and drop.
To access Image Tuning
Open an imaged experiment.
Go to the Well, Drop, or Compare menu. Then, click Tools and locate the Image Tuning section at the bottom of the panel.
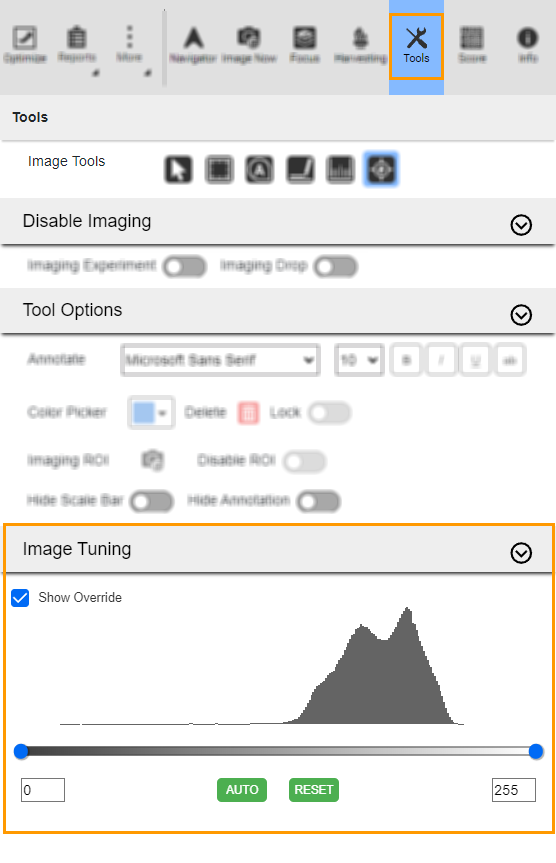
Image Tuning Section
In the Image Tuning section, you can adjust the settings if necessary.
Click on the Show Override checkbox to view images in a tuned mode; otherwise, you view the original image.
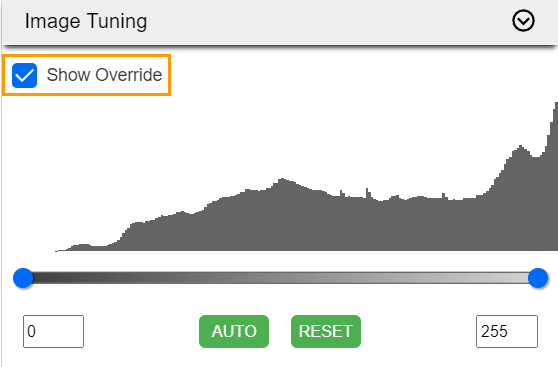
Show Override Checkbox
To level the image, select one of the options.
OPTION 1: Drag the blue buttons along the line until you find the best result.
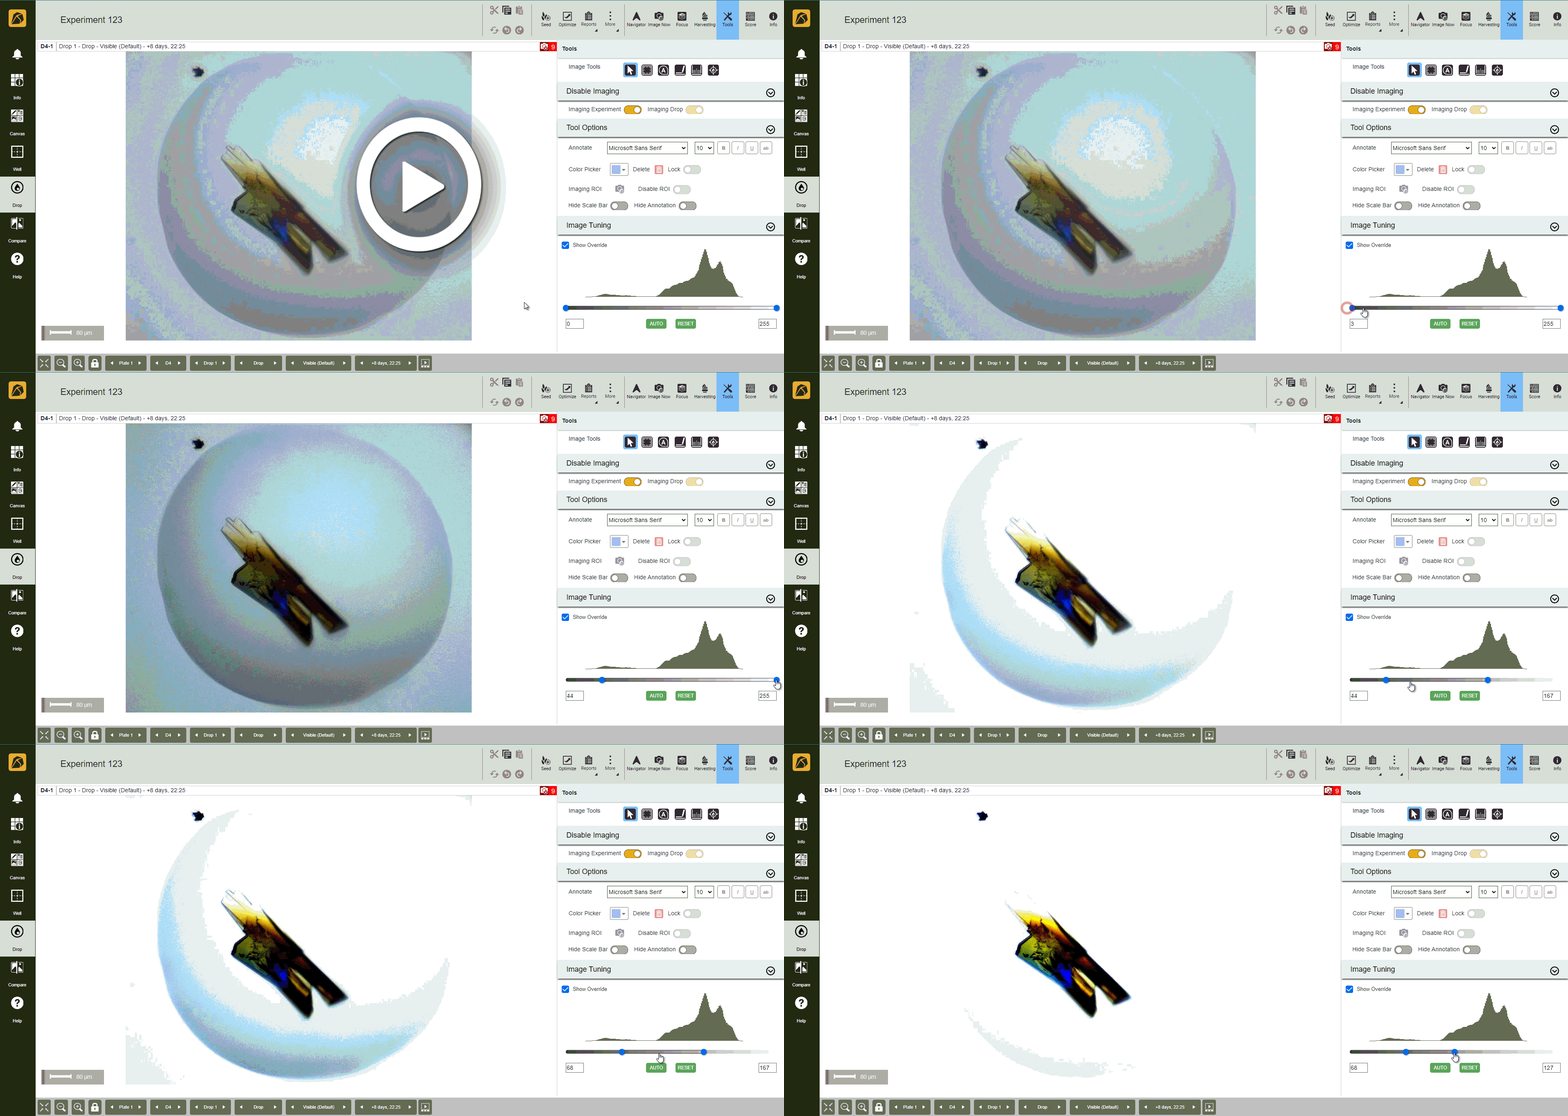
Leveling in Image Tuning
OPTION 2: Define the minimum value in the left box and the maximum value in the right box. The value ranges from 0 to 255.
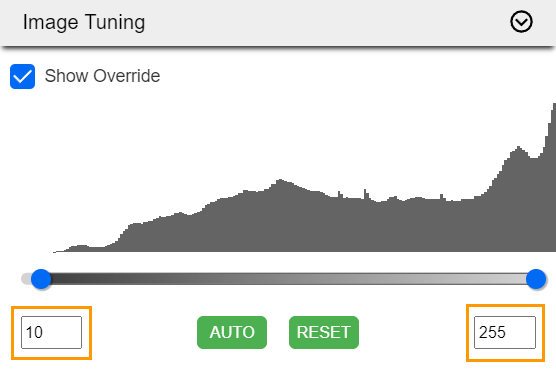
Boxes to Define Image Level
Click the AUTO button to let the software automatically level the image.
Important
If you click the AUTO button, other features in the Image Tuning histogram will be disabled.
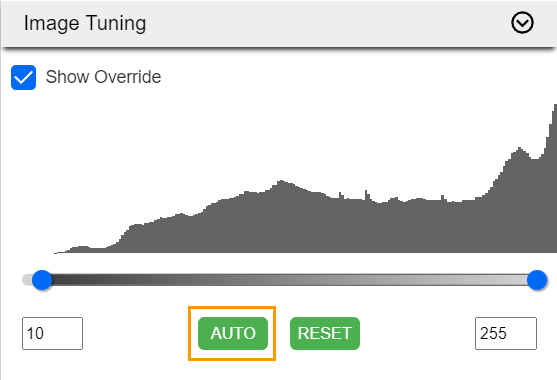
AUTO Button
Click the RESET button to reset all changes made.
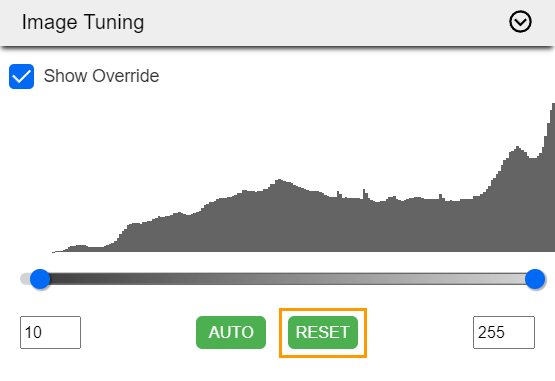
RESET Button
Related Topics:


