Generating a Software License
Software licenses are used to activate Formulatrix products based on:
Customer purchases,
Service contracts,
Support cases,
Internal use, or
Demo requests.
Licenses are generated as XML files containing product, feature, and expiration information, and are signed to prevent tampering.
This section explains how to generate a software license in TIGA for either long-term use (Permanent or Limited Permanent License) or short-term access (Temporary License).
Before generating a license, please refer to the table below to ensure you select the license type that best matches the customer’s payment status and intended use case.
Permanent License |
Limited Permanent License |
Temporary License |
|
|---|---|---|---|
Purpose |
For customers who have made a full payment |
For customers paying in installments or at risk of late payment |
For internal use, demos, or testing |
Users |
“License Processor” group |
“License Processor” group |
Everyone (Production, Support, Engineer, etc.) |
Default Duration |
Long-term (based on the Service Contract) |
Until the agreed payment due date |
30 days (adjustable) |
After Expiration |
The system works, but stops receiving software updates |
No access to the system |
No access to the system |
License Scope |
All types (Seat, Site, Concurrent Seat, Plate Storage, and Instrument) |
All types (Seat, Site, Concurrent Seat, Plate Storage, and Instrument) |
Site license only |
License Update |
Auto-checks the online repository |
Auto-checks the online repository |
Manual update |
Generating Permanent and Limited Permanent Software Licenses
Permanent and Limited Permanent Licenses are generated from the Coverage table for customers who have either completed payment (Permanent) or are under time-limited access due to pending payment (Limited Permanent).
Prerequisites:
You must be a member of the “License Processor” group.
The Account must have a Client ID.
Note
A Client ID is a unique identifier assigned to each account. It is auto-generated by the system after the Account record is created, but it can also be manually generated using the Generate Client ID action in the Accounts table.
The Coverage record must already exist and meet the following criteria:
The Type is Software or Software And Hardware.
The Product field is filled out and linked to the required license feature.
The Product must include the Instrument Name information.
To generate a permanent or limited permanent license:
Navigate to the Coverage table and select a record with Type set to Software or Software And Hardware.

Software Coverage
From the Actions menu, select the appropriate action based on the license type:
Select Generate Permanent License for the permanent license. A confirmation dialog will appear asking if the payment has been completed. Then, select Generate to proceed.
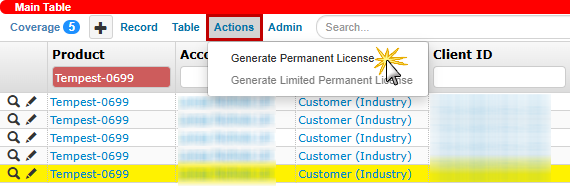
Generate Permanent License Action

Generate Permanent License Confirmation
Select Generate Limited Permanent License for the limited permanent license.
In the Edit License Information step, if the Account has multiple Client IDs, select the appropriate one in the Account’s Client ID field.
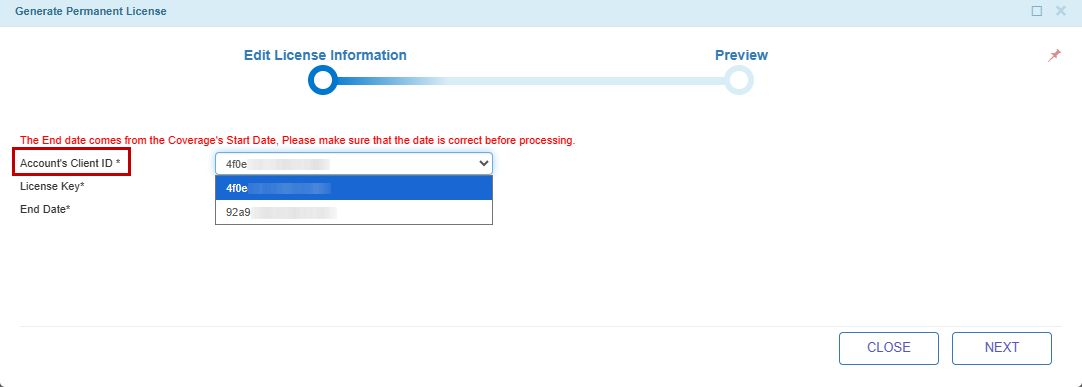
Account’s Client ID Field
Note
The options are sorted by the Index shown when generating the Client ID.
Review the License Key and End Date fields.
Note
For a Limited Permanent License, manually set the End Date based on payment terms.
If the End Date is not available, the system uses the Start Date and displays a warning.
The license expiration time is set to 11:59:59 PM.
Important
When generating Protein Crystallization (PC) products, if the Account has a RockMaker product, the system offers several options to determine the expiration date. This provides flexibility in how the expiration date is applied, including aligning it with other active PC licenses under the same Account when needed.
For example:
A customer has a RockMaker license that expires in December 2026 and purchases a RockImager 1000 in February 2026. When generating the RockImager license, the expiration date can be synchronized to December 2026 so both licenses expire simultaneously.
To determine the expiration date, select one of the following options in the Synchronize End Date with dropdown:
Synchronize with next expiration (Default): Uses the earliest End Date among all active PC software coverage under the same Account. This is typically used to align expiration dates so all related PC systems remain compatible and can be renewed together.
Use current service contract: Uses the End Date of the selected Coverage record. This option keeps the license aligned with its own service contract.
Custom date: Allows manual input of the expiration date, which must not exceed the End Date of the selected Coverage record. This option is typically applied in specific scenarios, such as aligning with a planned upgrade or software release timeline.
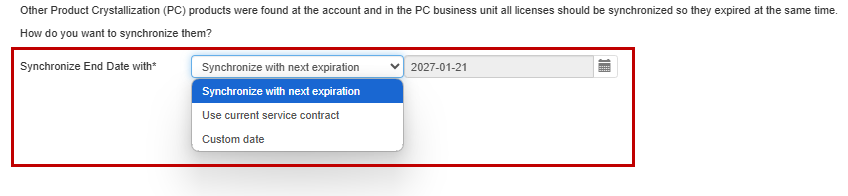
Synchronize End Date for PC Products
Select NEXT to review the license file contents before it is generated in the Preview step.
Choose one of the following options:
Select Download to generate and download the XML file to the local disk.
Select Publish Online to upload the XML file to the online license repository.
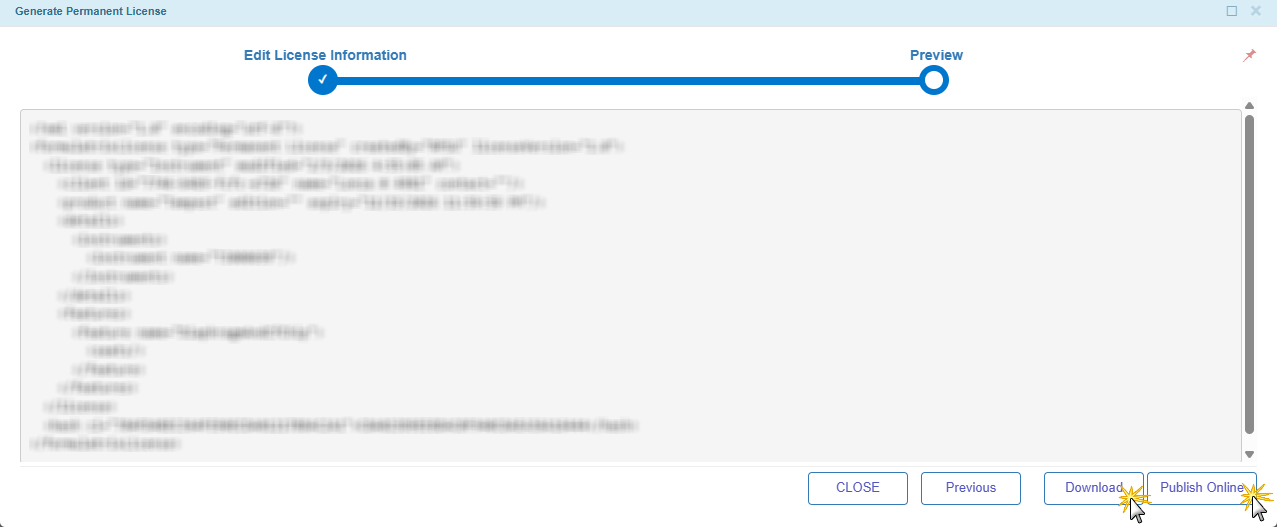
Download or Publish Online Option
Note
For RockMaker products, if multiple active Coverage records with the same Instrument Name exist under one Account, the system automatically merges them into a single license file. This is referred to as Hybrid License behavior, but the license type remains Permanent or Limited Permanent.
Post Conditions:
TIGA automatically:
Downloads the license to the computer.
OR
Uploads the file to the FTP (File Transfer Protocol) server and marks the License Uploaded checkbox.
Note
If the license has previously been published online, the system will replace the old file.
Updates the Account’s Client ID field in the Coverage table with the selected Client ID.
Generating Temporary Software Licenses
Temporary licenses are managed from the Temporary License table to authorize a product to function for a limited period. This process involves creating a record, managing required features, and generating the license file for download.
Creating the Temporary License and Adding License Feature
To create a temporary license and add a license feature:
In the CRM application, open the Temporary License table and create a new record.
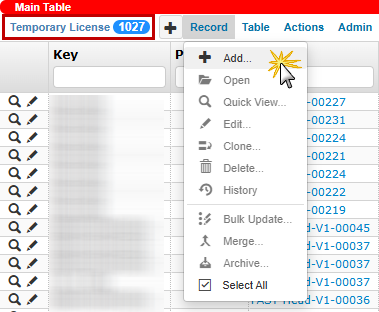
Add a New Record
Choose one of the following options:
1) Select System:
Use this option to create a license based on an existing Installed Product record. Selecting a system will automatically populate the Client, Product, Edition, Key, and Robot Name fields.
_Select_System_Field1.png)
1) Select System Field
2) Enter Values Manually
Select this checkbox to manually input license details. This option is typically used when engineers need to validate specific features during development or quality assurance (QA).
_Enter_Values_Manually_Checkbox1.png)
2) Enter Values Manually Checkbox
Complete all other mandatory fields.
Create the record.
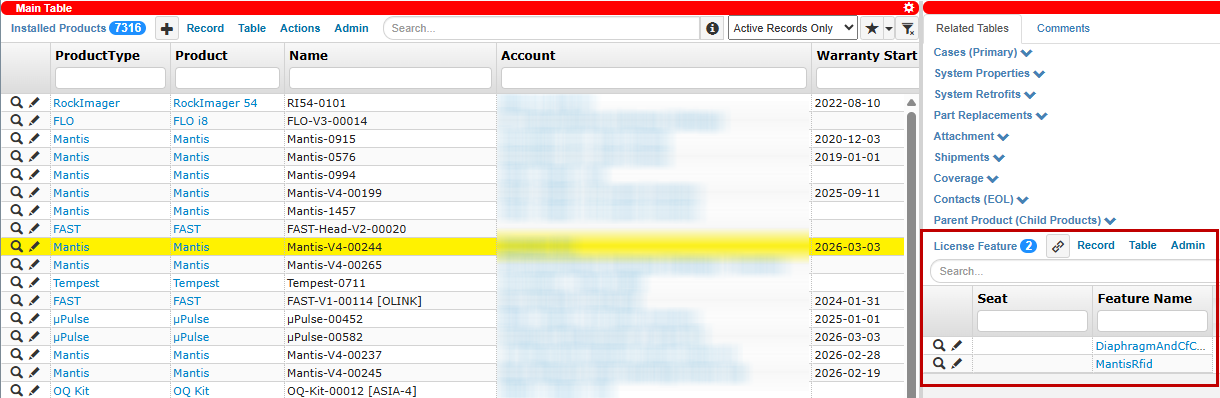
OPTIONAL: Once created, add or link features to the license from the License Feature in the Related Tables section.

Add or Link License Feature from the Temporary License Table
Note
If you select an Installed Product record from the System field that has linked License Features, those features will be automatically copied to the Temporary License table.

Copied License Feature From the Selected System
Editing License Features in the Temporary License table is not allowed if it is linked to an Installed Product record. Any changes must be made in the Installed Products table, and the License Feature record in the Temporary License table will update accordingly.
Change License Feature From the Installed Products Table
Post Condition:
TIGA automatically adds records to the License Feature in the Related Tables section. You can proceed to generate the license.
Generating the Temporary License
Prerequisites:
The Temporary License record has been created.
The Temporary License record must have been linked to the required License Feature record.
To generate a temporary license file:
In the CRM application, open the Temporary License table and select the desired record.
From the Actions menu, select Generate Temporary License.

Generate Temporary License Action
Review the License Key and End Date fields in the Edit License Information step.
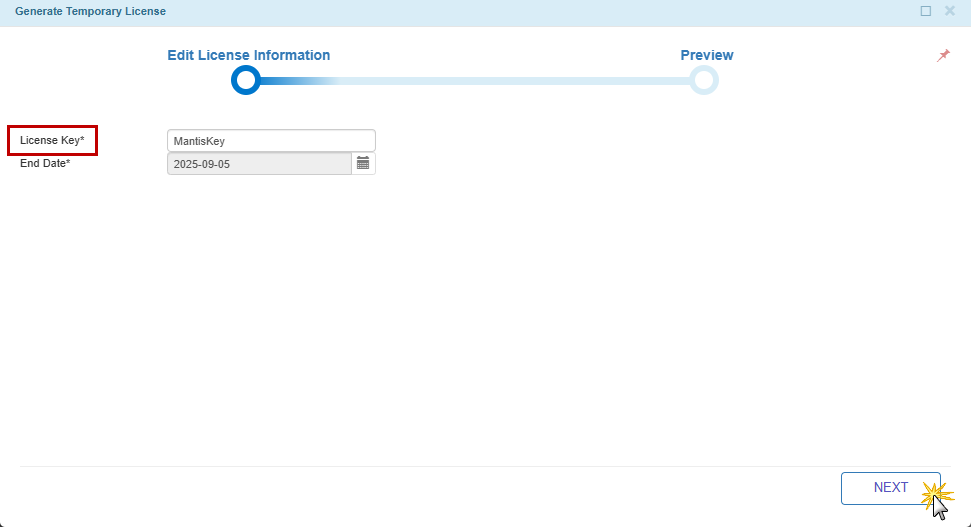
Edit License Information Section
Note
If no License Features are linked, the system displays a warning listing all available features for the selected Product Type. You may return to add features or acknowledge the warning and continue.
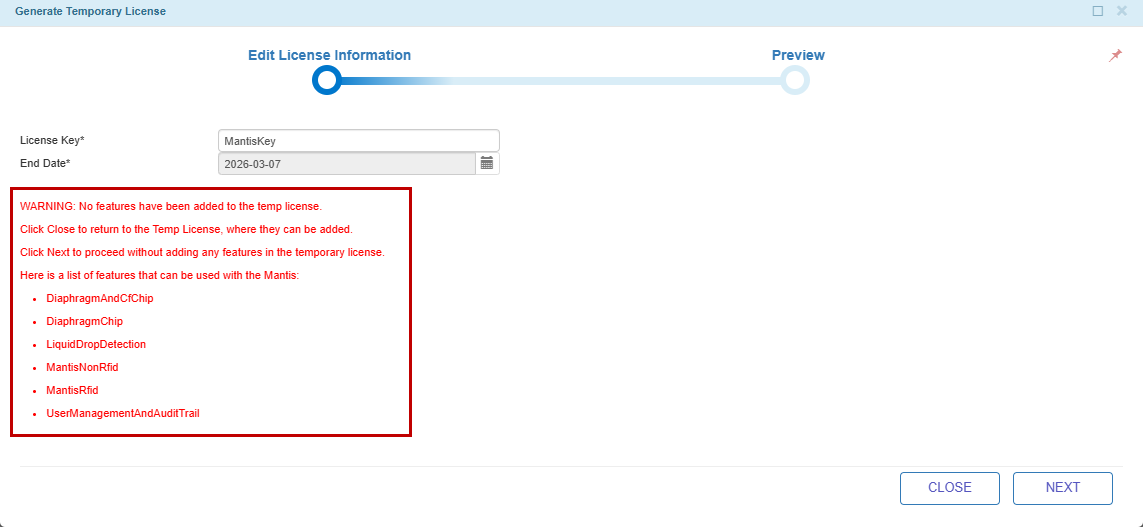
Warning Message
You can edit the License Key field before generating the license.
Select NEXT to proceed.
Verify the final license information in the Preview step. If correct, select Download to save the license file to your local disk.
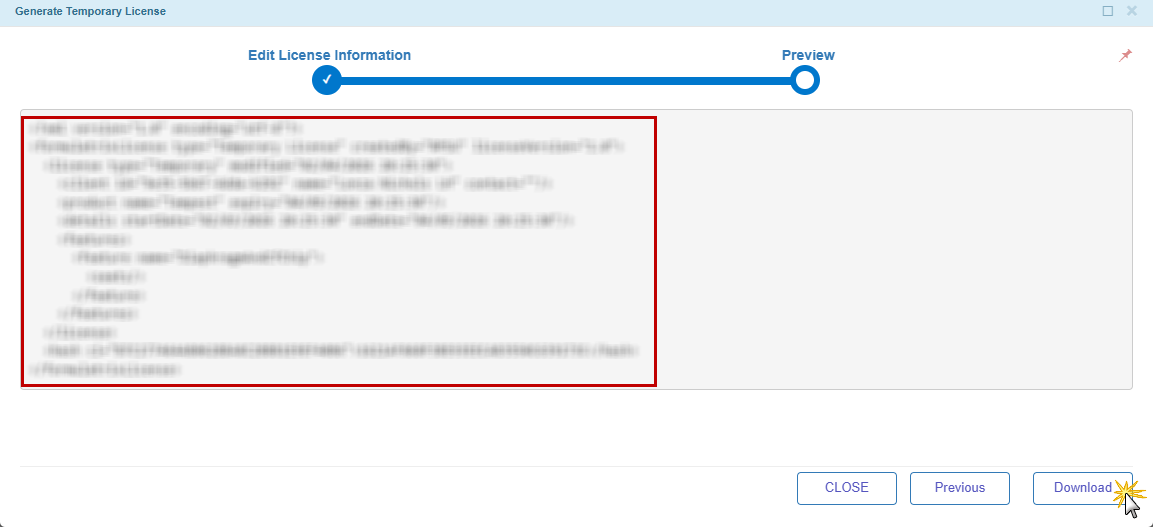
Preview of the License
Post Conditions:
TIGA automatically:
Generates and downloads the XML license file to the local machine.
Marks the Temporary License record as License Generated.
Sets the Expiration Date field based on duration.
Watch Generating Temporary License video.