Working with Vendors
Accessible from the Ingredients submenu in the Setup menu, Vendor lists the suppliers of the ingredients in ROCK MAKER.
This topic covers the following tutorials:
Adding Vendors
In the Vendor dialog box, you can add the names of the vendors you purchase your ingredients from. When adding a stock to an ingredient, you can select the appropriate vendor and record the part number assigned to the stock by the vendor.
To add a vendor:
Go to the Setup menu and select the Ingredients submenu. Then, click the Vendor button on the top bar.
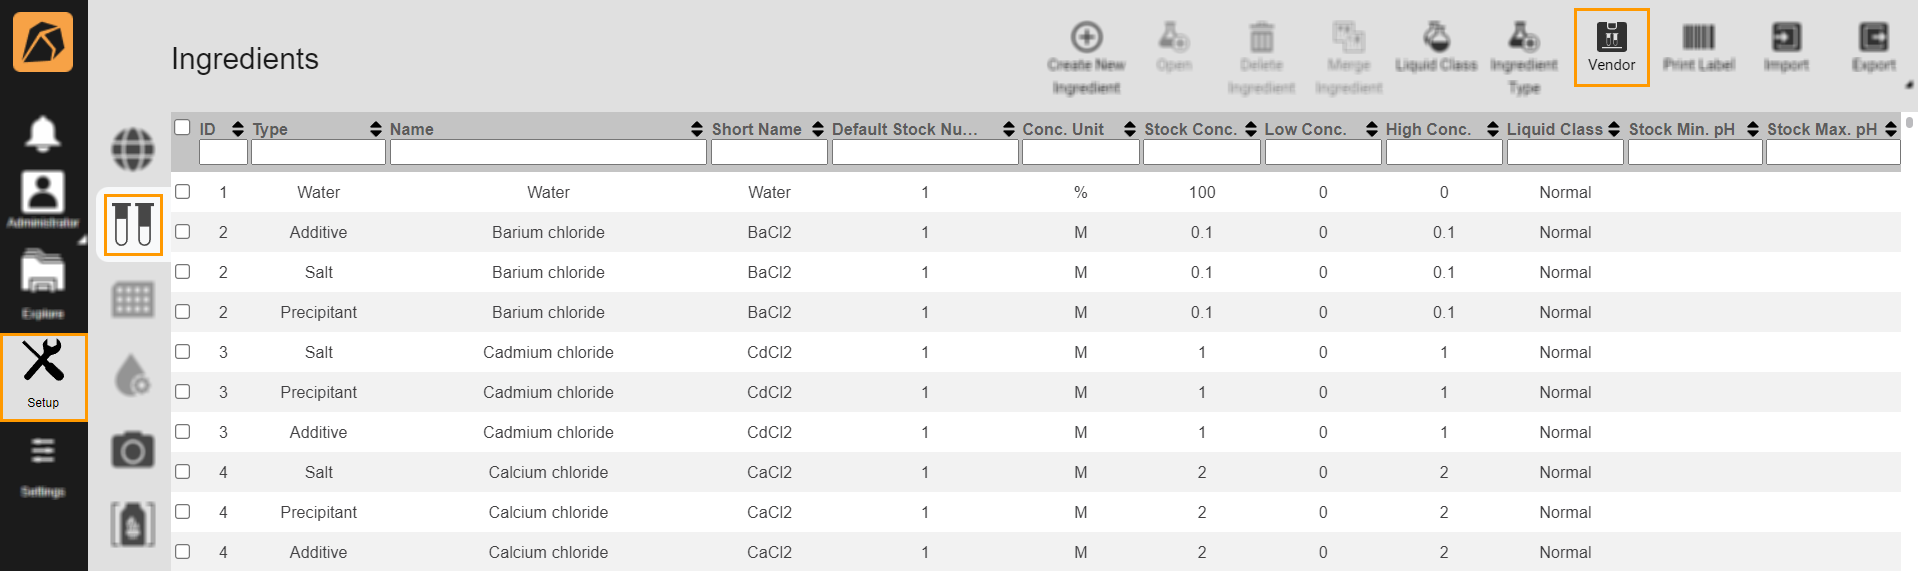
Vendor Button
Click the Add button
 in the Vendor dialog box.
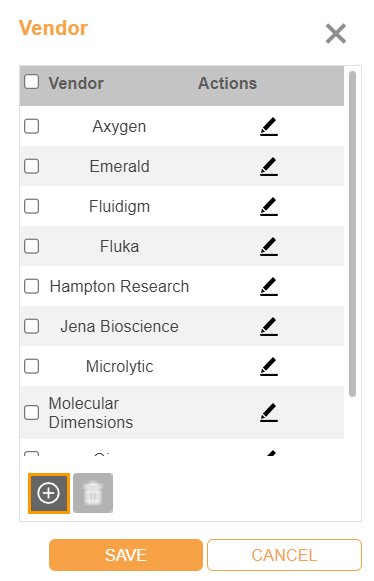
Add Button in Vendor Dialog Box
A new row with a default name will be added. Click
 to customize the name.
Click the check button to confirm.

Check Button
If everything is set, click SAVE.
Editing Vendors
To edit a vendor:
Go to the Setup menu and select the Ingredients submenu. Then, click the Vendor button on the top bar.
Vendor Button
In the Vendor dialog box, click the Edit button
of a vendor and input a new name.Click the check button to confirm.
Check Button
Click SAVE to apply changes.
Deleting Vendors
Important
You can’t delete any vendor(s) whose ingredient(s) is in use.
To delete a vendor:
Go to the Setup menu and select the Ingredients submenu. Then, click the Vendor button on the top bar.
Vendor Button
In the Vendor dialog box, click the checkbox(es) next to the vendor(s) you want to delete.
Click the Delete button
 .
.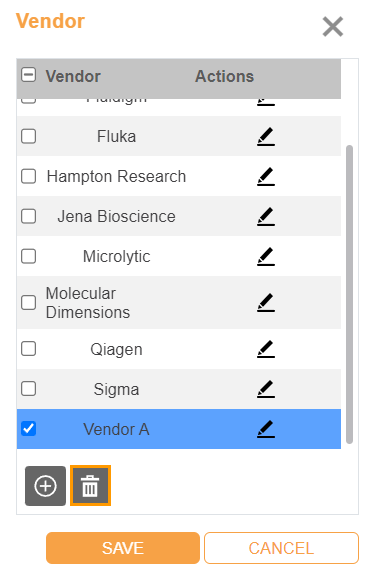
Deleting a Vendor
Click SAVE to apply changes.