Region Tab
Located in the Navigator panel, the Region tab lets you view images of three types of regions in a selected well.
Overview
The overview region, imaged with a large field of view, helps your imaging system determine the exact location of a drop. To enable an overview region, set the drop location preference in the imaging system. Once enabled, the overview region is indicated by a red box around a drop location.
Drop
Prerequisite:
An overview region has been located.
A drop region is the precise drop location within an overview region as indicated by an imaging system. In case the imaging system fails to locate a drop, manually locate the drop by referring to your imaging system’s manual.
Note
If you are a ROCK IMAGER user, read the steps here.
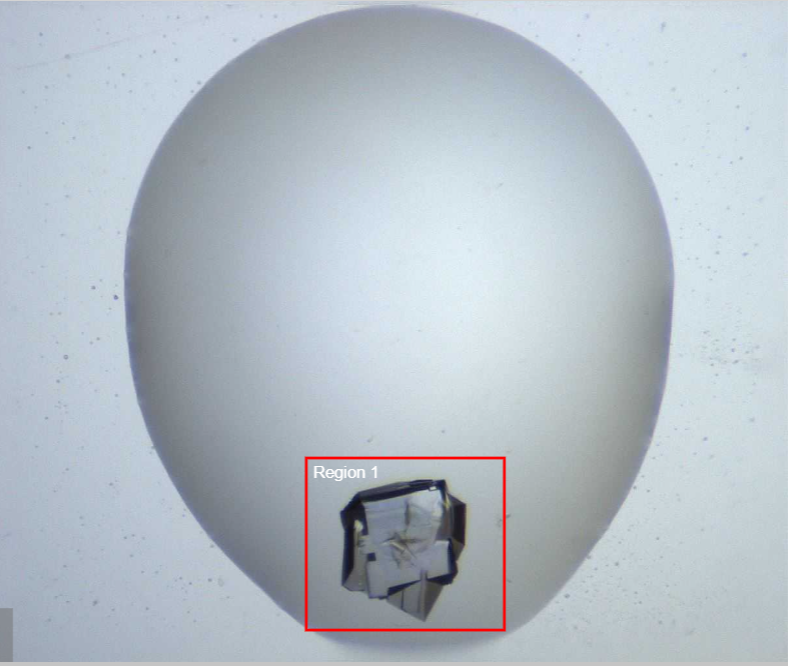
Regions of Interest (ROI)
Regions of Interest (ROI) are certain drop areas you define for the next imaging session. Defining the ROI enables the imaging system to zoom in on the defined drop areas and capture them separately during an inspection. Once the inspection finishes, the Region tab of the Navigator panel displays the results as Region 1, Region 2, and so on.
The ROI shows the actual photographable area for each imaging type as defined in the imaging system. Each imaging type is represented by different colors.
Note
Different imaging systems may use different colors.
Color of the ROI Box |
Lightpath |
|---|---|
Red |
Visible |
Violet |
Ultraviolet (UV) |
Yellow |
SONICC |
Blue |
FRAP |
White |
None Note The imaging feature is disabled for the ROI. You must enable it to continue photographing the ROI. |
ROI Example
You can define ROI through the Tools panel and assign imaging settings to it.
Related Topics: