Creating Synchrotron Trips
Synchrotron trips assist you in selecting crystals to send to the synchrotron facility and gather basic information on your crystals.
You can create a synchrotron trip from two different places:
Explore Menu
In the navigation menu panel, open Explore and click the Synchrotron Trips node.
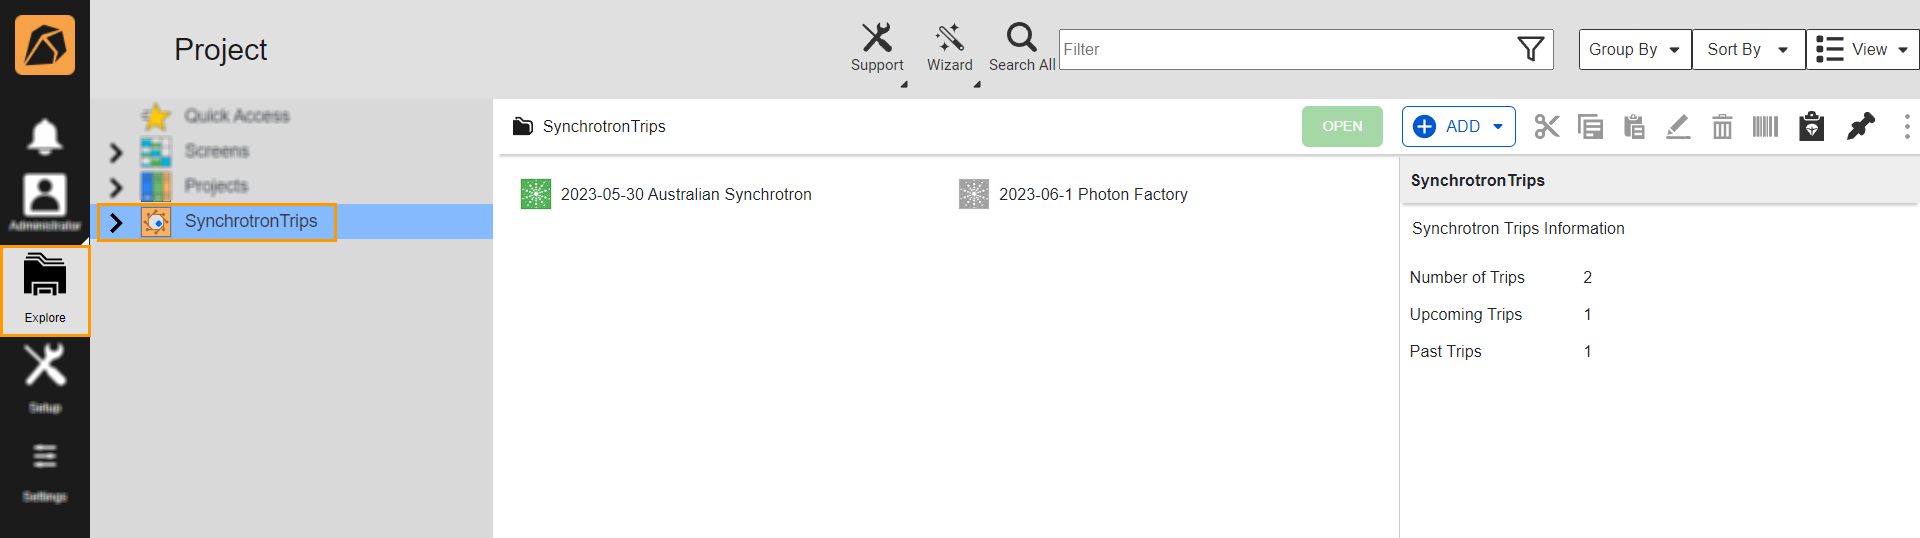
Synchrotron Trips Node
Click the ADD button on the upper right side of the window. Then, select Synchrotron Trip.

Synchrotron Trip Option
You will be directed to the New Synchrotron Trip page, and the Synchrotron Trip Info submenu will open by default.

Synchrotron Trip Info Submenu
Then, locate the Synchrotron Trip Info section where you can:
Change the synchrotron trip name in the Synchrotron Trip Name field (e.g. with the synchrotron facility’s name you send your crystals to) for easier identification.
Note
You can also rename a synchrotron trip through the Explore menu. To do so, click the synchrotron trip before clicking the Edit button
 . Then, the Rename Item dialog box will appear. Once you enter the new name, click OK or press Enter on your keyboard.
Rename Item Dialog Box
Select the data collection date at the synchrotron facility in the Synchrotron Trip Date field. The Status field will change to Open if the selected date is in the future.
Enter the name of the beamline used at the synchrotron facility in the Beamline field.
Type the phone number of the contact person in the Phone Number field.
Enter the type of synchrotron detector you send your crystals to in the Detector Type field.
Enter the name of the staff member/support in charge of your data collection at the synchrotron facility in the Contact Person field.
Type any additional notes or information to include in the synchrotron trip report in the Notes field.
Click the Save button on the top right of the Synchrotron Trip Info submenu to save the changes.

Save Button
Experiment Page
Open an imaged experiment and go to the Drop menu.

Drop Menu
On the top bar, click the Harvesting button. The Harvesting panel will appear on the right side of your window, and the Crystal tab will open by default.
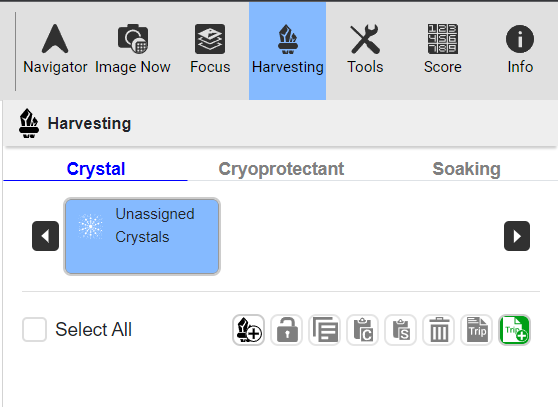
Harvesting Button and Panel
In the Harvesting panel, click the Create Synchrotron Trip button
 .
You will be directed to the New Synchrotron Trip page. The Synchrotron Trip Info submenu will open by default. Then, locate the Synchrotron Trip Info section where you can:
.
You will be directed to the New Synchrotron Trip page. The Synchrotron Trip Info submenu will open by default. Then, locate the Synchrotron Trip Info section where you can:
Synchrotron Trip Info Submenu
Change the synchrotron trip name in the Synchrotron Trip Name for easier identification.
Note
You can also rename a synchrotron trip through the Explore menu. To do so, click the synchrotron trip before clicking the Edit button
. Then, the Rename Item dialog box will appear. Once the new name is created, click OK or press Enter on your keyboard.
Rename Item Dialog Box
Select the data collection date at the synchrotron facility in the Synchrotron Trip Date field. The Status field will change to Open if the selected date is in the future.
The fields below are optional:
Enter the name of the beamline used at the synchrotron facility in the Beamline field.
Type the phone number of the contact person in the Phone Number field.
Enter the type of synchrotron detector you send your crystals to in the Detector Type field.
Enter the name of the staff member/support in charge of your data collection at the synchrotron facility in the Contact Person field.
Type any additional notes or information to include in the synchrotron trip report in the Notes field.
Click the Save button on the top right of the Synchrotron Trip Info submenu.
Save Button
Unassigning crystals from synchrotron trips or deleting synchrotron trips
To unassign a crystal from a synchrotron trip:
Go to the Crystal tab in the Harvesting panel accessible from the Drop menu on the experiment page and locate Crystal Selection.
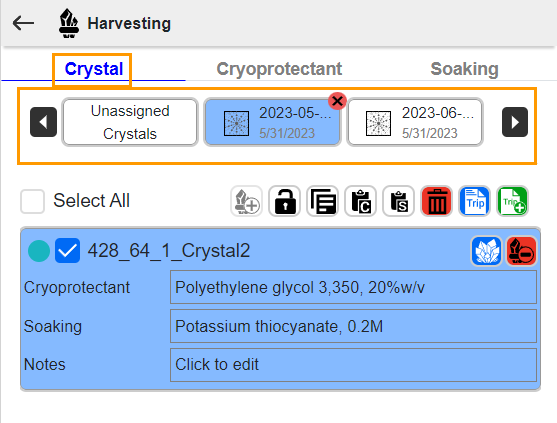
Crystal Selection
Click a synchrotron trip you want to remove. Then, click the Remove button on the top right corner of a synchrotron trip chip. You will see a notification informing you that the synchrotron trip has been removed. The crystal(s) in the removed synchrotron trips will be moved to Unassigned Crystals.
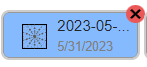
Remove Button
Deleting Synchrotron Trips from ROCK MAKER
Important
You cannot delete a synchrotron trip with assigned crystals.
To delete a synchrotron trip:
Go to the Explore menu and click the Synchrotron Trips node.
Synchrotron Trips Node
Click a synchrotron trip(s) you want to delete. Then, click the Delete button on the right side of your window.

Delete Button
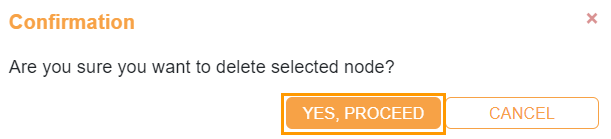
A confirmation message will appear. Click YES, PROCEED and the selected synchrotron trip(s) will be deleted from ROCK MAKER.
Confirmation Message Dialog Box
Related Topics: