Creating a Seed
Prerequisite:
You have an experiment that yields crystals.
To create a seed:
Open an experiment.
Select the well(s) from which you want to create a seed. On the left panel of the experiment window, go to Drop.
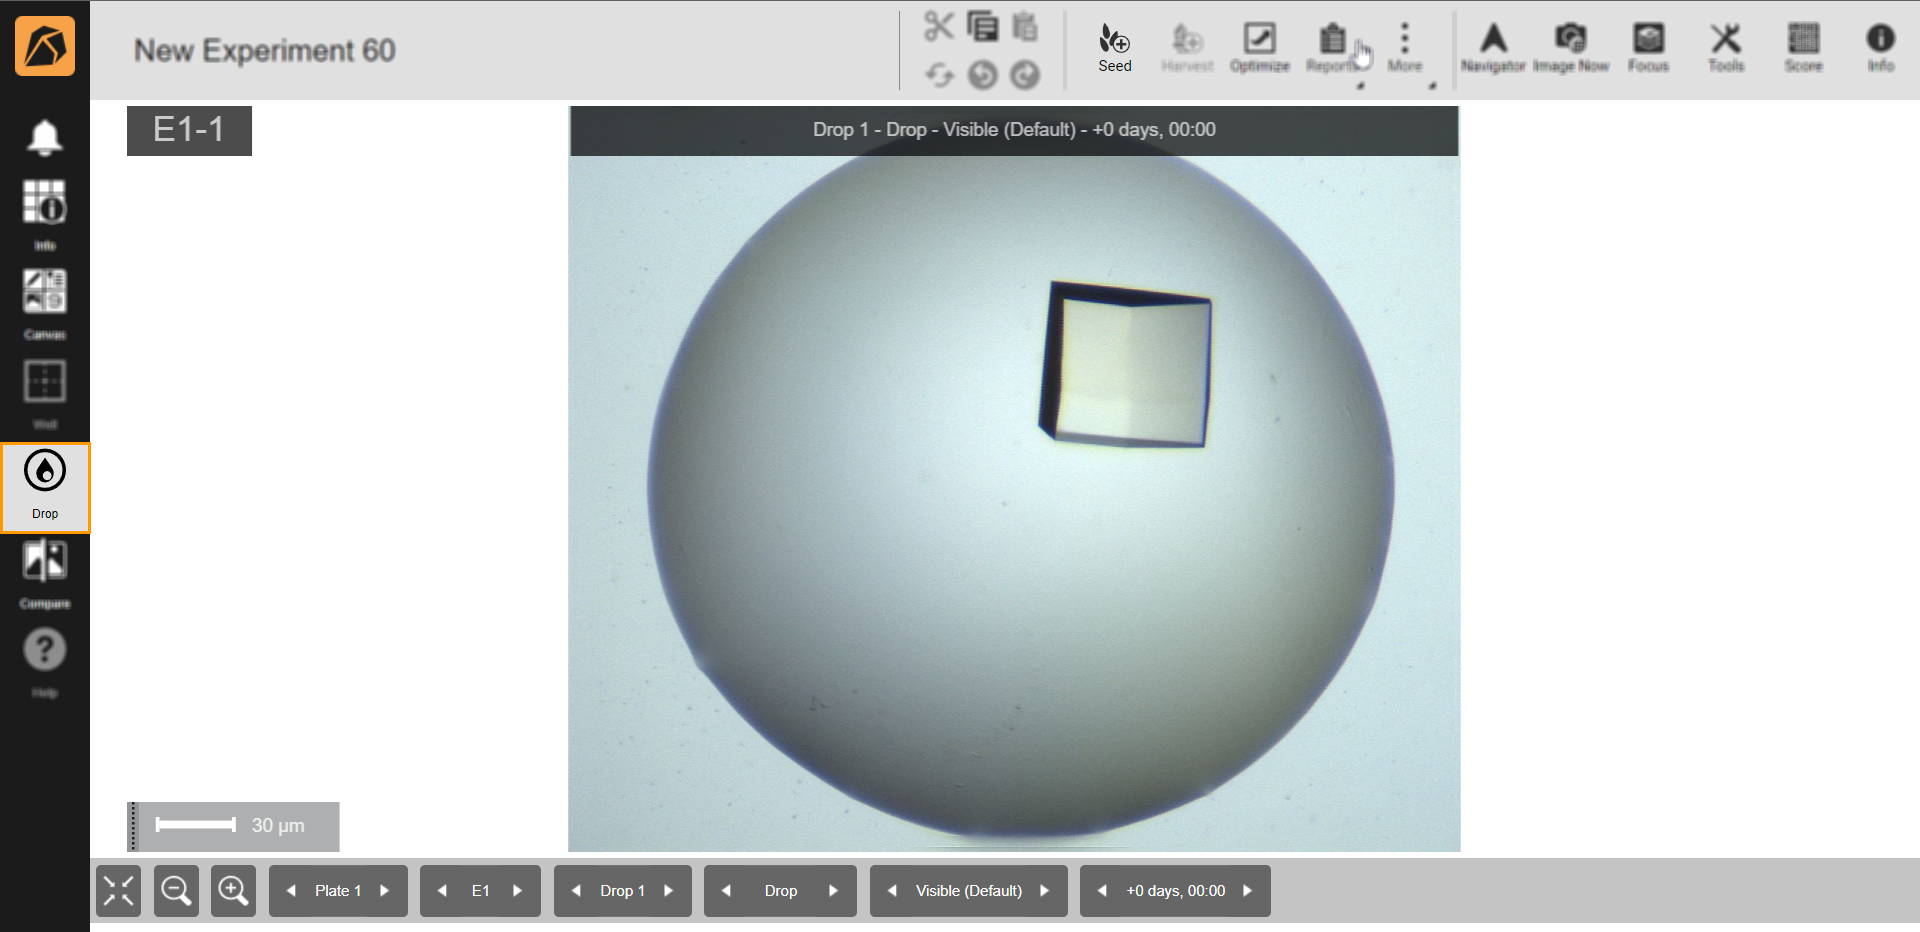
Drop Menu
On the toolbar, click the Seed button.
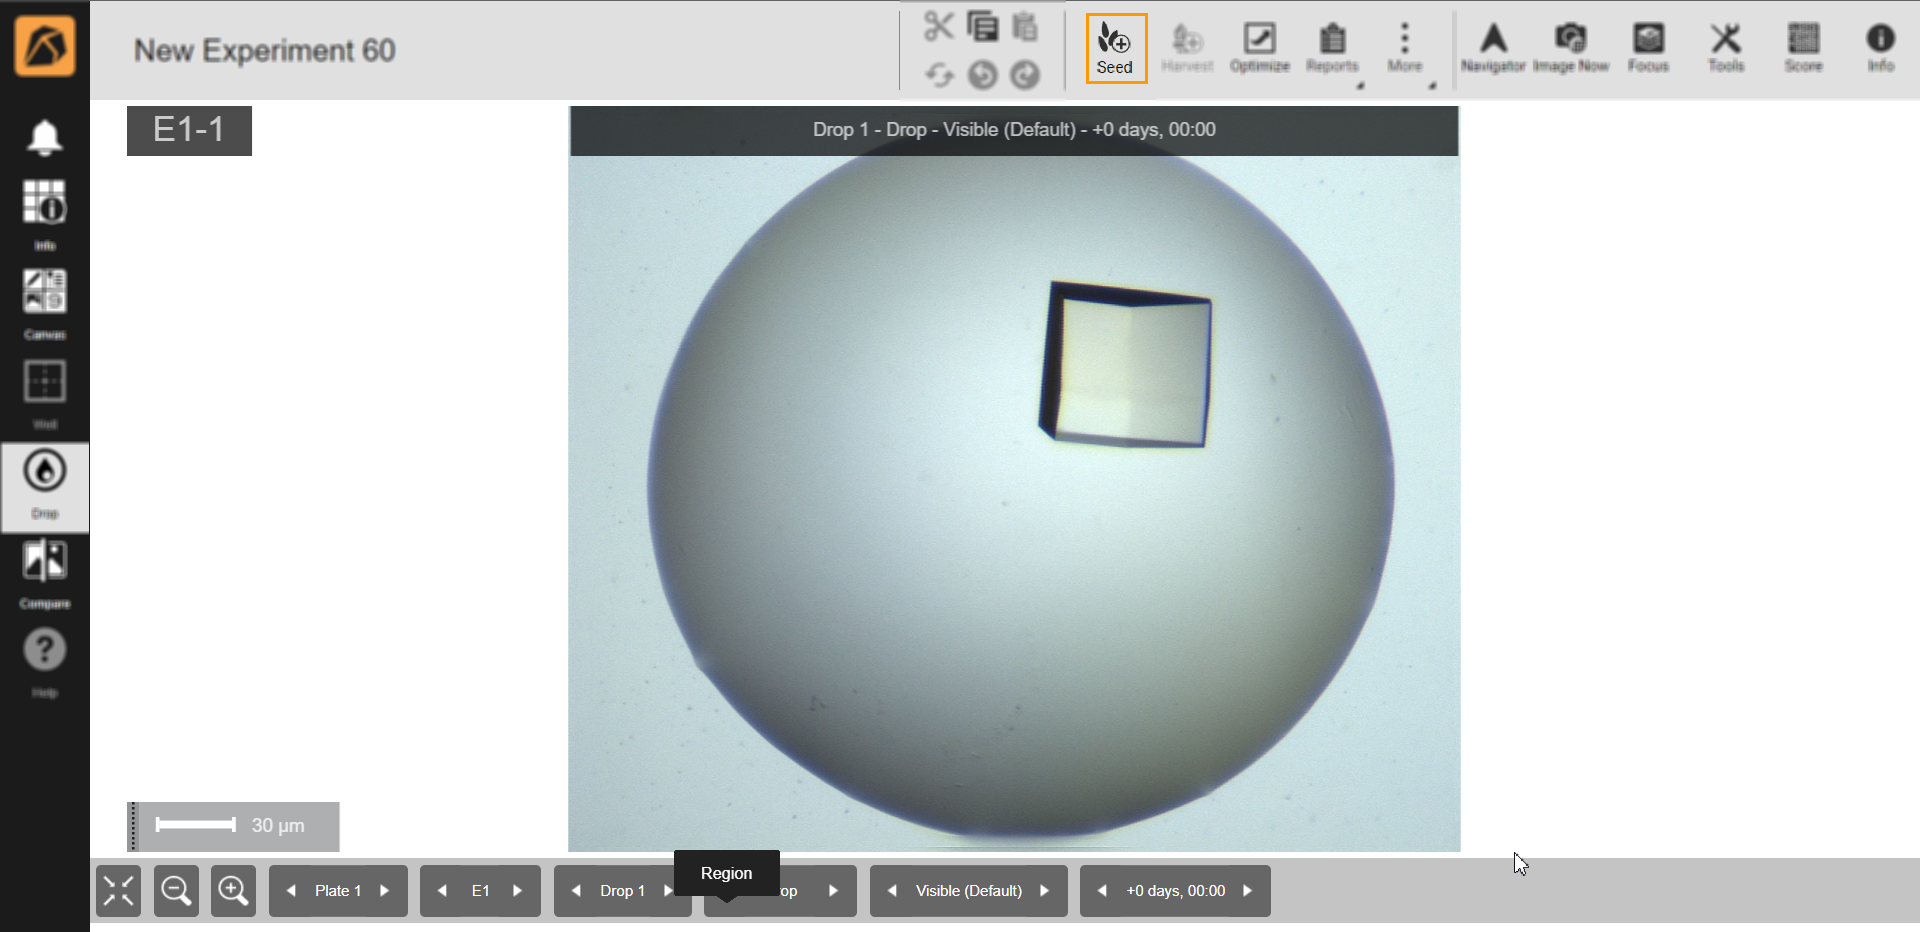
Seed Button
The Create Seed dialog box will appear.

Create Seed Dialog Box
Then, you can do the following:
Seed Source Section

Seed Source Section
Note
Only the Seed Name field is editable.
Change the seed’s name or use the default name in the Seed Name field.
Drop Image Section
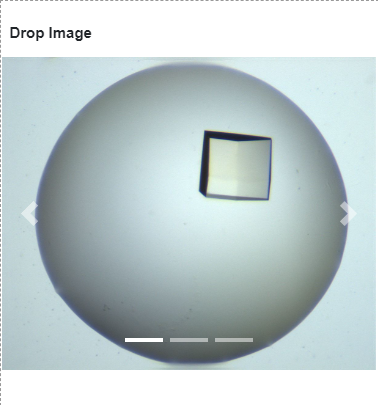
Drop Image Section
View the drop image in detail.
Protein Formulation Section

Protein Formulation Section
View the protein within the seed(s) in the Protein Name field. This field is uneditable.
Conditions Section
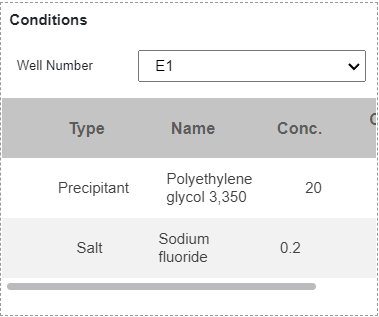
Conditions Section
Select the well to create a seed from the Well Number dropdown. The table below the dropdown displays information on the selected well. The information table is uneditable.
Stabilizing Solution Ingredients Section
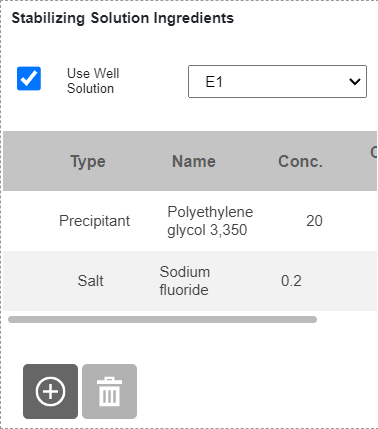
Stabilizing Solution Ingredients Section
Click on the Use Well Solution checkbox to use the well solution for stabilizing solution ingredients.
Note
If you have more than one source well, select the source well solution from the dropdown menu next to the Use Well Solution checkbox. If you do not select any, ROCK MAKER will automatically load the first source well’s solution from which the crystal is taken.
OR
Create your own ingredients by clicking the
 button at the bottom right corner of the Stabilizing Solution Ingredients section. Then, enter the ingredient type, name, concentration, and concentration unit in the Type, Name, Conc., and Conc. Unit fields.
Notes Section
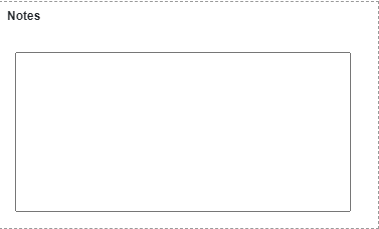
Notes Section
OPTIONAL: Type any notes on your seed in the box.
Click the Save button
 on the bottom bar of the dialog box.
Creating a Seeding Layer
To create a seeding layer:
Open an experiment OR create a new one.
On the experiment page, go to the Canvas menu. Then, click Add Layer on the top bar and select Seeding Layer.
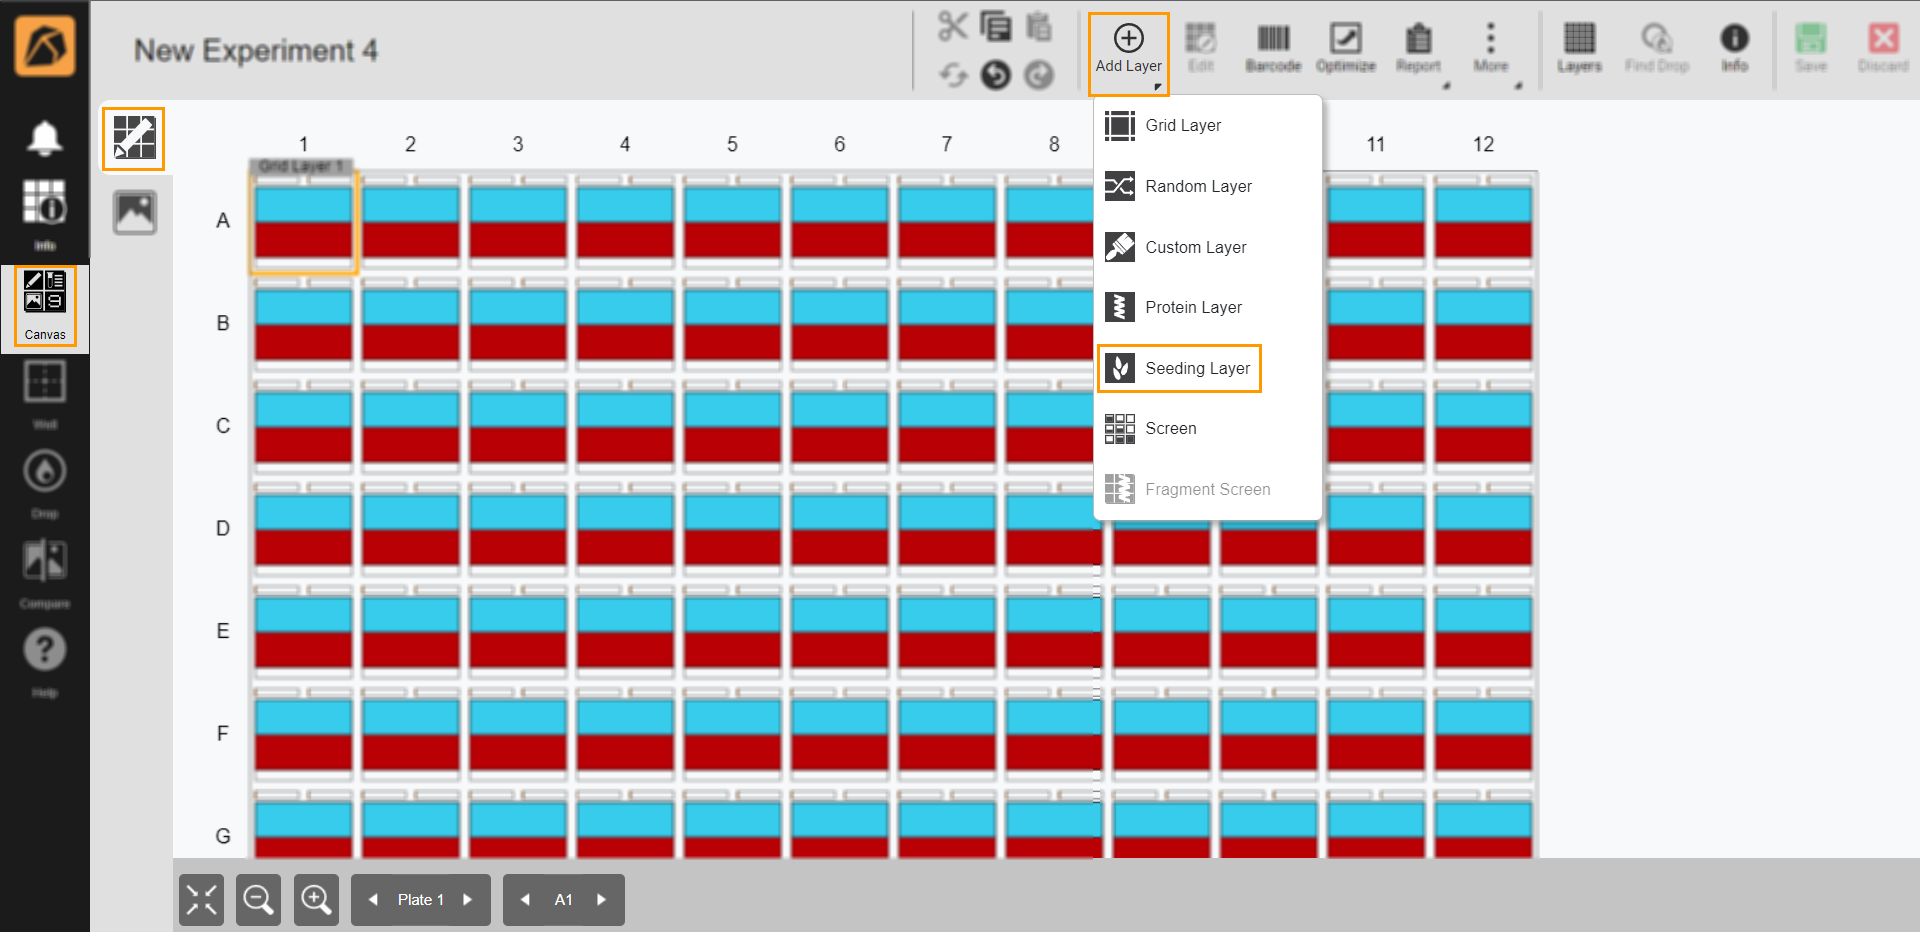
Selecting Seeding Layer
Select a seeding layer area accordingly:
To select all wells, click any well of the canvas.
To select some wells, click and hold the left button of your mouse while dragging it over some desired wells.
The Layers Design panel will appear on the right side of your ROCK MAKER window. Then, select a seed.
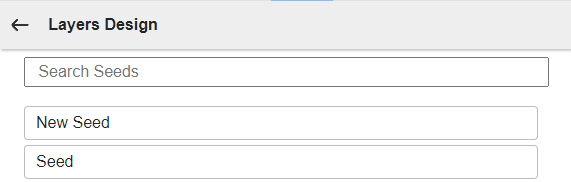
Choosing a Seed
Adjust the seed settings in the panel appearing after selecting a seed.

Adjusting Seed Settings
Click the Name field to change the seed.
Select a seed volume variation from the Vary Along field.
Type a start seed volume in the Start field.
Then, click Apply.
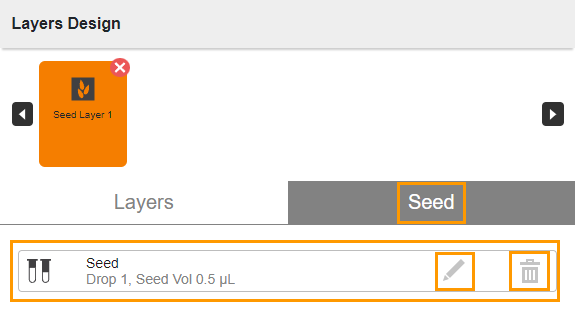
To modify a seed setting, click the Edit or Delete buttons in each seed box in the Seed tab.
Seed Tab
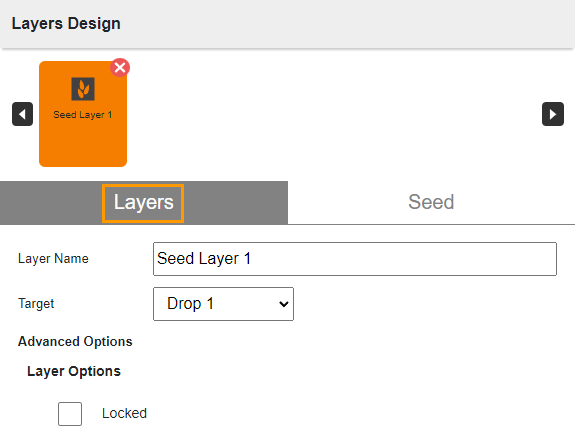
Go to the Layers tab in the Layers Design panel (next to the Seed tab) and do the following:
Type a name in the Layer Name field or use the default name.
Select a target from the Target dropdown menu.
If necessary, lock the layer by clicking the Locked checkbox.
Completing Layers Tab
Click Save

Save Button
Related Topics: