Explore Menu
Explore menu is the main file structure for your experiments. It allows you to organize your projects, experiments, and protein formulations inside folders and projects.
Explore Menu
 Navigation Menu Panel
 Nodes Panel
 Main Explore Panel
 Top Command Bar
 Administrative Tools
 Side Panel
Using Explore Menu
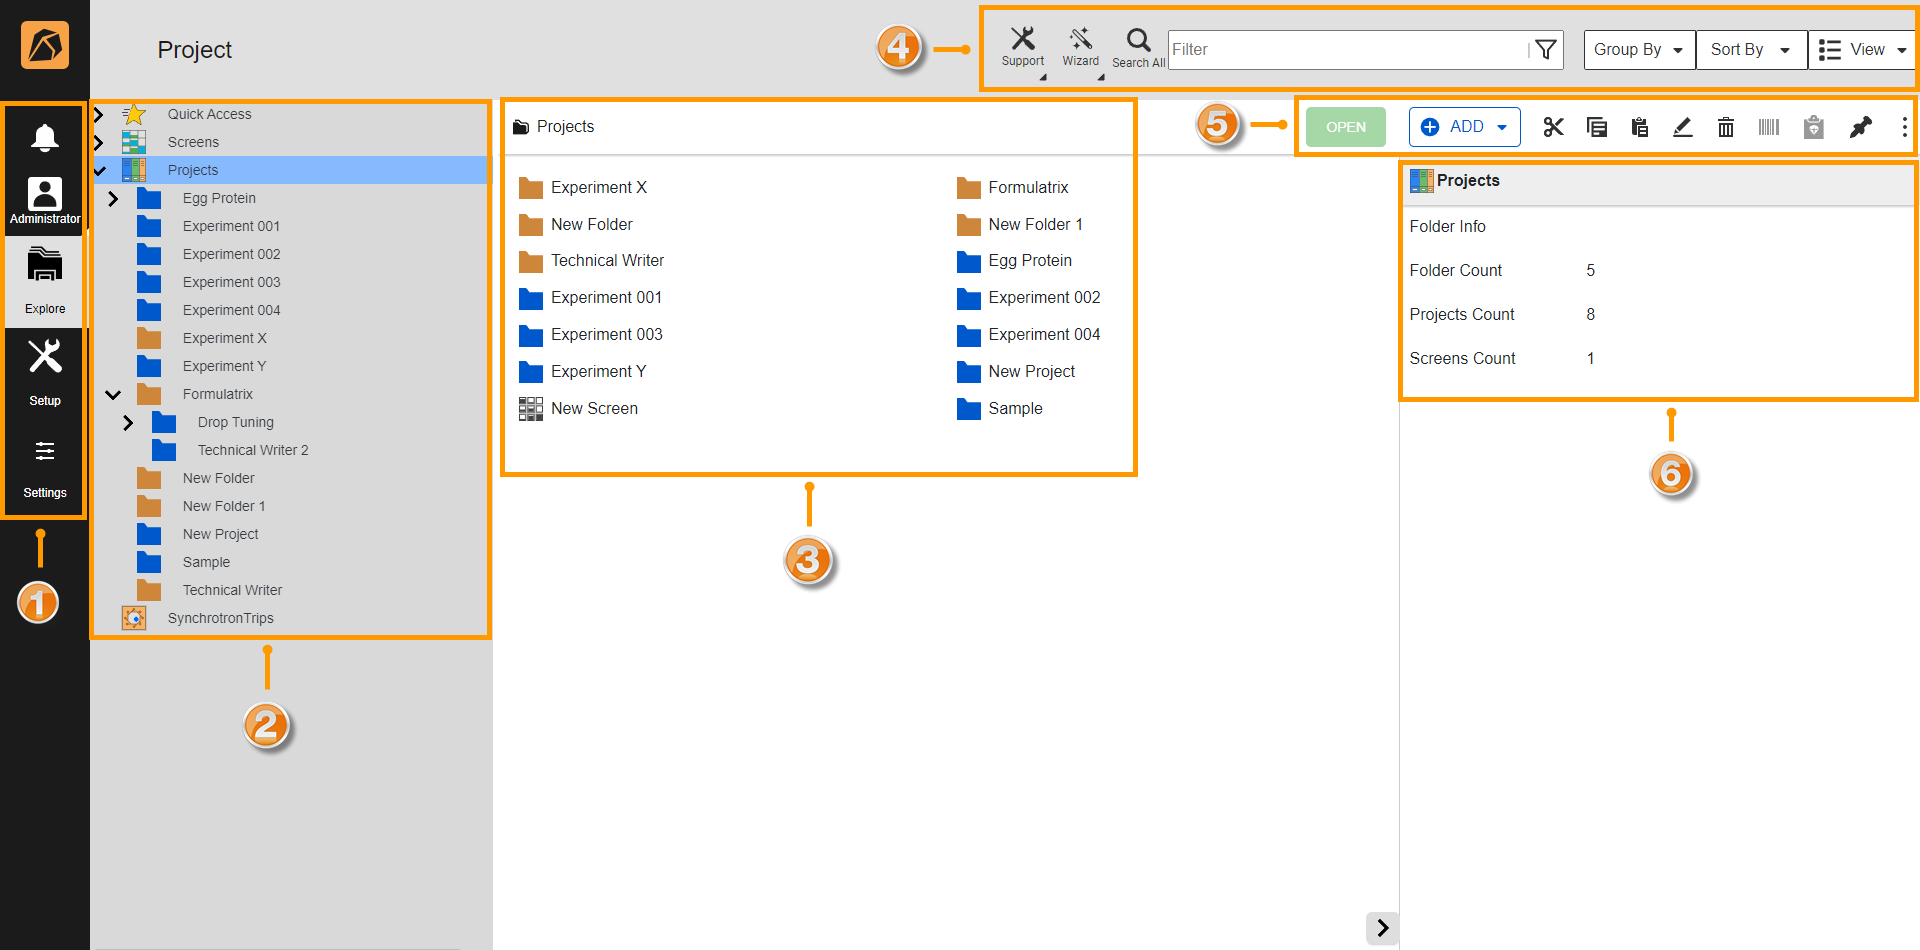
The Explore menu is divided into 4 parts: the Top Command Bar at the top, the Main Explore Panel in the center, the Nodes Panel on the left, and the Side Panel on the right.
Top Command Bar
Located on the top of the software window, you can find the Support Tools, Wizard, Search All, and Filter buttons here.

Top Command Bar
Button
Icon
Description
Support
Enables you to:
Send an email to FORMULATRIX support to check if email settings are valid and the email is successfully sent through the Generate Test Email option.
Help the ROCK MAKER team to provide better features based on your usage through the Usage Stats option.
Wizard
Allows you to use Screen Experiment Wizard, Batchload Experiment Wizard, or Protein Formulation Wizard.
Search All
Enables you to search any items within the Explore menu using project or folder, experiment, screen, and protein criteria.
Filter
Allows you to search a target within the selected folder.
Group By
Allows you to group items in the selected folder using available criteria, None and Type.
Sort By
Allows you to sort the data in the selected folder based on available criteria: Type, Name, Date Created, Owner, and Group By.
View
Offers four options to view the Explore menu: List View, Content View, Thumbnail View, and Detail View.
Search All
Search All is a feature available in the top command bar. This can be used to search any Project/Folder, Experiments, Screens, Protein, or Seeds from the entire Explore menu.

Search All Tab
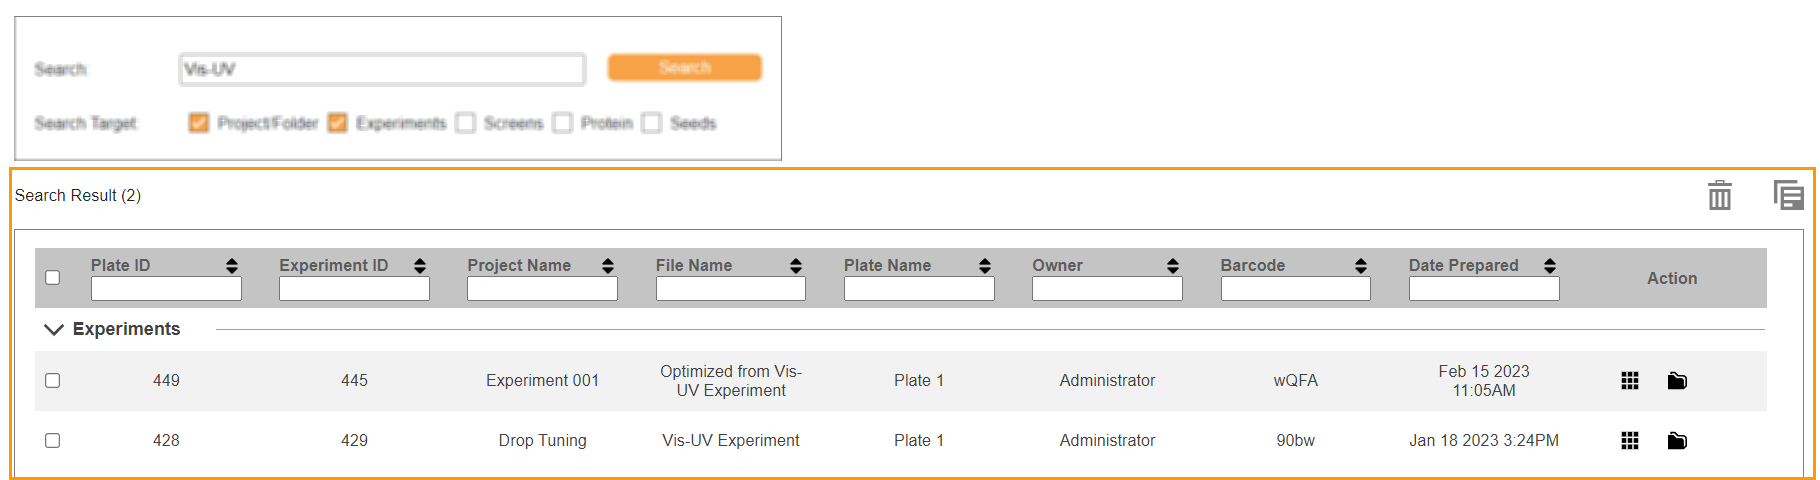
The Search All tab consists of two sections, the search and result sections.
Search Section
It is where you define a target search. You can type a keyword in the Search field and select a target by clicking any appropriate checkbox(es) (Project/Folder, Experiments, Screens, Protein, or Seeds).
Note
Defining the Search field and Search Target checkbox(es) will activate the Search button next to the Search field.

Search Button
Result Section
This section displays the search result(s) in a table containing information about Plate ID, Experiment ID, Project Name, File Name, Plate Name, Owner, Barcode, Date Prepared, and Action. The arrows
in each column allow you to filter it.
Search Result Table
Note
Selecting the checkbox on the header row will select all results.
The Delete
and Copy
buttons on the top right result section will only be active when you select a result.

Selecting the Checkbox on the Header Row
The Copy button
Under the Action column, two buttons are available. Clicking
button allows you to open the experiment in a new tab, while clicking
button opens up the folder containing the target.
Filter
The Filter field enables you to find a target within the selected or opened folder by typing in a keyword.

Using Filter


Main Explore Panel
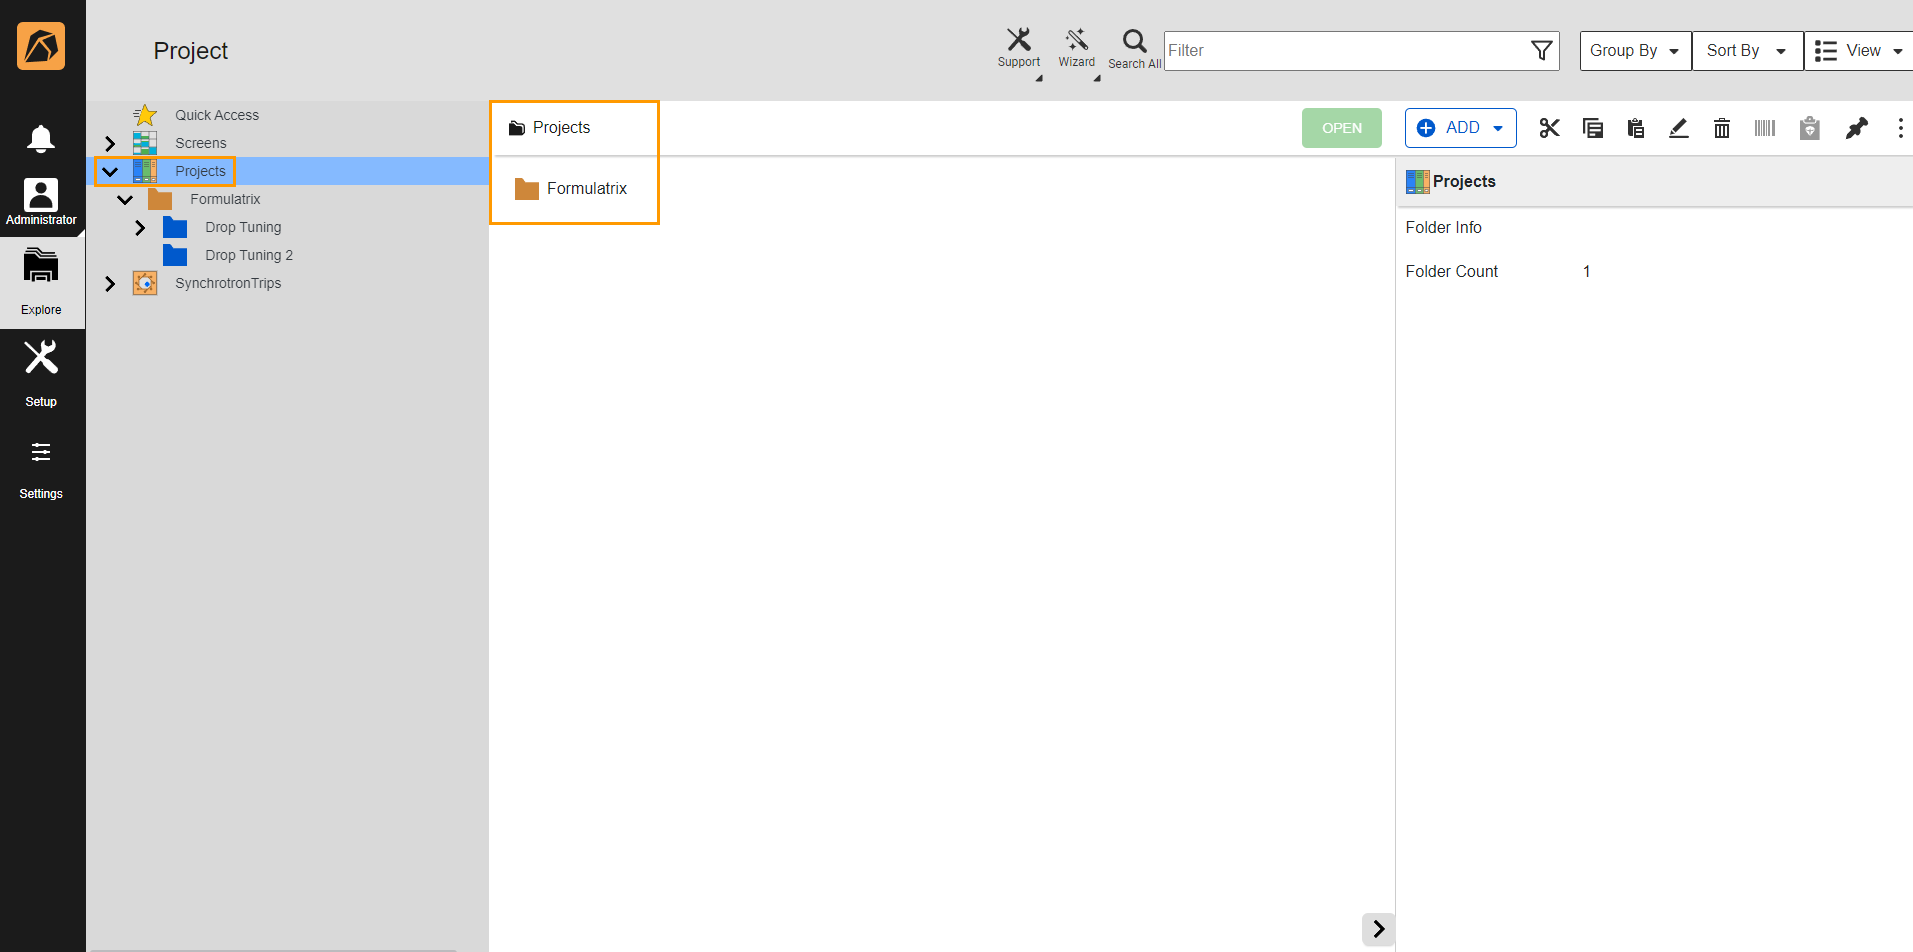
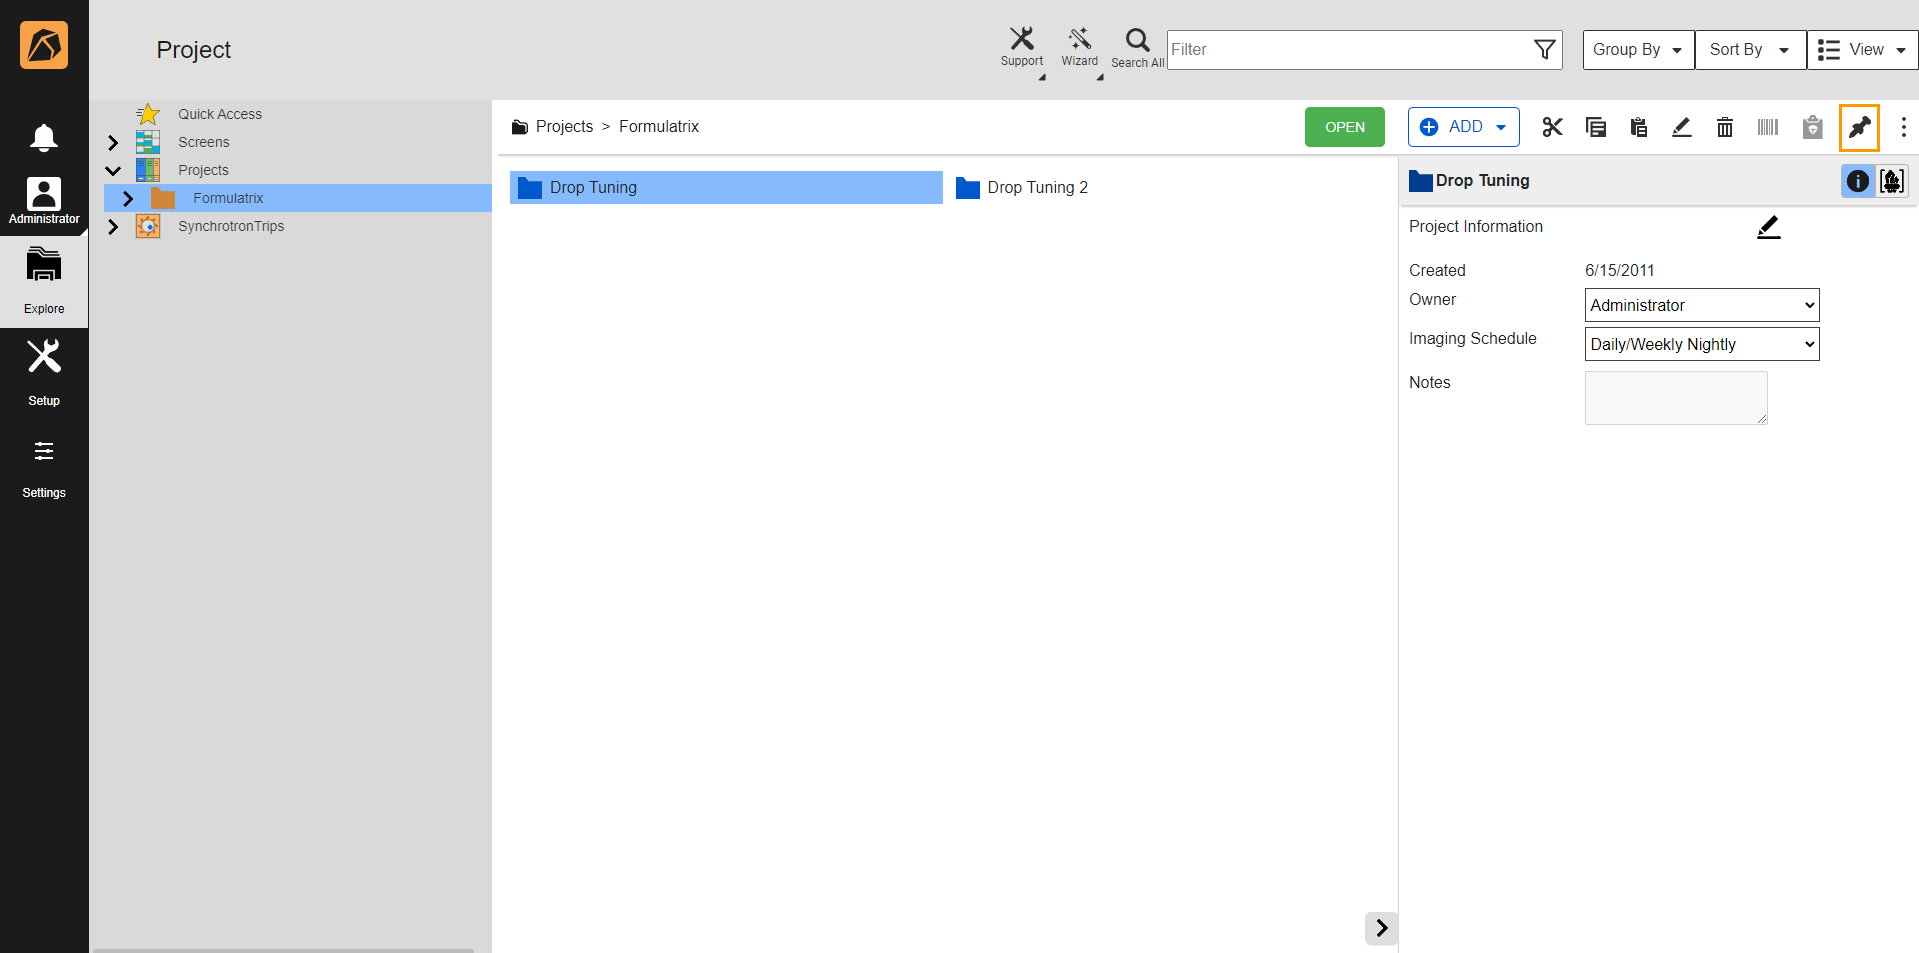
Main explore panel is located in the center; anything selected in the Nodes panel will appear here. For example, if we select Project
, its contents will open up in the Main Explore panel, as shown below.
Main Explore Panel Example
Nodes Panel
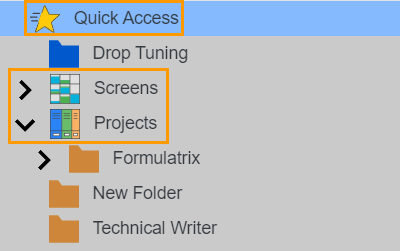
The nodes include Quick Access, Screens, and Projects.
Nodes Panel
Quick Access
You can pin either projects or folders into Quick Access to access them easily.

Quick Access
Prerequisite:
You have a project or folder.
To pin projects or folders to Quick Access:
Go to the nodes in Explorer.
Click on a folder or project.
On the Administrative Tools bar, click
.
Pinning an Item to Quick Access
A message informing your folder or experiment has been successfully pinned will appear.
Screens Node
The Screens node contains the screens you create and several folders organized by vendor, where you find commonly used commercial screens. FORMULATRIX always strives to keep these screens up-to-date, and occasionally you might need to update and import screen conditions from the ROCK MAKER XML Screen Files repository under the Resources section on the ROCK MAKER page of the FORMULATRIX website. It is where you can also check for updates on the existing screen files in your ROCK MAKER. You can download the updated version and import it to ROCK MAKER if that’s the case.
Note
ROCK MAKER supports screens in an XML file format. Thus, if you wish to import a screen file from another company, it must be in a supported XML format.
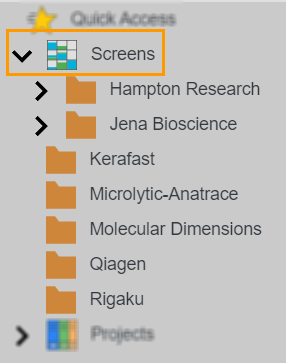
Screens Node
Projects Node
The Projects node
may include other specific folders and projects, while a project
is where you can store other specific folders, experiments, screens, protein formulations, and fragment screens.
Before you can start designing an experiment or a screen, you must first create a project. Read more on Creating a Project.
Note
You can only create experiments, screens, and protein formulations inside a project; a folder only aids organization.
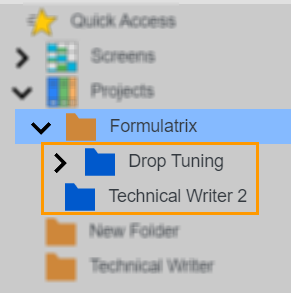
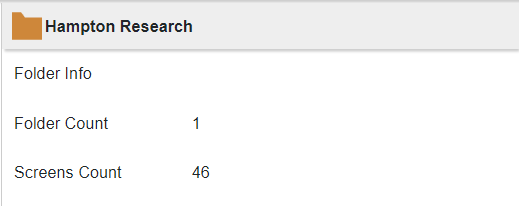
Project Example
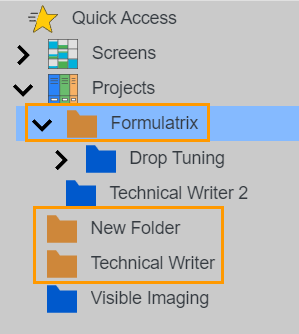
Folder Example
Synchrotron Trips Node
The Synchrotron Trips node allows you to easily access the synchrotron trips you create and create a new one. For more information, go to Creating Synchrotron Trips.

Synchrotron Trips Node
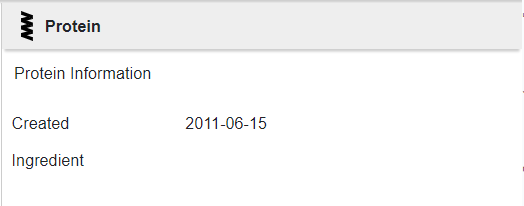
Side Panel
A side panel is a panel displaying information that appears on the right side of your ROCK MAKER window. The panel will be displayed when you open an experiment.
Note
The side panel will be different from one experiment to another. It depends on the experiment you open. The following example shows the side panel of an opened project.
An Example of Side Panel: Project Side Panel
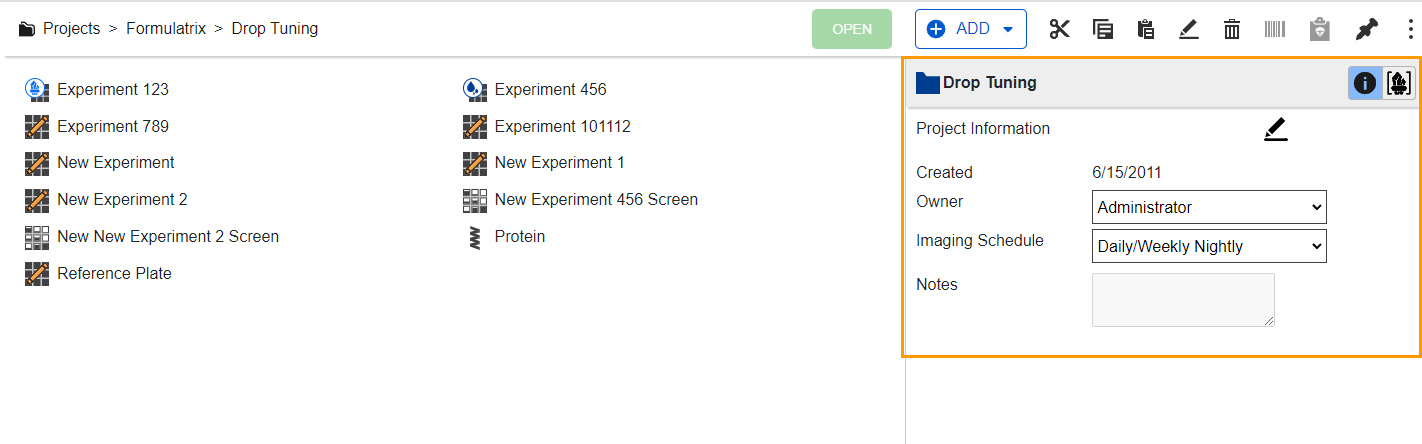
Project Side Panel
Once you click a project, the following buttons appear on the top right bar of its side panel.
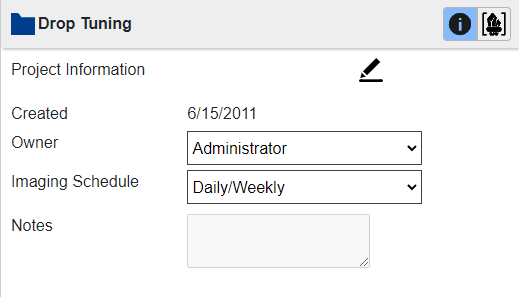
Project Side Panel Example
Button |
Icon |
Description |
|---|---|---|
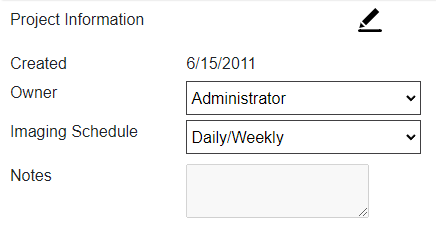
Project Information |
|
Allows you to view the project information. Here, you can use the Edit button
|
Crystal Preview |
|
Allows you to view the information of all crystals in a project. |


Experiment Side Panel
Once you click an experiment, the following buttons appear on the top right bar of its side panel.
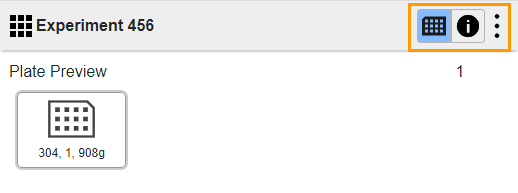
Experiment Side Panel Example
Button |
Icon |
Description |
|---|---|---|
Plate Preview |
|
Allows you to preview the experiment plate. Clicking the plate image will direct you to the experiment page.
|
Experiment Information |
|
Allows you to view the experiment information. |
More |
|
Allows you to select Convert to Screen (will be available soon), Image Now, Experiment Report (will be available soon), Mark as Dispensed/Dispensed (will be available soon), Dispensed with Alchemist (will be available soon), Export to Text File, Export to XML, or Export POI. |


Screen Side Panel
Once you click a screen, the following buttons appear on the top right bar of its side panel.
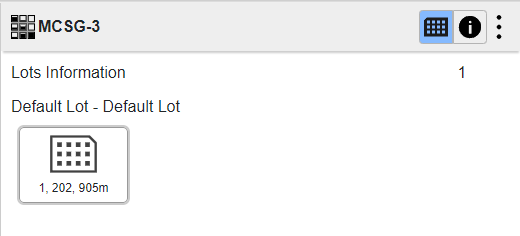
Screen Side Panel Example
Button |
Icon |
Description |
|---|---|---|
Lots Information |
|
Allows you to preview the screen lot. Clicking the screen lot image will direct you to the screen page.
|
Experiment Information |
|
Allows you to view the screen information. |
More |
|
Allows you to select Rotate Canvas (will be available soon), Screen Stock Report, Dispensed with Alchemist (will be available soon), or Export to XML. |
Synchrotron Trips Side Panel
This side panel displays synchrotron trip information.
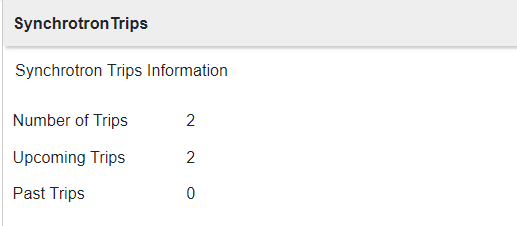
Synchrotron Trips Side Panel Example
Administrative Tools

Administrative Tools
Button |
Icon |
Description |
|---|---|---|
OPEN |
|
Allows you to open a file. The button will be enabled if you click a file. |
ADD |
|
Allows you to add Project, Folder, Experiment, Screens, Protein, Fragment Screen, and Synchrotron Trips. |
Cut |
|
Allows you to cut a file or folder and paste it to any location within the same node. |
Copy |
|
Allows you to copy a file to any location within the same node. |
Paste |
|
Allows you to paste a file to any location within the same node. |
Rename |
|
Enables you to rename a folder’s name. |
Delete |
|
Allows you to delete a project, screen file, synchrotron trip, image management task, or search settings. |
Print Barcode |
|
Allows you to print the barcode of an experiment. |
Hits Report |
|
Allows you to generate a report of an experiment with drops scored as hits. |
Pin to Quick Access |
|
Allows you to pin projects or folders to Quick Access. |
More |
|
Allows you select the following options: Access Right, Send to MARCO, Analyze, Force Unlock, or Storage Info. |


Related Topics: