Creating a Screen Layer
A screen layer is a layer defined by a screen lot. Each screen layer can only have one screen lot.
To create a screen layer:
Open an experiment OR create a new one.
On the experiment page, go to the Canvas menu and open the Design view. Click the Add Layer button on the top bar and select Screen.

Selecting Screen Layer
Select a screen layer area accordingly.
To select all wells, click any well on the canvas.
To select some wells, click and hold the left button of your mouse while dragging it over some desired wells.
The Layers Design panel on the right side of your ROCK MAKER window will appear. Select a screen.
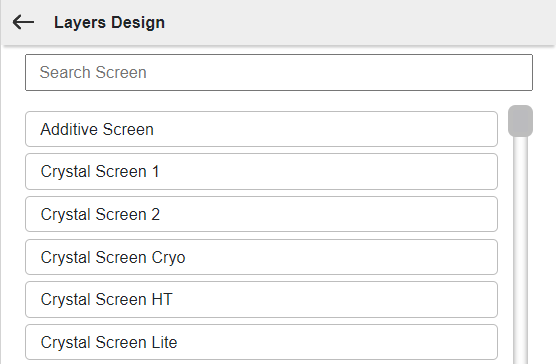
Selecting a Screen
A panel to edit the screen will appear.

Editing a Screen
Click the Layer Name field to select another screen.
Select a lot number in the Lot Number dropdown menu.
Note
The Conditions field will be automatically filled.
Click Apply
In the available panel (the Screen tab), you will see the Edit
 and Delete
  buttons. You can use them to edit or delete the screen you select.
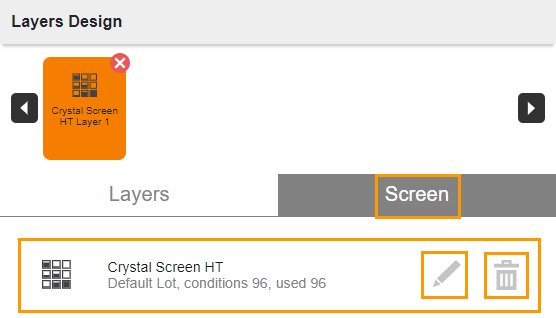
Screen Tab
Go to the Layers tab and complete the layer information.
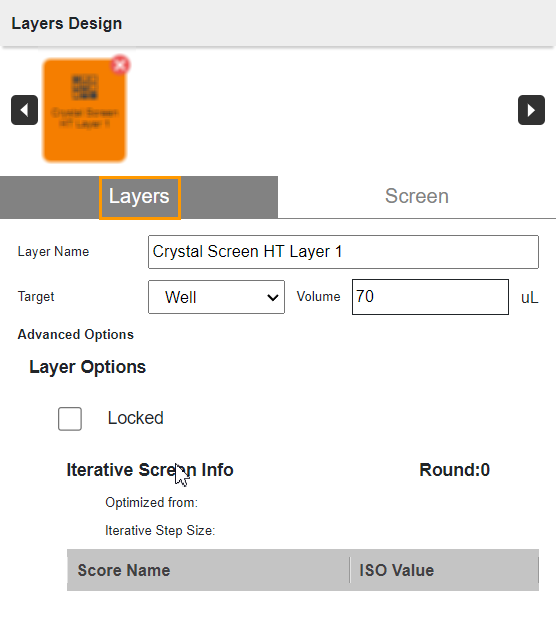
Layers Tab
Type a name in the Layer Name field or use the default name.
Select a target from the Target dropdown menu.
Type a volume in the Volume field.
Tick the Locked checkbox in the Layer Options field.
On the toolbar, click Save.

Save Button
Related Topics: