Creating a Screen
ROCK MAKER has a library of commercial screens that can be added to your experiments. These screens are available in 96 deep well blocks with a capacity of 2ml per well. In addition to using commercial screens in your experiments, ROCK MAKER allows you to create a personal screen.
At the moment, you can create a screen from scratch, but soon you will be able to convert an experiment to a screen.
To create a screen:
Open the Explore menu. Go to the Nodes panel and select Screens
 or Projects
  .
.Note
If you select Projects
, you need to open a project  to enable the Screens option in the Add button
  .
.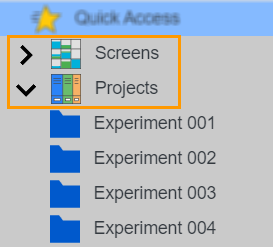
Screens and Projects Nodes
Click the Add button on the top right bar and select Screens to open the New Screen tab.

Selecting Screens in the Add Options
Go to the Experiment Info menu and fill out your screen information. Read Experiment Info Menu to find out more.
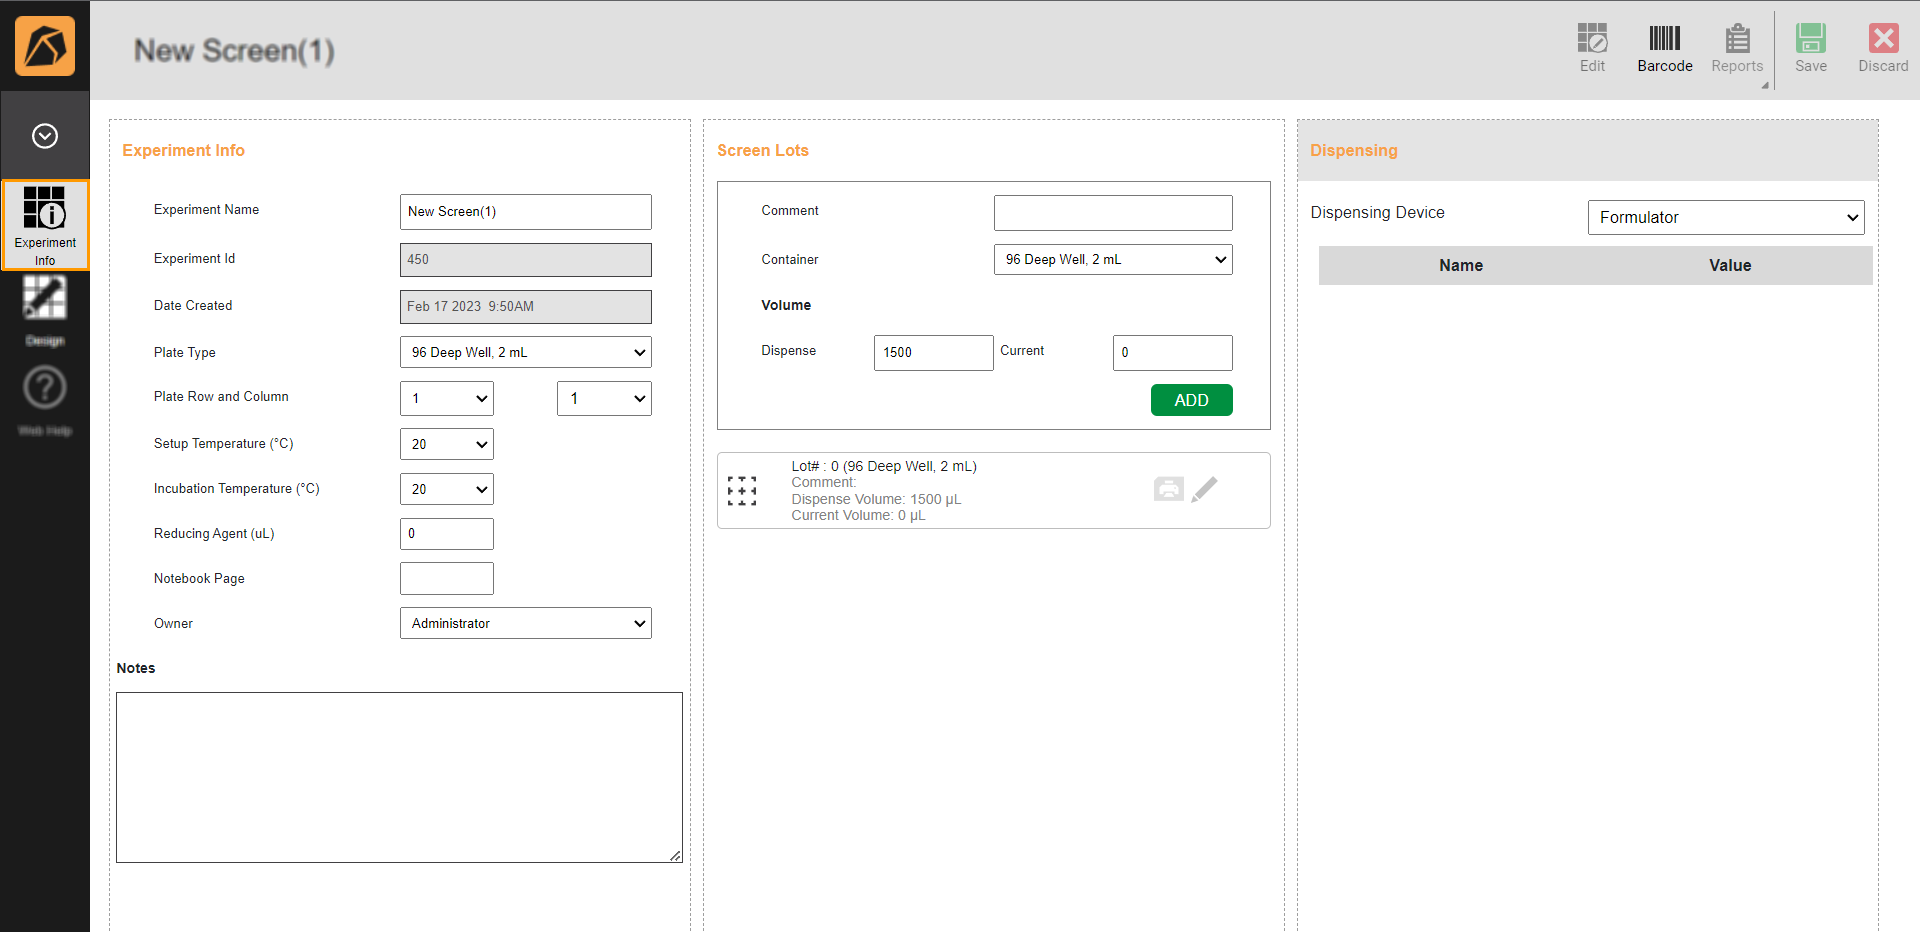
Filling Out Screen Information in Experiment Info Menu
Go to the Design menu and select a layer type from the Add Layer options.
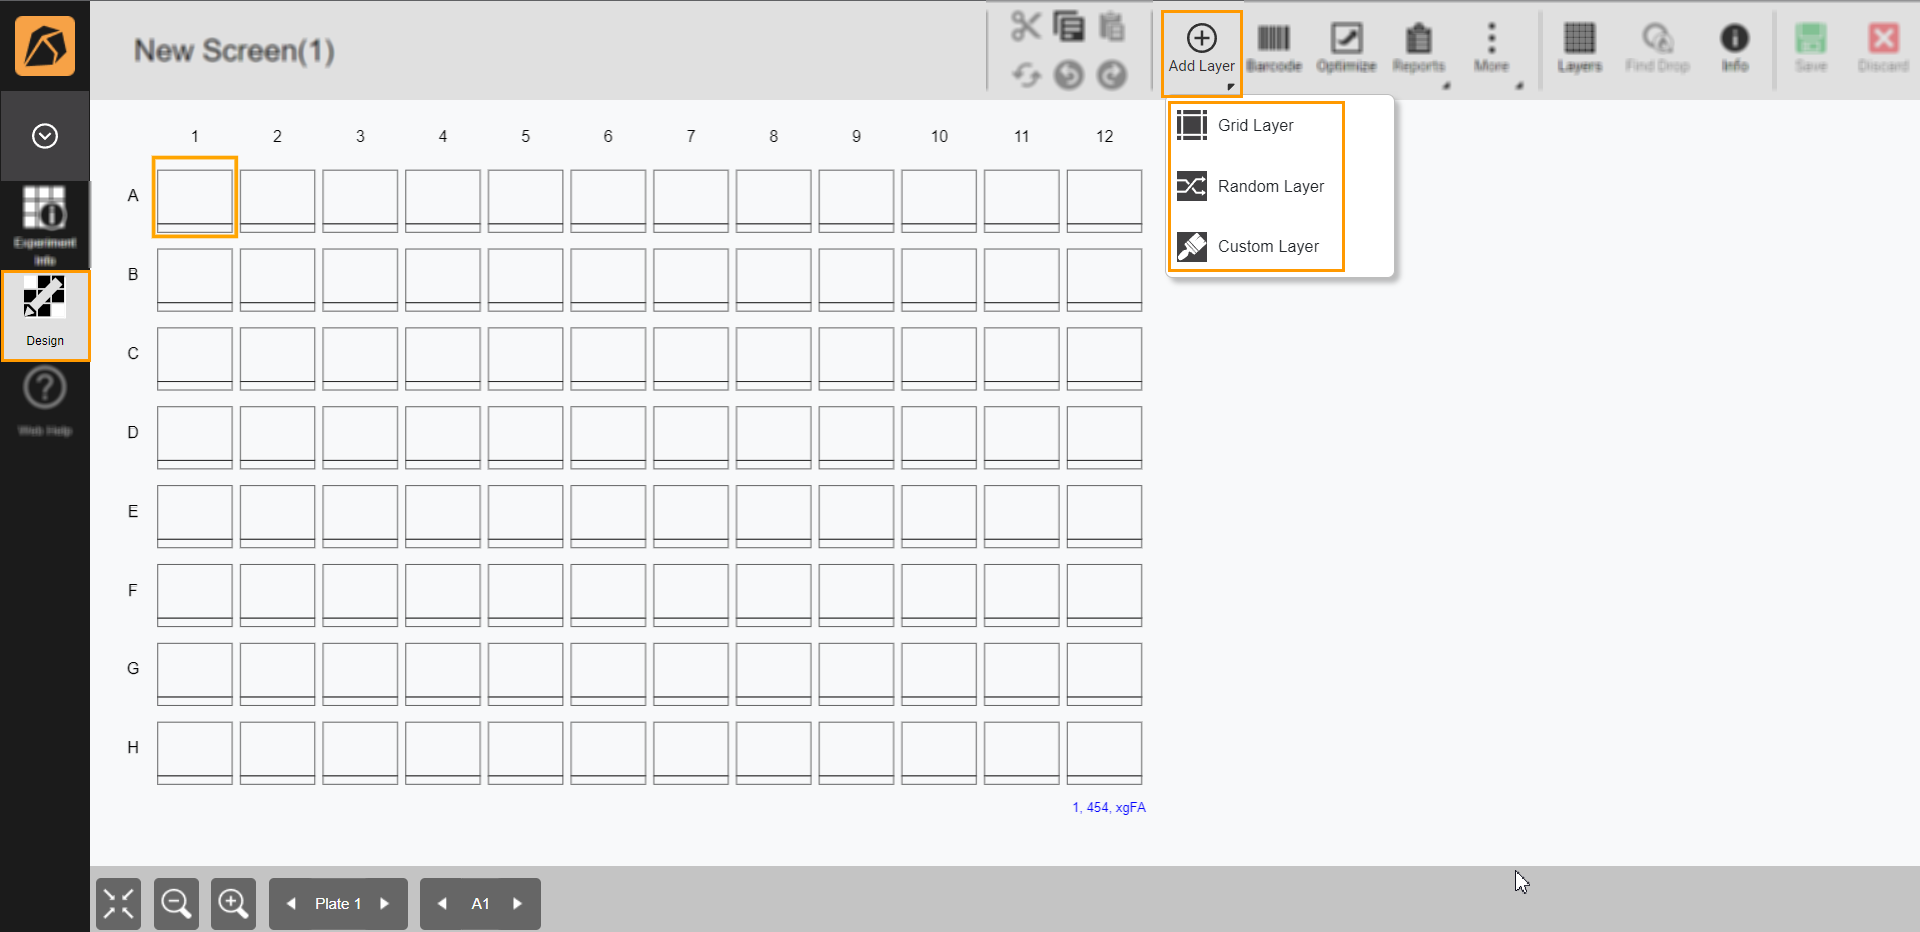
Selecting a Layer Option
Select the layer area accordingly:
To select all wells, click any well on the canvas.
To select some wells, click and hold the left button of your mouse while dragging it over the desired wells.
Each layer requires different steps. Go to a corresponding layer to find out more.
Click Save if everything is set.
Post Condition:
By default, each screen has 1 lot.
To view the screen lot, click a screen from the Explore menu and you will see a panel appear on the right side. Click  on the top right bar of the panel to display the lot information as the example below:
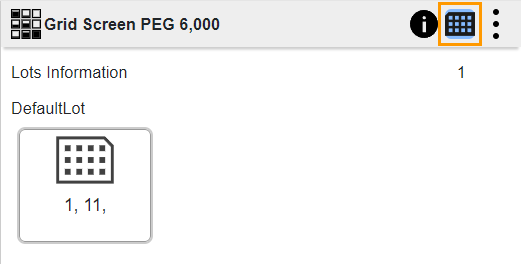
Screen Lot Information
To add a screen lot, go to Adding a Screen Lot.
Related Topics: