Creating a Protein Formulation
This tutorial explains how to:
To create a protein formulation:
Go to the Explore menu and open a project.
Click the ADD button on the top right bar. Then, select Protein to open the Protein Formulation tab in your browser.

Selecting Protein
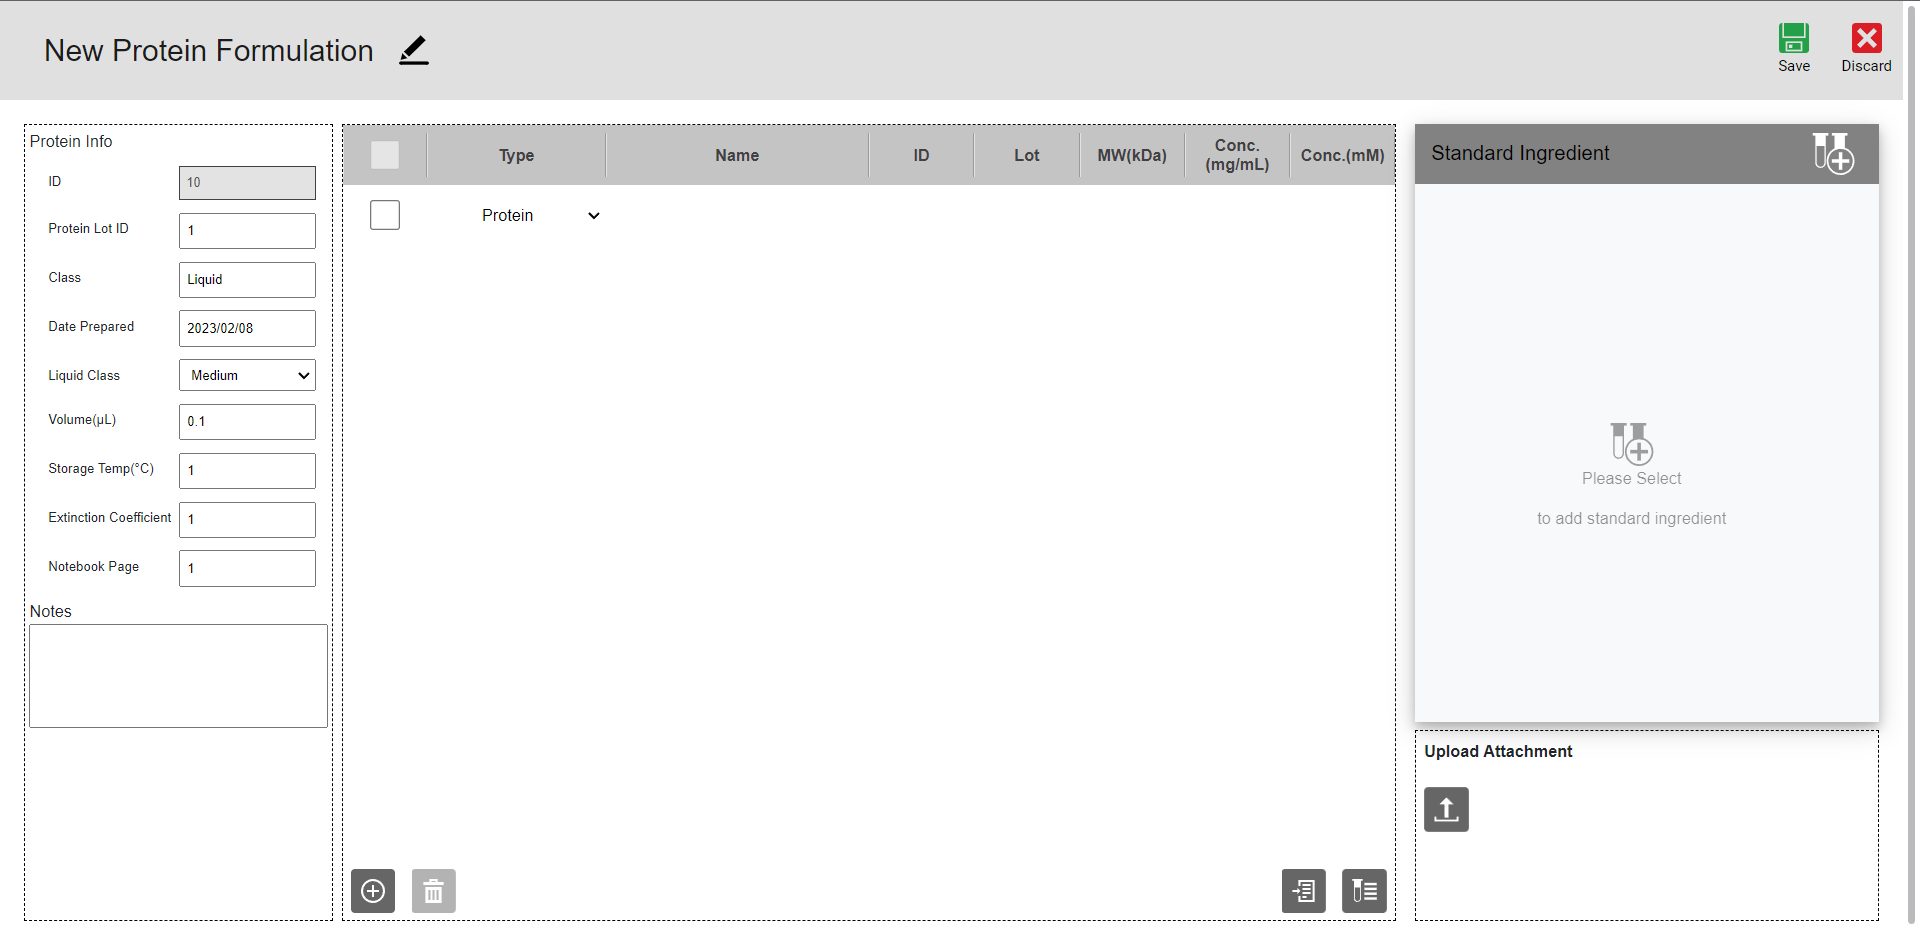
Protein Formulation Tab
In the Protein Info section, you can find the automatically generated protein formulation ID and do the following:
Rename the protein formulation by typing over the default name using
 .
.Type:
any characters representing the protein formulation in the Protein Lot ID field.
the class of the protein formulation, e.g., its protein family name or compound series name, in the Class field.
the protein formulation volume in the Volume (μL) field.
the temperature at which the protein formulation is stored in the Storage Temp(°C) field.
the extinction coefficient of the protein formulation in the Extinction Coefficient field.
the page in your notebook referring to the same protein formulation.
a note in the Notes field.
Select the creation date in the Date Prepared field.
Select the protein formulation’s liquid class in the Liquid Class field.
The Protein Formulation tab has two sections to record the ingredients used.
Protein Formulation Ingredients section – This section keeps track of ingredients you want to co-crystallize with the protein.
Standard Ingredients section – This section records standard ROCK MAKER ingredients used in the protein formulation. You can manage standard ingredients in the Ingredient Setup.
To add ingredients to your protein formulation:
In the Protein Formulation tab, click the Add button
 at the bottom of the middle section. An ingredient row will be added.
Added Ingredient
Complete all columns except the Conc.(mM) column. The system automatically computes the Conc.(mM) column’s value after you define the MW(kDA) and Conc.(mg/mL) columns.
Select an ingredient type in the Type column.
Type the ingredient name in the Name column.
Type the ingredient ID in the ID column. It helps assign an ingredient tracking number if you use a database other than ROCK MAKER.
Type the lot number in the Lot column. It helps track an ingredient lot number stored in a database other than ROCK MAKER.
Type the molecular weight of the ingredient in kilodaltons in the MW(kDA) column.
Type the ingredient concentration in milligrams per milliliter in the Conc.(mg/mL) column.
To add more ingredients, repeat steps 1 – 2.
Note
Use some buttons at the bottom of the middle section for easy access.
To delete a protein formulation, select a row and click the Delete button
 .
.To import a protein ingredient, click the Import button
 .
.To modify a protein ingredient type, click the Ingredient Types button
 . The Protein Ingredient Type dialog box will appear.
Protein Ingredient Type Dialog Box
To add a type(s), click
and type the name in the provided field.To delete a type(s), click a type(s) and click
.Click OK if everything is set.
To add standard ingredients to your ROCK MAKER:
In the Protein Formulation tab, go to the top right bar of the Standard Ingredient section and click the Add Ingredient button
 .
.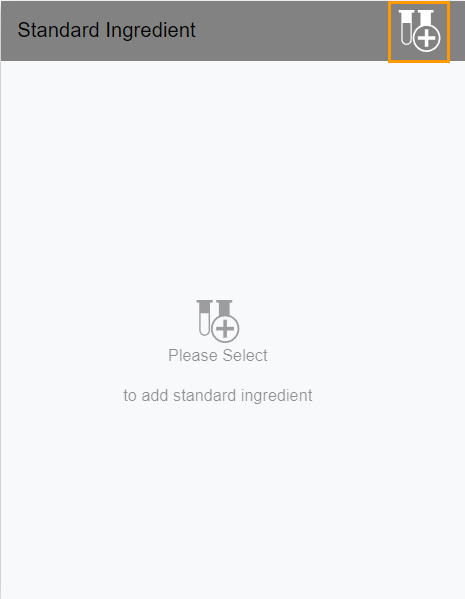
Standard Ingredient Panel
The Edit Standard Ingredients panel will appear.
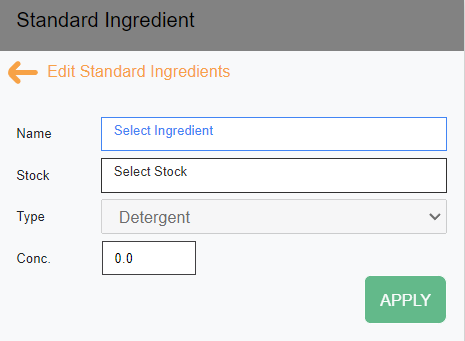
Edit Standard Ingredient Panel
Next, do the following:
Select an ingredient from the list of ingredients in the Name field.
In the Stock field, select a stock from the list.
Select an ingredient type from the Type dropdown.
Note
The Type field will be unselectable if the selected ingredient consists of only one type.
Type the desired ingredient concentration in the Conc. field.
Note
The concentration you enter cannot exceed the stock concentration.
For buffers, click the Low and High pH fields, and select the desired stocks.

Low and High pH Fields
The High pH field is optional and depends on the selected Low pH. N/A at the end of the pH (N/A-N/A) field’s name indicates no high pH is selected.
Then, click APPLY.
To add more standard ingredients, repeat steps 1 – 2.
You can add the protein formulation you create to a drop in a layer. Go to Layers Overview to find out more.
Attaching Documents to Protein Formulations
You can attach files (documents or spreadsheets containing information on how the protein is prepared) to the protein formulation.
To attach files to protein formulations:
Go to the Upload Attachment section at the bottom right corner of the Protein Formulation tab.
Click
 and select a file. It might take a few moments to upload. To delete a file, click .
Upload Attachment Section
If everything is set, click Save on the top right bar.
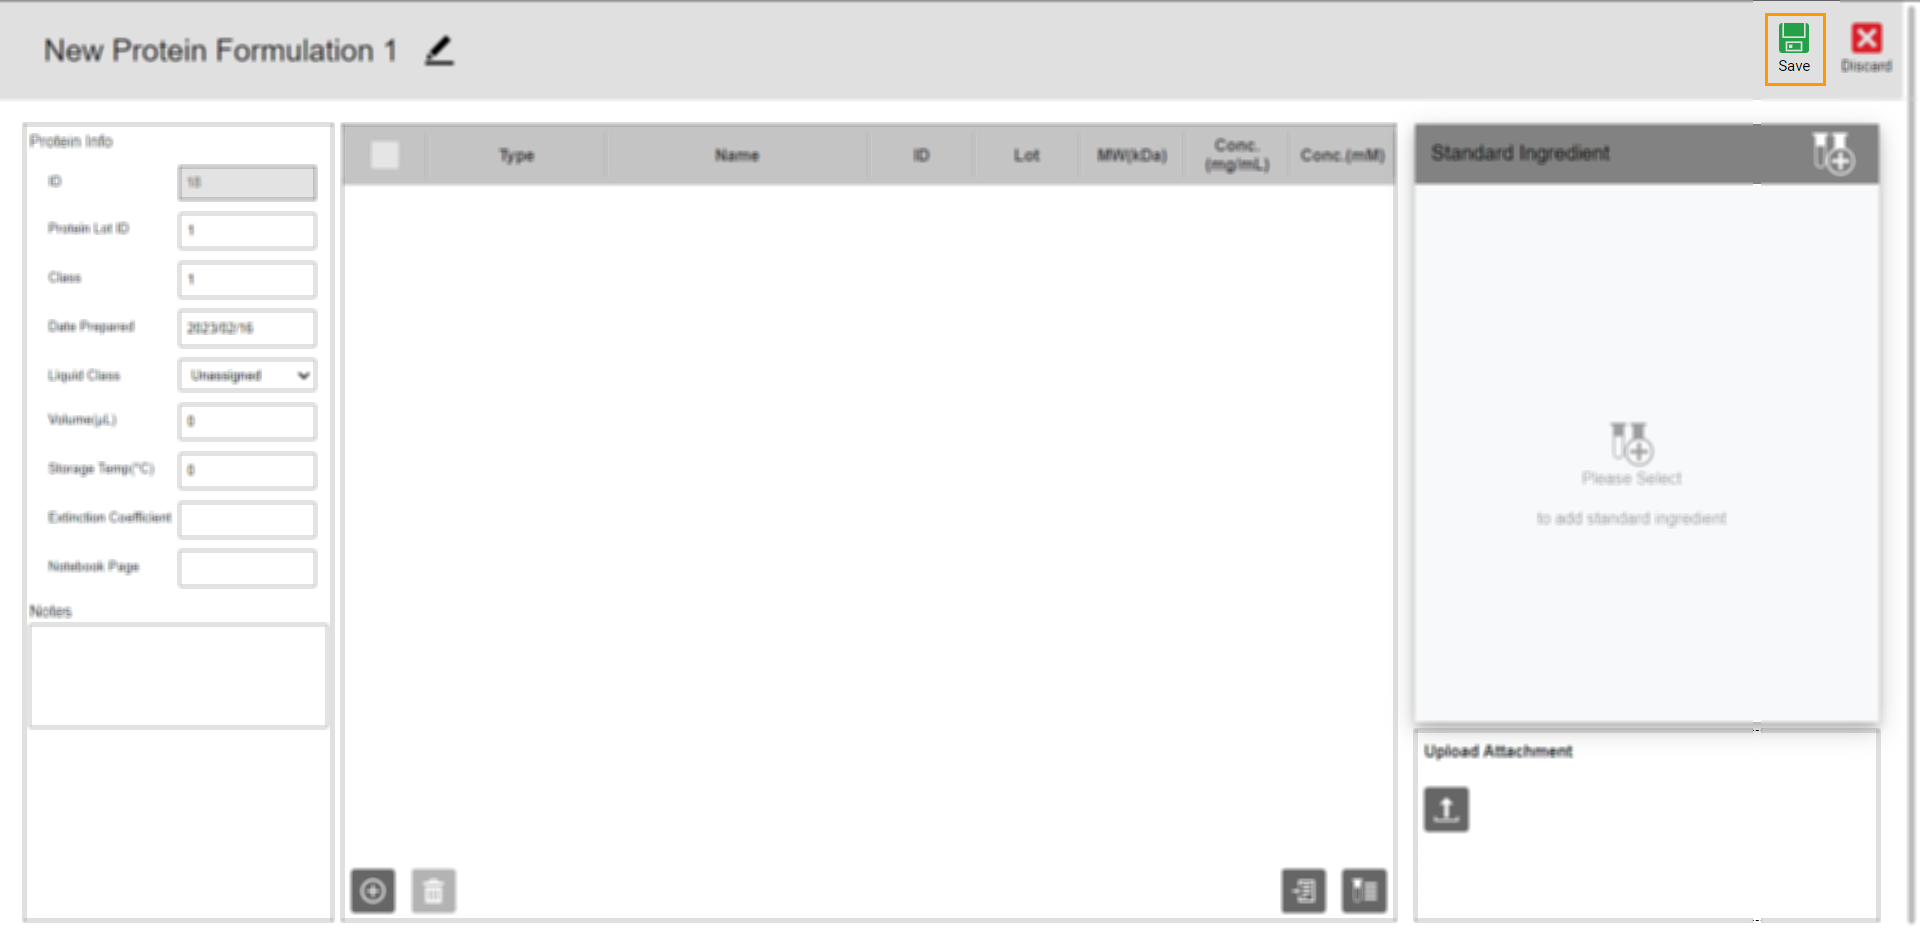
Save Button
Related Topics: