Using Image Tools
The Tools button is available in the Drop and Compare menus to help you manipulate images using the available options. Once you click the Tools button, its panel will appear on the right side of your screen.
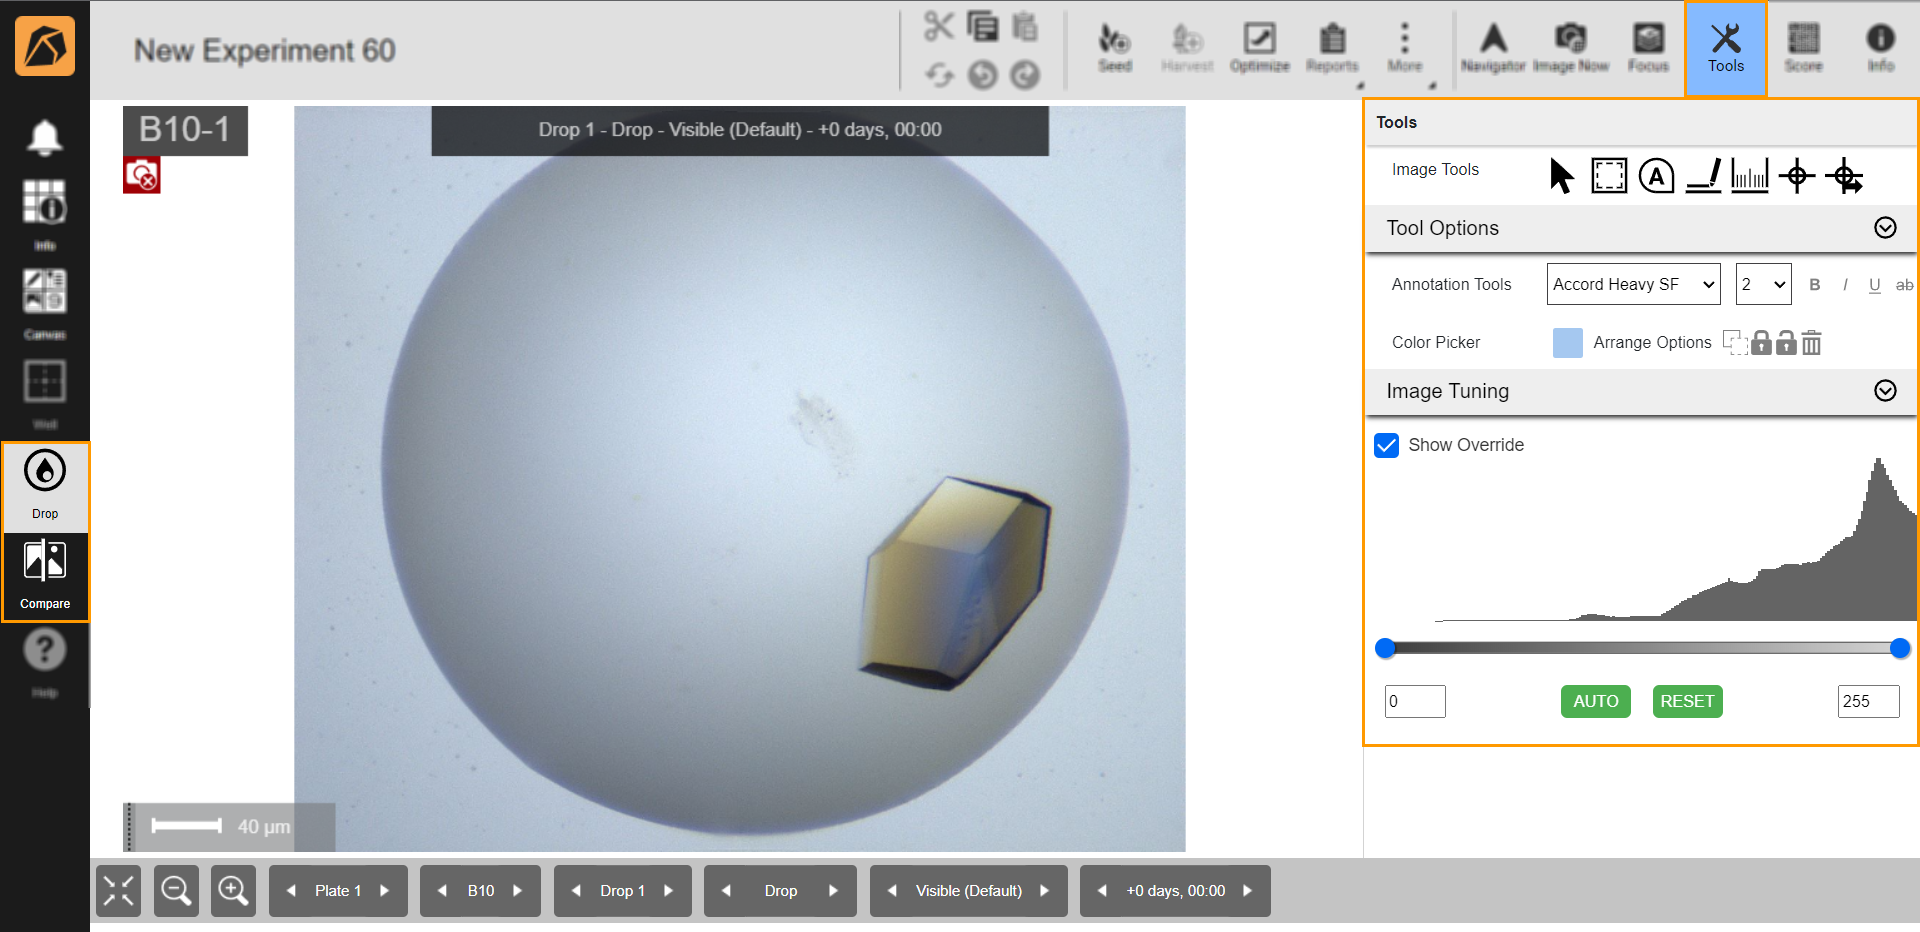
Tools Panel
Image Tools
Tools |
Icon |
Description |
|---|---|---|
Pointer |
|
Lets you change the cursor to the pointer while using Tools, allowing you to point the image more comfortably. |
ROI |
|
Allows you to define a region of interest in the image. To do so, click the ROI button and click anywhere in the image, then drag the mouse over an area. Read Drawing Regions of Interest for more information. |
Annotation |
|
Allows you to add notes to your images. To find out more, go to Adding Annotations. |
Scribble |
|
Allows you to scribble on your image. Go to Using Scribble to find out more. |
Ruler |
|
Allows you to measure objects in your images. Go to Measuring Crystals with Ruler to find out more. |
POI |
|
Allows you to mark any point within a drop to get its coordinates. Go to Marking a Point with Point of Interest (POI) to find out more. |
Export POI |
|
Allows you to export coordinates to a CSV file. Read Exporting POI Coordinates for more information. |


Drawing Regions of Interest
To draw a region of interest:
Click the ROI button in the Image Tools field in the Tools panel.
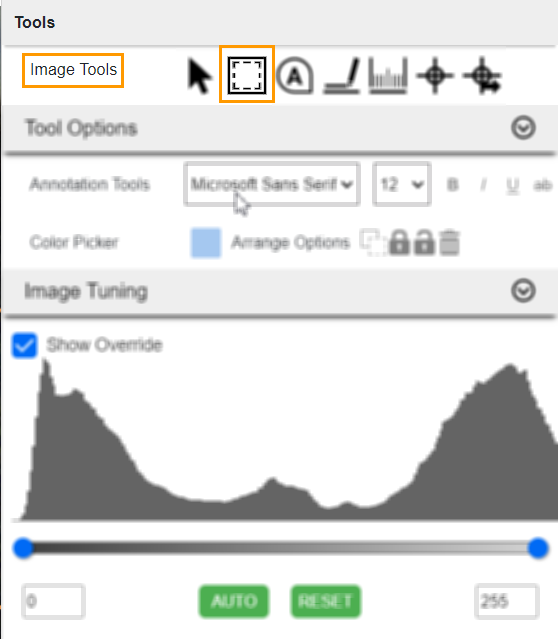
ROI Button
Go to your image. Click anywhere in the image and drag your mouse over a desired area.
Adding Annotations
To add an annotation:
Click the Annotation button in the Image Tools field in the Tools panel.
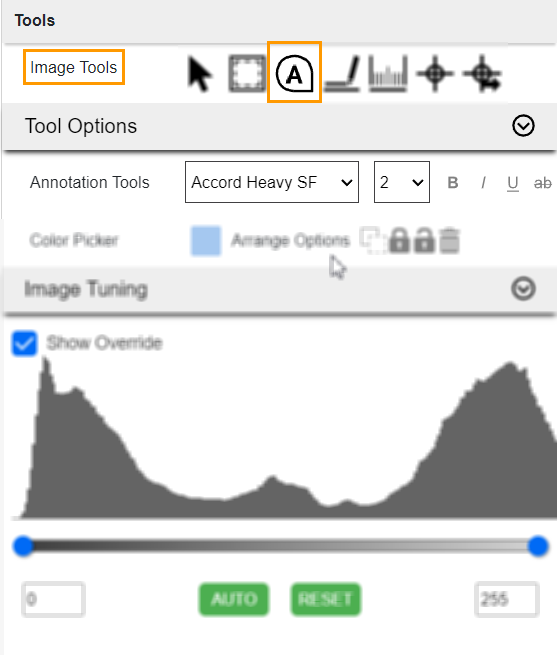
Annotation Button
Go to your image. Your mouse cursor will change to a + icon. Click a point in your image to open the Enter Text dialog box.

Enter Text Dialog Box
Note
You can modify your text format (type, size, style) using the options in the Annotation Tools field in the Tool Options section.

Annotation Tools Field
Write a note in the box. Then, click YES, PROCEED. The note will appear on your image.

YES, PROCEED Button
Using Scribble
To create a free-form drawing with Scribble:
Click the Scribble button
 in the Image Tools field in the Tools panel.
Hold down the left mouse button to scribble on the image.
Release the mouse button when finished.
Measuring Crystals with Ruler
To measure crystals with Ruler:
Click the Ruler button
 in the Image Tools field in the Tools panel.
Click a desired starting point from the object you want to measure and drag your mouse until you reach the desired end point.
The measurement of the object appears at the end of the ruler.
Measuring a Crystal
Marking a Point with Point of Interest (POI)
To mark a point with POI:
Click the POI button
 in the Image Tools field in the Tools panel.
Mark a point by clicking on any point within the drop.
Marking a Point
Exporting POI Coordinates
Each POI contains coordinates which can be exported as a CSV file. The generated CSV file can then be read by a third party software to either collect diffraction data or dispense into those specific regions within the drop.
To export POI coordinates:
Click the Export POI button
 in the Image Tools field in the Tools panel.
The exported file will be downloaded as a CSV file to your drive.
Tool Options Section
You can modify your text format (font, size, style) using the options in the Annotation Tools field in the Tool Options section.
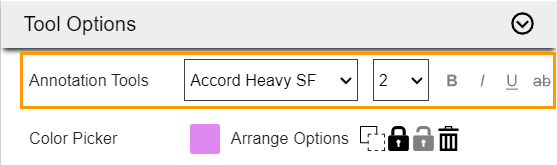
Annotation Tools Field
You can change the color of Scribble and Ruler using Color Picker. By default, Color Picker displays the currently selected color.
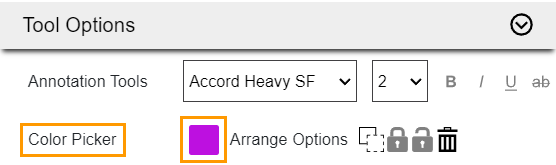
Color Picker Field
You can use the Move to Back button
 in the Arrange Options field to move a scribble and ruler behind other items.
You can lock
 and unlock
  the Scribble and Ruler by clicking the corresponding buttons in the Arrange Options field.
You can delete Scribble by clicking the Scribble you want to delete, then the Delete button
 in the Arrange Options field OR the Delete key on your keyboard.
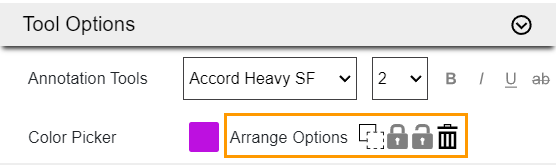
Arrange Options Field
Image Tuning Histogram
You can use Image Tuning to adjust your image brightness and contrast level. This feature is important for UV and SONICC images. You can adjust the level on a per-plate or per-drop basis, depending on whether you view the entire plate from the Image submenu in the Canvas menu or a single drop from the Drop or Compare menu.
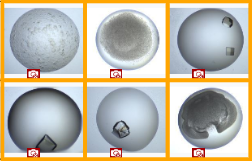
Before Image Tuning
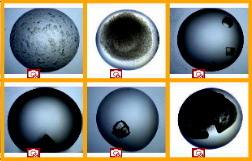
After Image Tuning
Image tuning settings can be defined at three levels in ROCK MAKER: global, plate, and drop.
To access Image Tuning:
Open an imaged experiment.
Do one of the following:
OPTION 1: Go to the Canvas menu and click the Image submenu. Then, click Tuning on the top right bar. The Tuning panel will appear on the right side of your screen.
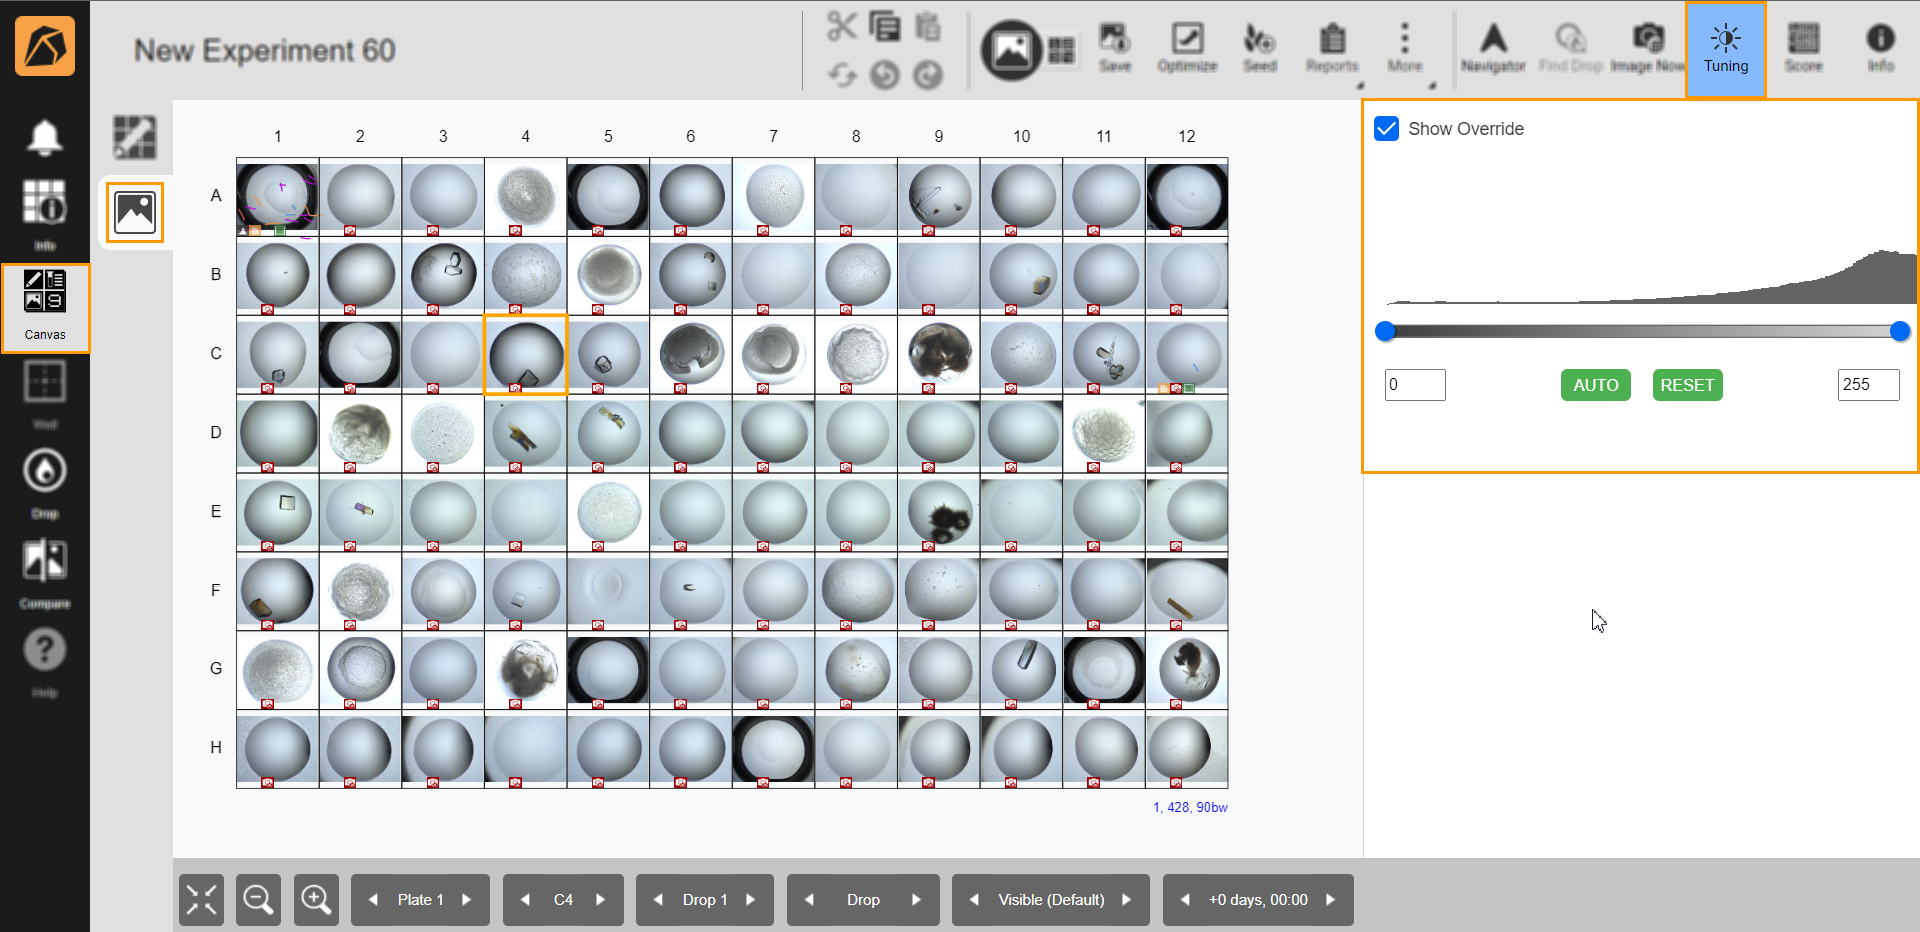
Accessing Tuning Panel from Canvas Menu
OPTION 2: Go to the Drop or Compare menu and click Tools. The Image Tuning section is in the Tools panel.

Accessing Image Tuning Panel from Drop or Compare Menu
In the Image Tuning section, you can adjust the settings if necessary.
Click on the Show Override checkbox to view images in a tuned mode; otherwise, you view the original image.

Show Override Checkbox
To level the image, select one of the options:
OPTION 1: Drag the blue buttons along the line until you find the best result.
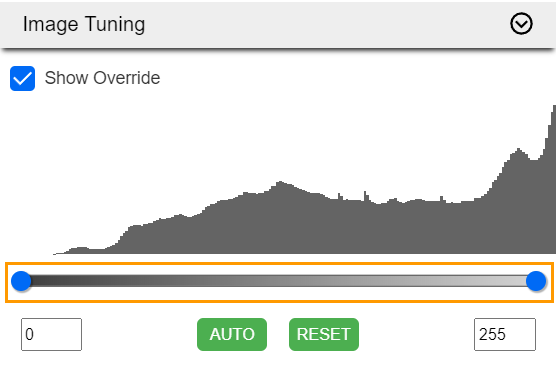
Leveling in Image Tuning
OPTION 2: Define the minimum value in the left box and the maximum value in the right box. The value ranges from 0 to 255.
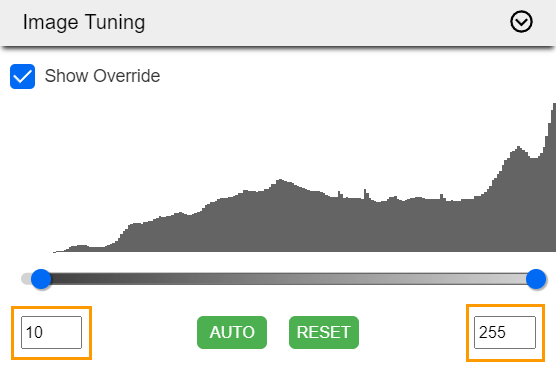
Boxes to Define Image Level
Click the AUTO button to let the software automatically level the image.
Important
If you click the AUTO button, other features in the Image Tuning histogram will be disabled.

AUTO Button
Click the RESET button to reset all changes made.

RESET Button
Related Topics: