Creating a Project
To create a project:
On the main page, go to the Explore menu. The Projects node
 will open by default.
Click the ADD button on the right side of your screen and select Project.

Selecting Project
The Create Project dialog box will appear. You can use the default name in the Project Name field or create a new one. A common naming practice is to indicate the protein used in the experiment.
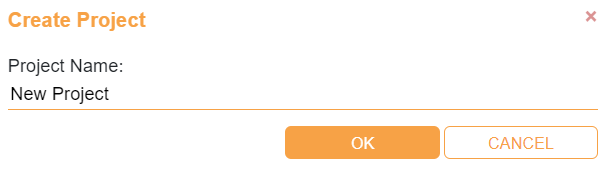
Create Project Dialog Box
Then, click OK.
The system will add your project as a blue folder under the Projects node
.
Experiment 001 in the following image is an example of a project.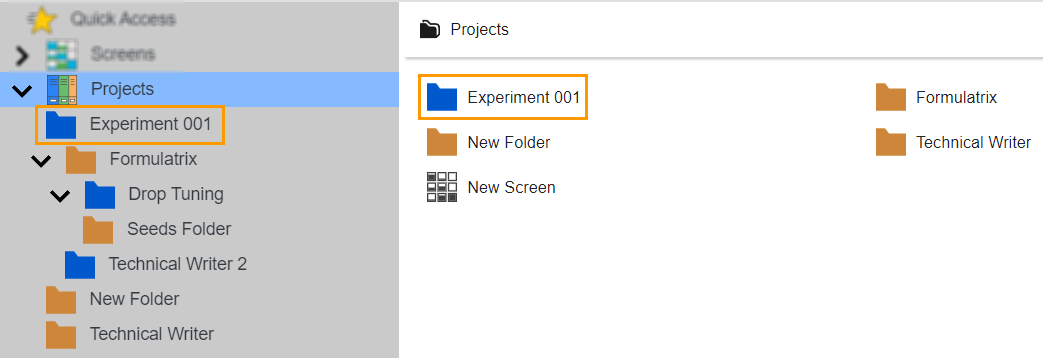
New Project Location
Once a project is created, you can manage its setting by clicking it. A panel consisting of Project Information
 and Crystal Information
  tabs will appear on the right side of your screen.
Project Information Tab
The Project Information tab
provides information about the creation date, owner, imaging schedules, and notes. While the Created field is auto generated, you can modify other fields by clicking the Edit button  before going to any of them.
Select the project owner in the Owner dropdown menu.
Select the imaging schedule in the Imaging Schedule dropdown menu.
Type your note in the Notes field.
If your project has crystals (indicated by the number in the Crystal Information field), you can arrange how you want to view them from the Crystal Information tab
.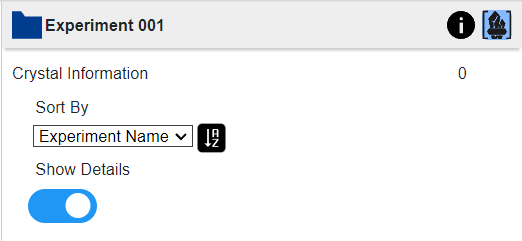
Crystal Information Tab
Select Experiment Name, Crystal Name, or Protein Name in the Sort By dropdown menu to sort the crystal list.
Click
 to arrange the crystal list based on the selected filter (Experiment Name, Crystal Name, or Protein Name) in an ascending or descending order.
Switch on the Show Details toggle button to view each crystal’s details, including Data Collected, Date Frozen, Structure, Resolution, and Soaking information.
Related Topics: