Grid Layer
Grid layer allows you to incrementally vary ingredients’ concentrations and pH levels along the rows and columns of a layer or from one layer to another through sub-layers. It optimizes crystal-forming conditions by varying each ingredient combination in an organized and controlled manner.
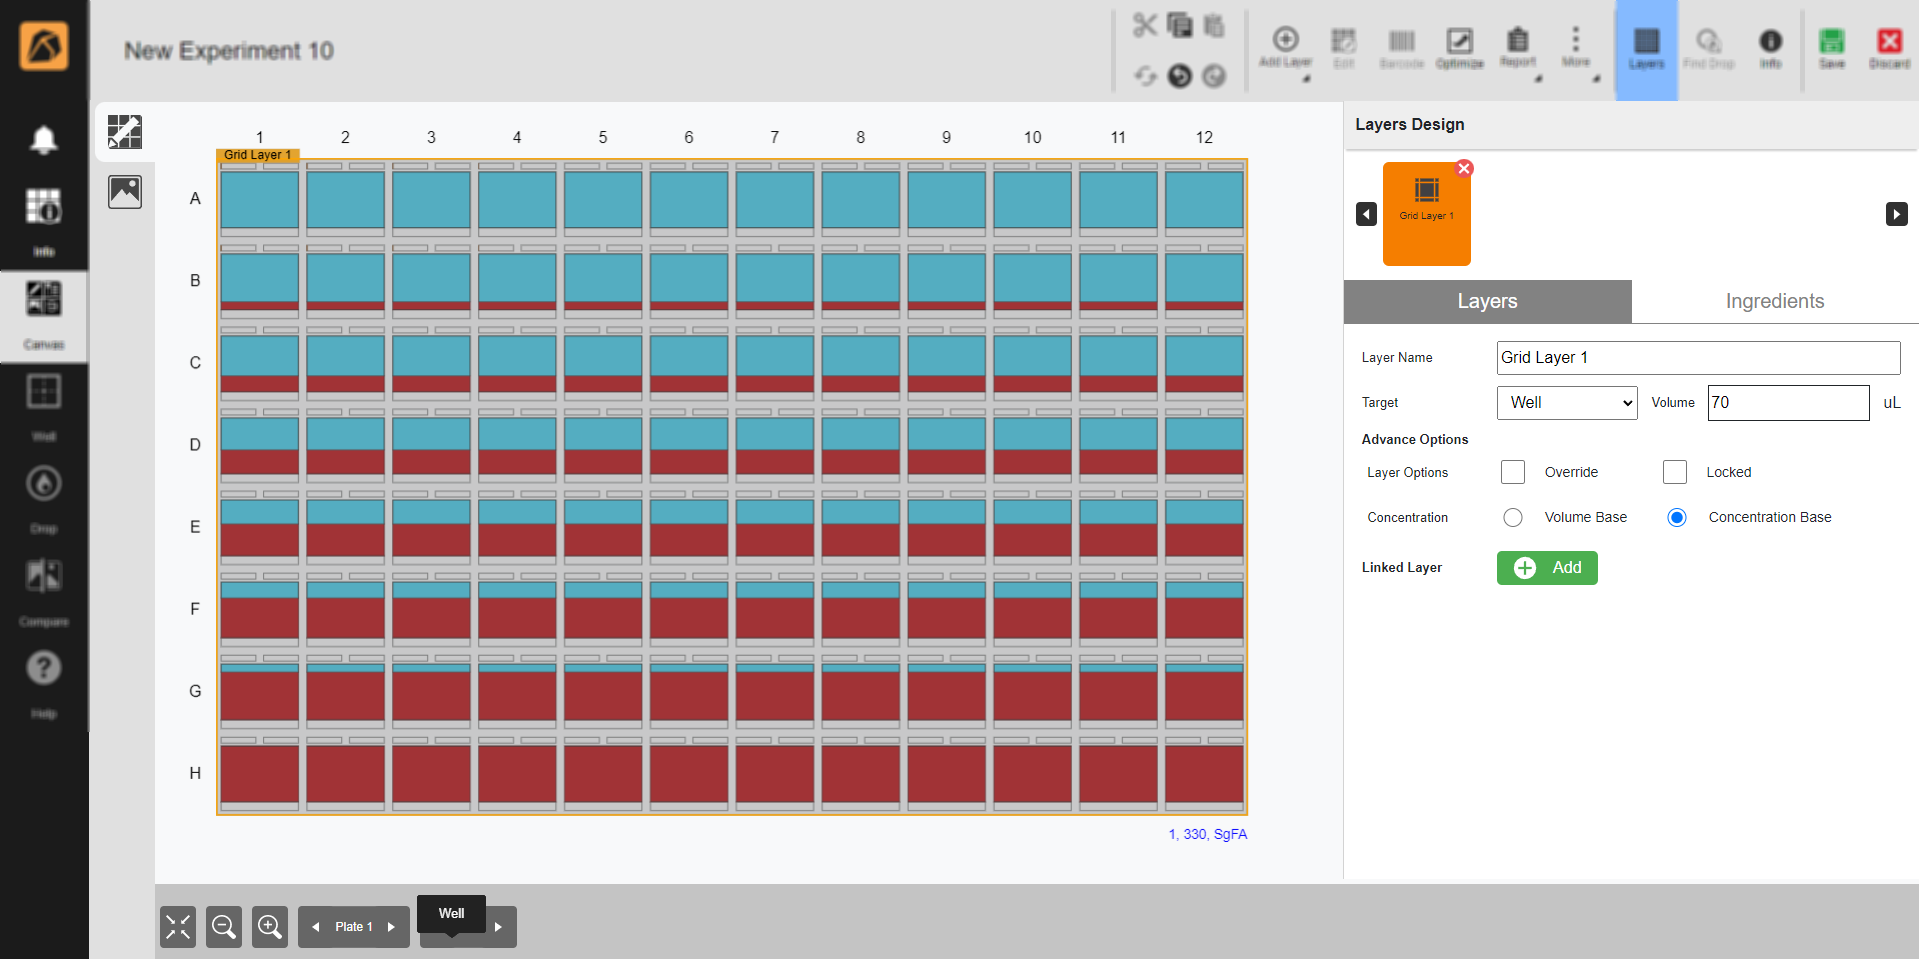
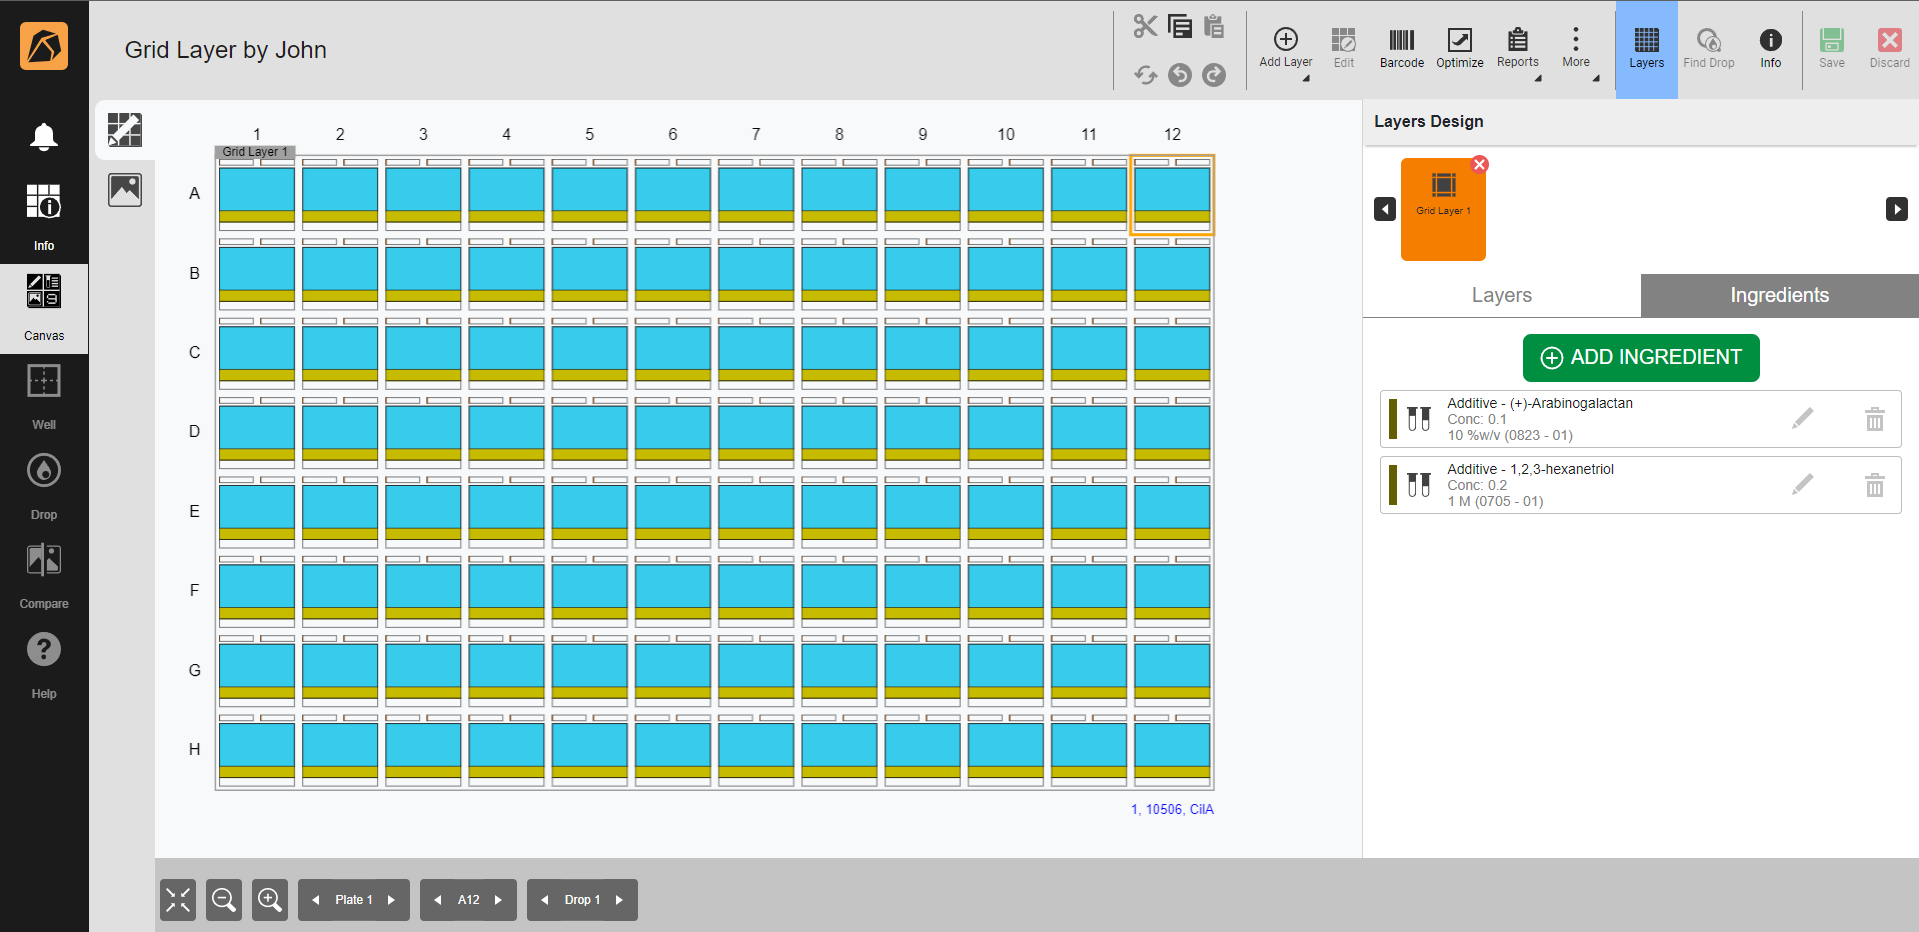
Grid Layer Example
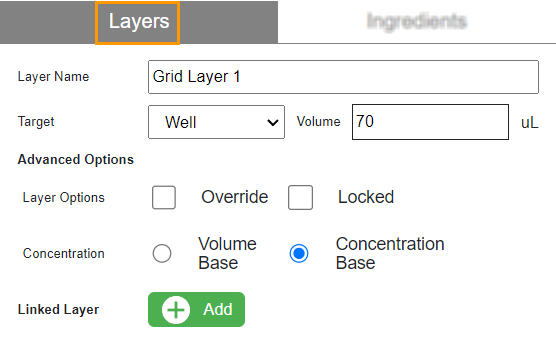
Layers Design Panel
The Layers Design panel on the right side of the ROCK MAKER window facilitates users with Layers and Ingredients tabs to design layers. All existing layers are accessible through the section above the two tabs.

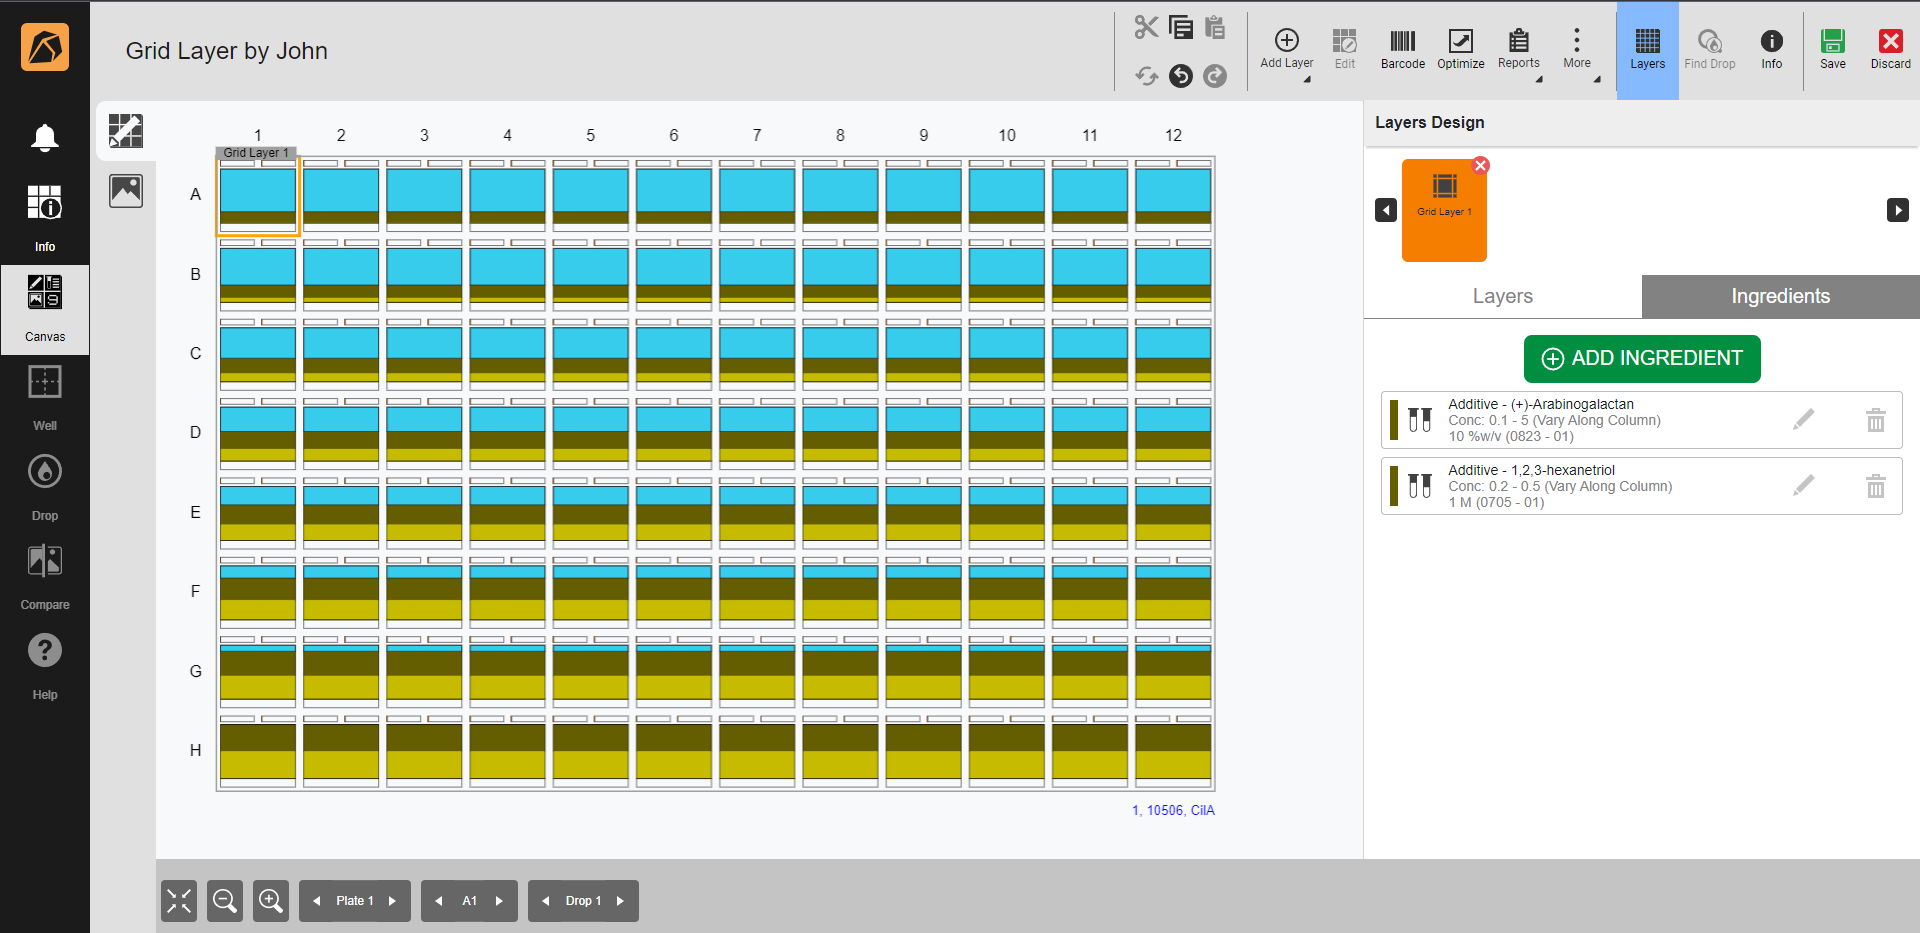
Layers Design Panel in Grid Layer
Layer Selection displays all created layers. The right and left arrows are used to navigate.

Layers Selection Example
Layers tab allows you to do some tasks below:
Item
Description
Layer Name
Use the default layer name or type in a name.
Target
Select a well or drop.
Volume
Type your desired volume.
Layer Options (a part of Advanced Options)
Select Override, Locked, or both fields.
Concentration (a part of Advanced Options)
Select Volume Base or Concentration Base.
Linked Layer
Copy a layer to create a concentration variation. It can be done using the Add button.
Layers Tab
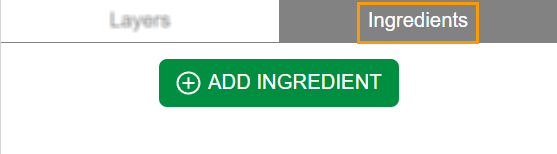
Ingredients tab allows you to select ingredient(s). Find out more on Creating a Grid Layer.
Ingredients Tab
Ingredient Variation
A grid layer automatically varies its ingredient’s concentration or pH. You can modify the ingredient settings in the Layers Design panel.
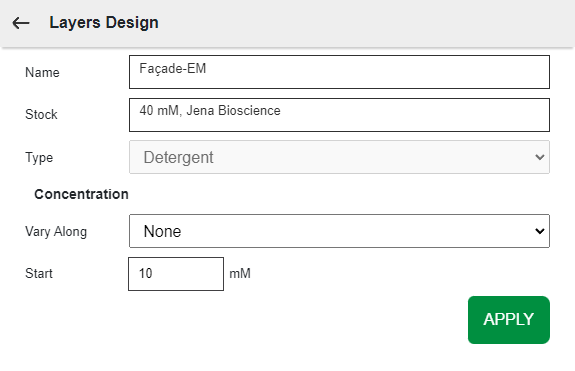
Modifying Ingredient Settings in Layers Design Panel
Item |
Description |
|---|---|
Name |
Displays the name of a selected ingredient. You can click the field to view different ingredients. |
Stock |
Displays the stock of the selected ingredient. |
Type |
Displays the ingredient type. |
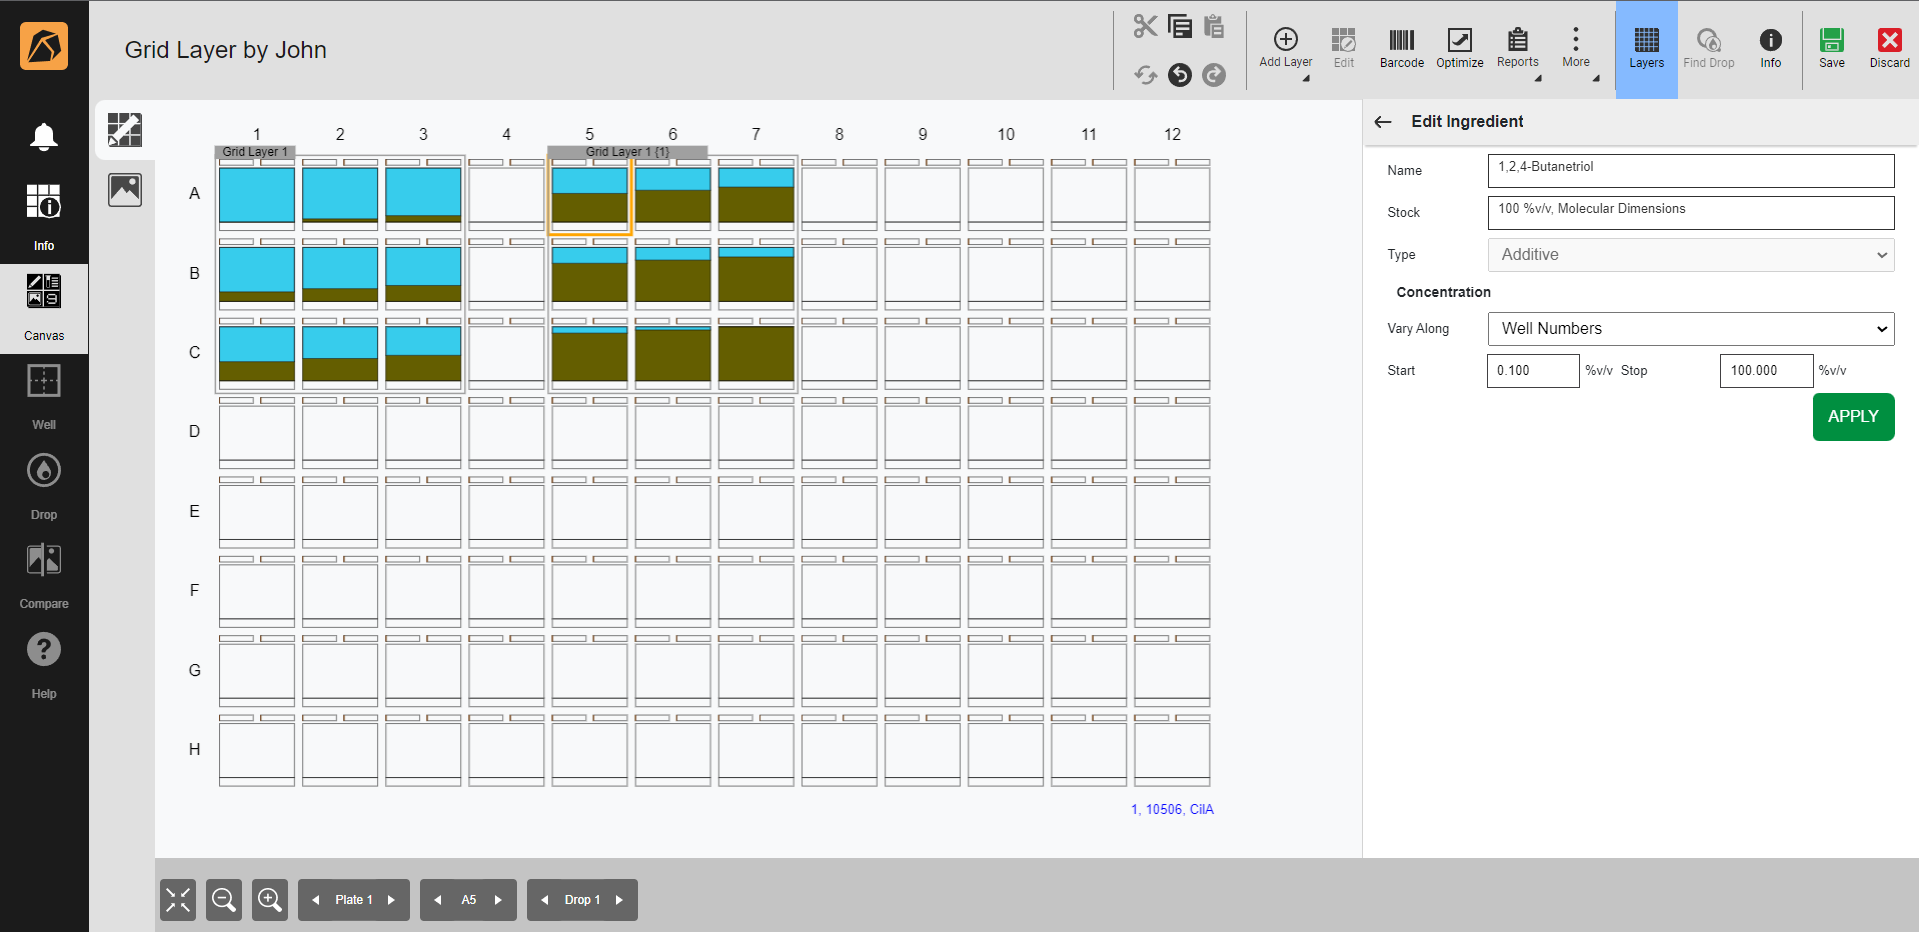
Vary Along |
Allows you to specify where the variation occurs. |
Start (mM) |
Allows you to set the starting concentration. Note If you select Row, Column, Linked Layer, Well Number, or Custom, the Stop field will appear. |
Concentration Variation
Grid layer offers concentration variations accessible from the Vary Along dropdown in the Layers Design panel.
None: no variation; the Start concentration will be applied to all wells in the grid.
No Variation
Rows: concentration increases gradually from the Start to Stop values along each row in a plate.

Rows Variation
Columns: concentration increases gradually from the Start to Stop values along each column in a plate.
Columns Variation
Linked Layers: concentration increases gradually from the Start to Stop values throughout selected linked layers. As a copy of a grid layer with the same ingredients and size, every well in each linked layer has the same value. While the rows and columns of the original grid allow methodical variation in two dimensions, adding a linked layer allows for the third dimension variation.
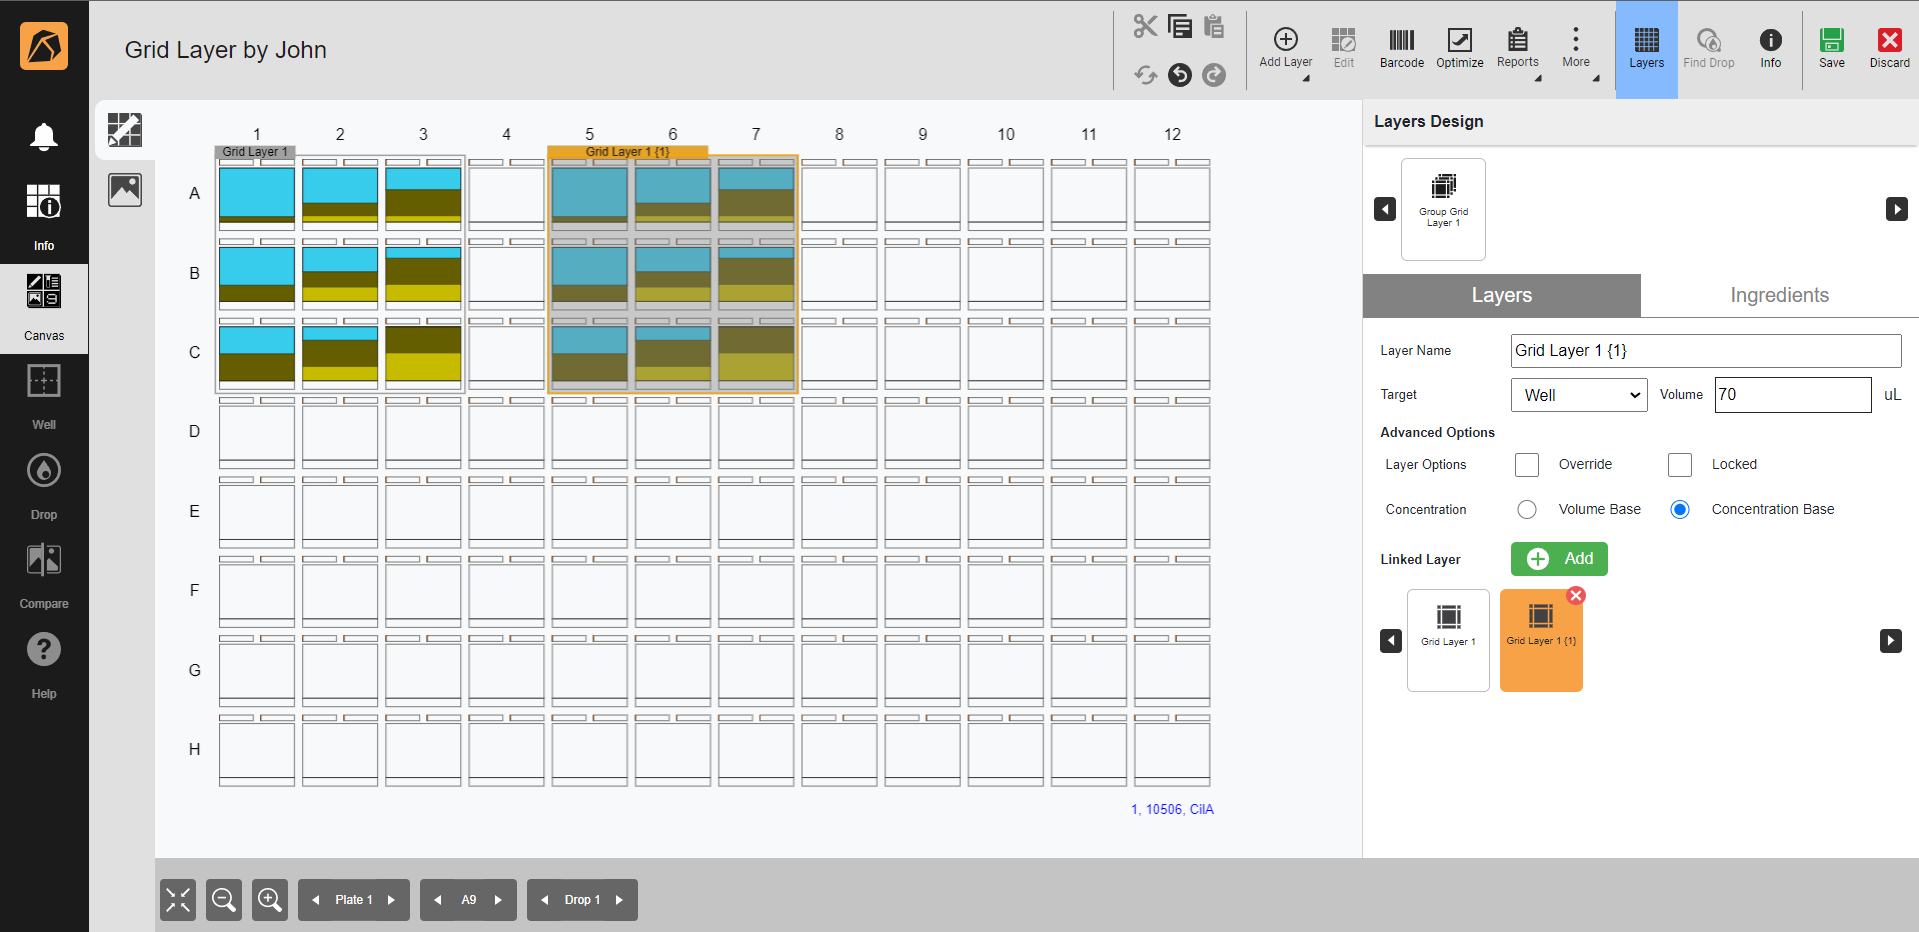
Linked Layers Variation
Well Numbers: concentration variation occurs throughout the wells in the grid layer. The total number of wells and sub-layers in the grid defines the increment. The Start value applies to the first well in the grid, while the Stop value applies to the last well in the grid, as described in the following image.

Well Numbers Variation
The following image illustrates concentration variation on well numbers across a grid and a linked layer. Note that the variation continues from a grid layer’s last well to the sub-layer’s first well.
Well Numbers Variation Across a Grid and a Linked Layer
Custom: you can design each well’s volume or concentration using the Edit Custom Values dialog box accessible through the EDIT CUSTOM VALUES button. Go to Creating a Grid Layer.
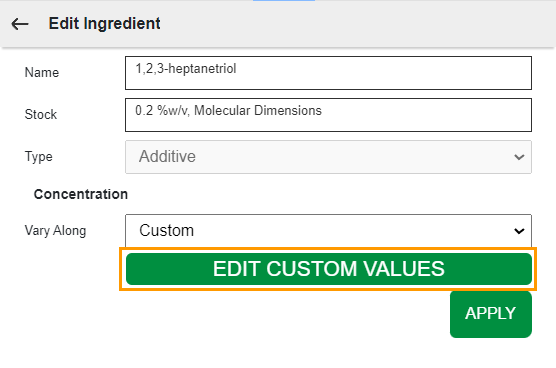
EDIT CUSTOM VALUES Button
The rows and columns in the Edit Custom Values dialog box correspond to the wells in the plate, and the measurement unit in the dialog box follows the measurement of your ingredients. You can fill in the Edit Custom Values dialog box accordingly.
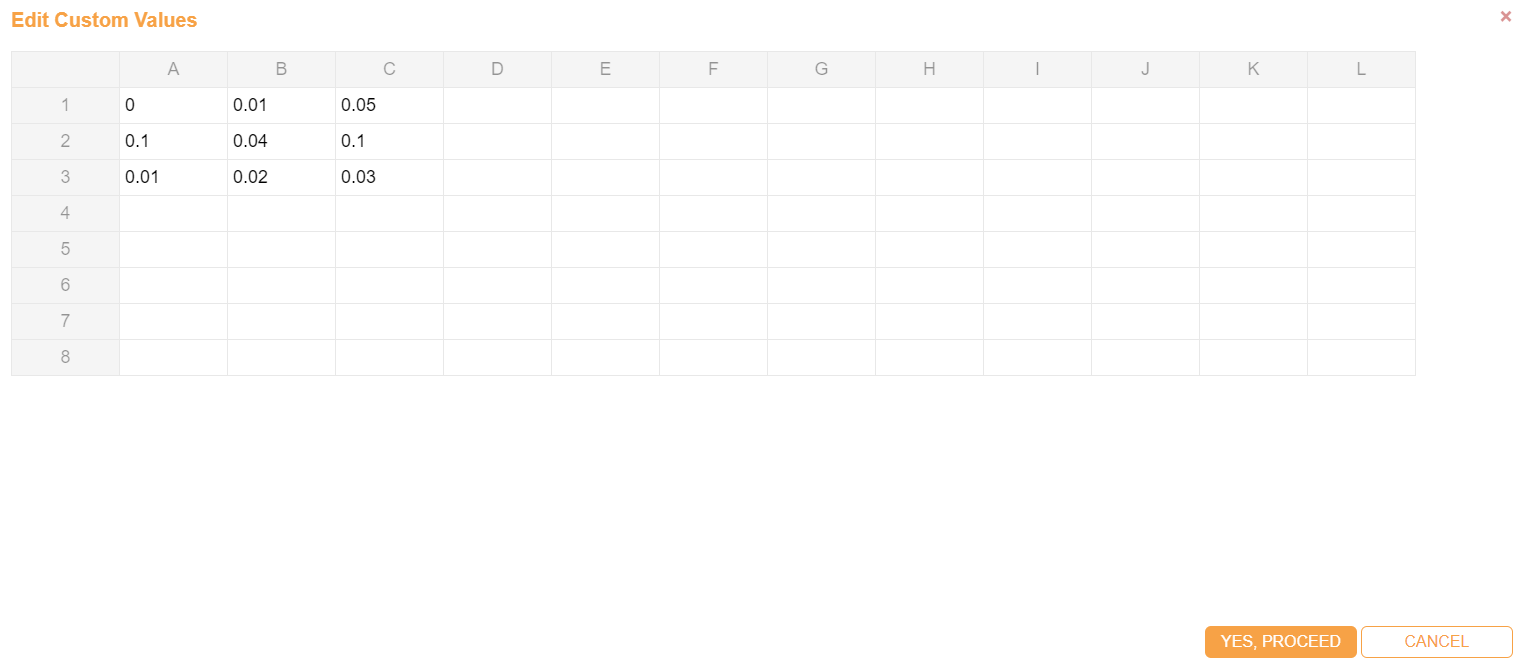
Edit Custom Values Dialog Box
Related Topics: