Importing Ingredients Using the DoE Tool
Important
The DoE tool cannot be used to assign pH to salt(s).
ROCK MAKER enables you to quickly create grid layers in your experiments without manually defining the conditions for each well, by using the DoE tool. When you use the DoE, you will be asked to complete the following tasks:
Create a CSV file from ingredient data taken from JMP, Microsoft Excel, or another Laboratory Information Management System (LIMS) to define all of your well conditions. See the steps below to learn how to create this CSV file.
Create a spreadsheet in MS Excel. The first row of the spreadsheet must contain the names of all of the ingredients you want to use in your experiment. Every subsequent row represents one well in your plate. The first row of the spreadsheet must contain names of all the required ingredients. Every subsequent row represents a well in your grid layer.
Every column contains pH or concentration values for every ingredient in the first row.
Save the spreadsheet as a CSV file.
Alternatively, edit this template file in in MS excel and save it to your computer in a location that’s easy to find.

CSV Template File for the DoE Tool
Important
There should be a pH column for every buffer in your file, as shown in the image above.
Add the relevant ingredients to your grid layer in ROCK MAKER, and under Concentration and pH select Vary: Custom.
Upload the CSV file using the DoE button.
Match your ingredients in your layer with the ones in the file. Once you are done, the new layer will be generated automatically.
In this section, you will learn how to import ingredients using the DoE feature in ROCK MAKER.
Prerequisites:
You are running ROCK MAKER version 3.12 or newer.
You have created a .CSV file containing the ingredient data.
Each of the ingredients you want to use is already defined in the ROCK MAKER database.
To import ingredients using the DoE:
Create a new experiment or open an existing experiment.
Add a grid layer to the canvas. This grid layer should contain at least as many wells as in the CSV file.
Click Add Ingredient.

Add Ingredients in the Edit Grid Layer Panel
Click anywhere in the ingredient Name box to display the Select Ingredients panel.
Type or select an ingredient and its relevant stock.
Note
Make sure that the stock you select for an ingredient is at a higher concentration than the highest concentration for that ingredient in your CSV file. Similarly, the stocks for a certain buffer should be selected such that they cover the range of pH for that buffer in the file. For example, if your CSV contains TRIS within a concentration range of 0.05-0.20 M, and a pH range of 7-9, the stocks should be 1 M TRIS pH =< 7 and 1 M TRIS pH >= 9.
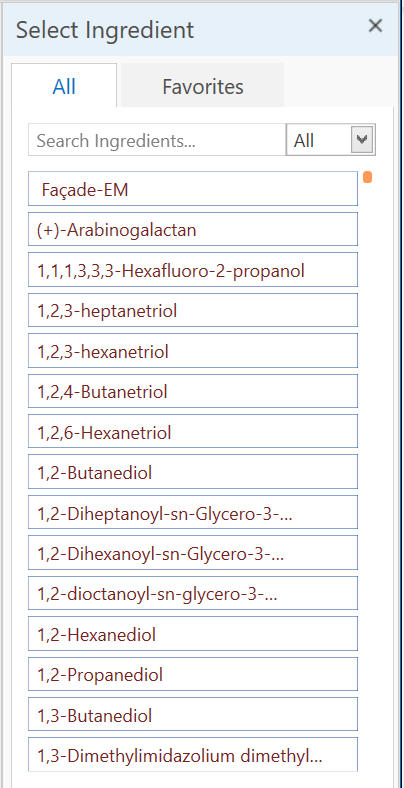
Type or Select an Ingredient
Under Concentration and pH (buffers only), select Vary Custom. Then, click Add.

Select Vary Custom for the Concentration and pH
Repeat steps 3 - 6 to add additional ingredients.

A Grid Layer with Ingredients in the Canvas
When you have finished adding your ingredients, click the DoE button
 on the Edit Grid Layer panel.
Locate the CSV file that you want to import and click Open.

Selecting a CSV File to Import
After the Import DoE window appears, you will need to match the imported data with the ingredients you just added in ROCK MAKER. The Import DoE window consists of two main panels, as follows:
Match Imported Data. On this panel, you will match the imported data conditions to the available ingredient in ROCK MAKER. The first column of this panel is the first row of the imported CSV file.
Important
You cannot match pH data to a salt.
Data Preview. This panel displays a preview of the imported CSV file.

The Import DoE Window
In the Match to column of the Match Imported Data panel, select ingredients from the list accordingly. For example, the name of the ingredient in the first row of your CSV file may be written “Tris Conc (mM)”, but the actual name of the ingredient in your RM database is “TRIS”. So, for each item in the Imported Data column, you must specify the relevant Ingredient in the Match to column. During the matching process, the unit for pH data should be selected as pH.

Match Your Ingredients in the Import DoE Window
When you are done, click Import.
Your imported ingredients will automatically be generated in the grid layer that you previously created. You are now ready to continue working on your experiment.

The Imported Ingredients have been Generated in the Grid Layer
Note
If your grid layer contains more wells than the conditions in the CSV file, the extra wells will be filled with water. If your grid layer contains fewer wells than the conditions in the CSV file, the extra conditions will be ignored.
Related Topics