Authorization
Authorization in ROCK MAKER provides a layer of security by authorizing administrators to determine what users or groups are allowed to do while using ROCK MAKER, such as granting or removing access to certain experiments or projects. This is helpful when ROCK MAKER is used by multiple users as a shared Laboratory Information Management Software.
Note
To enable authorization in ROCK MAKER, please reach out to our FORMULATRIX Support for help.
User Logins and Password Management
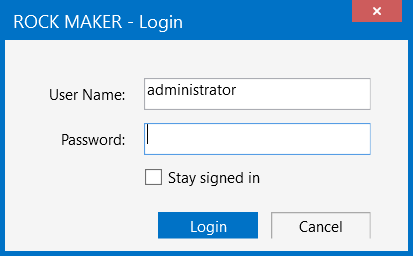
Once the application security is enabled, a login dialog box will pop-up upon ROCK MAKER launching and will prompt users to enter their username and password.

ROCK MAKER Login Dialog Box
By default, ROCK MAKER doesn’t assign a password to new users. The Change Password function can be used to either assign a password to a new user or change the password of a pre existing user.
If a user forgets his/her own password, an administrator can reset the password through the User Management panel.
Clicking the Stay signed in checkbox ensures that you will not be logged out of ROCK MAKER even after you close the application.
To modify your password
Click the Login menu in the top-right corner of the screen that displays your account name.

Login Menu
Select Change Password.

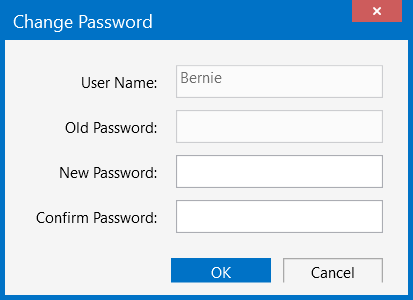
Change Password Dialog Box
In the New Password field, type your new password. We recommend using a combination of special characters, numbers, and uppercase letters.
Note
The Old Password field is unavailable if you are creating a new password for a new user.
Retype your new password in the Confirm Password field.
Click OK to save your changes.
Users can then use ROCK MAKER or personalize the software to their liking. An administrator can also manage access rights for each user. For more information, see the Managing Access Rights topic below.
Managing Access Rights
Note: A user’s access rights will affect search results. Whenever the user conducts a search, only the nodes to which the user has access will be involved in the search.
The Manage Access Rights feature is only visible to the ROCK MAKER Administrators group. Using this feature, administrators can determine what functionality (e.g. the Setup node, the Synchrotron Trips node) and experiments users or groups can access. This way, the privacy of certain experiments can still be guaranteed even though the software is being used by multiple users. For example, if you select Manage Access Rights on the Projects node, then the settings will only apply to that node including all projects and experiments inside it.
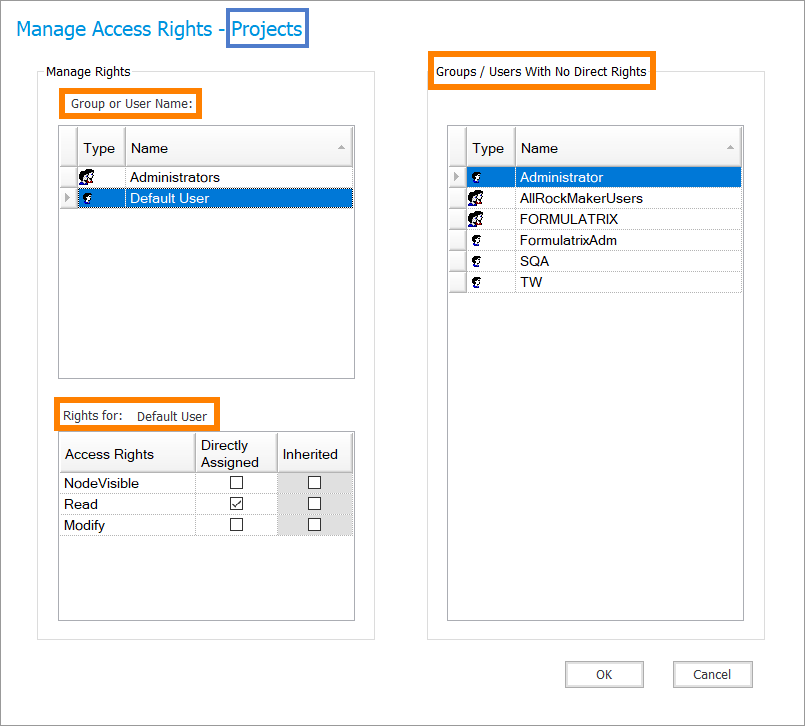
To open Manage Access Rights window, right-click any node, project, or experiment in the Explorer and select Manage Access Rights. To see which feature you are granting access to, read the indicator in the window title (marked in a blue box) below.

Manage Access Rights Window
The Manage Access Rights window is divided into three parts (marked in orange squares above). See the table below for details.
Item |
Description |
|---|---|
Group or User Name |
This area shows you groups or users that have been granted access to a specific node in the Explorer
or to certain projects and experiments. Permission can be granted on a personal or per group basis.
A two person icon |
Group/Users With No Direct Rights |
This area shows a list of users and groups that do not have access to areas in the Explorer node. To grant them access, simply select the desired user or group and drag them to the Group or User Name area. |
Rights for:… |
This area specifies the type of access given to users or groups.
|
Related Topics