Creating a Fragment Layer
When designing protein crystallization experiments in ROCK MAKER, you can add multiple fragments to a desired experiment. Creating a fragment layer involves specifying target well drops and selecting fragment screens.
Prerequisites:
You have created a Fragment Screen.
You are running ROCK MAKER version 3.16 or newer.
To create a fragment layer:
In the Explorer, expand the Project node, open the desired experiment and then go to the Canvas tab.
Choose from the following options:
Click the Fragment button
.png) in the Add Ingredients
group on the Design tab. Then, drag your mouse to the canvas
to select the desired well(s) for your fragments. On the Select
Screen Fragment panel, select the desired fragment screen from
the list.
in the Add Ingredients
group on the Design tab. Then, drag your mouse to the canvas
to select the desired well(s) for your fragments. On the Select
Screen Fragment panel, select the desired fragment screen from
the list.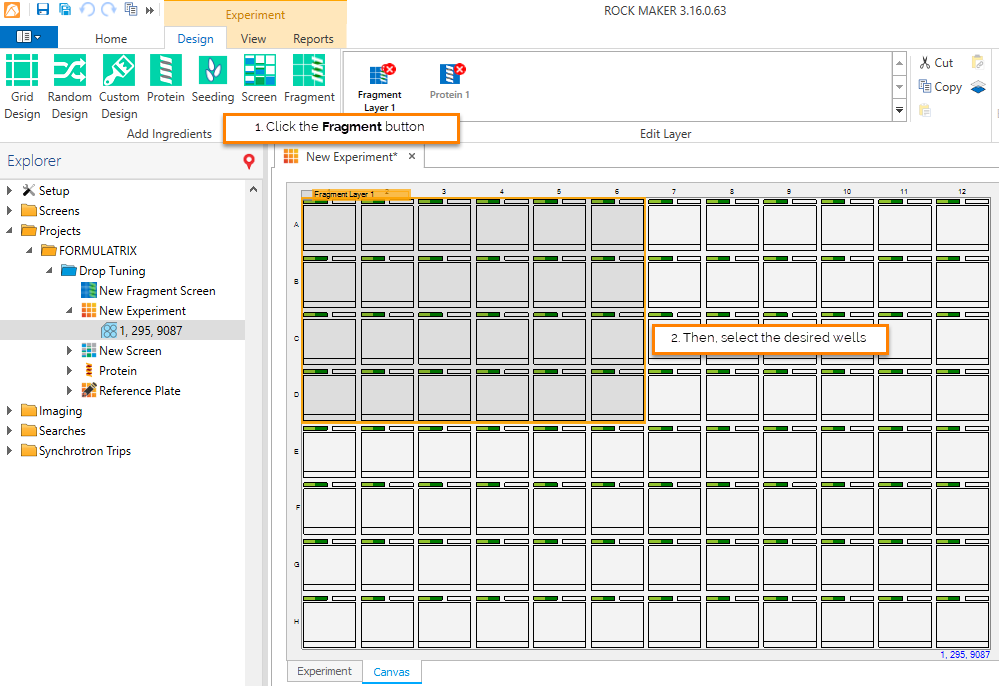
Selecting the Desired Well(s) to Which You Will Add Fragments
OR
Drag the desired fragment screen from the Explorer to the desired drop location(s) on the Canvas tab.

Dragging a Fragment Screen from the Explorer to the Canvas
In the Edit Fragment Screen Layer panel, type a descriptive name for the layer in the Name box. Then, select the desired target drop, either drop 1 or 2, in the Target box and click Update.
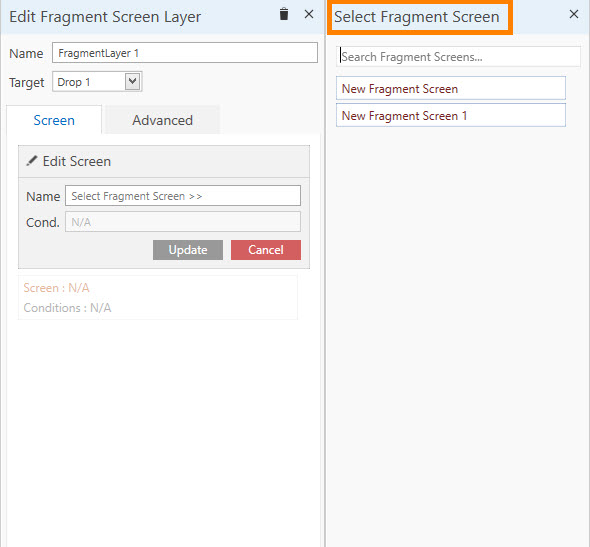
Selecting the Desired Fragment Screen to Add to the Protein Drops
ROCK MAKER will automatically assign the fragments to all the wells that you have previously selected.
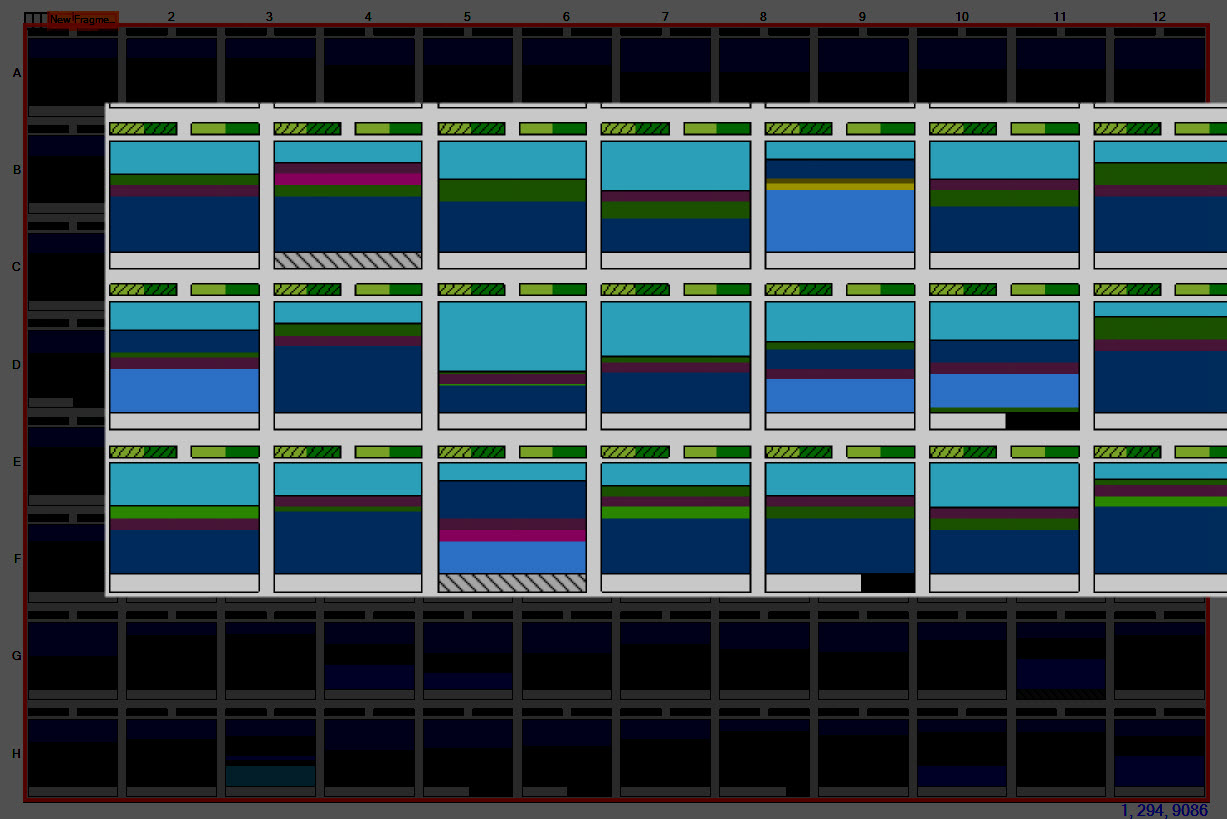
The Fragment Layer in Drop 1 is Represented by a Dark Shading
To add another fragment layer to your drops, repeat steps 1 - 2.
Click the Save button
 or press Ctrl+S on your keyboard
to save the changes.
or press Ctrl+S on your keyboard
to save the changes.Note
If you haven’t added a protein layer to the drops to which you have added a fragment layer, please proceed to add a protein layer.
Related Topics