Adding Tags and Printing Plate Labels
Once you finish designing a plate, the next step is to add tags to your plate label and print a barcode label to affix to the plate.
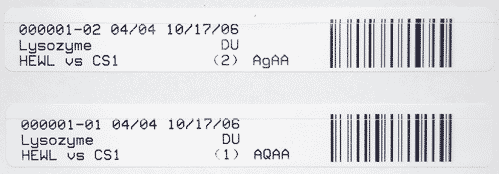
Plate Barcode Labels
Adding Tags to Plate Labels
By default, ROCK MAKER allows you to include the following tags in a barcode label you print out.
Tags for Experiment Label |
Tags for Screen-related Label |
|---|---|
|
|
The standard tags that appear in a plate label doesn’t include all of the above tags. You can modify which tags should be included in your plate label by following the instructions below.
Note
Only administrators can adjust and modify the default value of label printing properties through the Label Printing Properties in Global Preferences.
To add tags to your plate label:
There are up to 6 available lines that you can fill with tags, depending on your needs and available space on the labels. By default, ROCK MAKER fills up three lines to get you started.
Go to the Label Printing Properties section of Global Preferences.
Insert the desired tags inside the curly brackets—e.g., {ExperimentPlateNumber}.
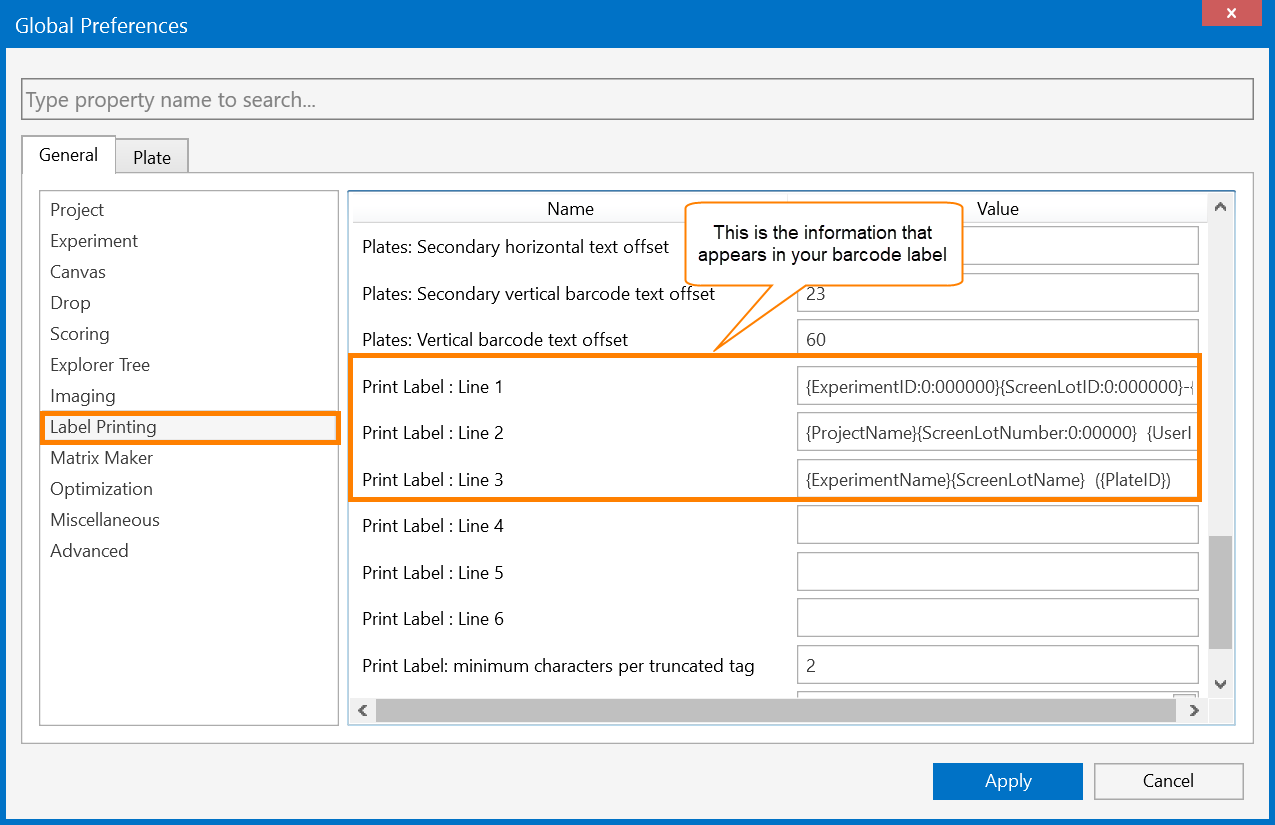
Label Printing Properties in Global Preferences
Click Apply and restart ROCK MAKER to save the changes.
Note
You can also change the order of the tags in which they appear in your plate label by moving the tags in your desired location. For example, a project name can appear in Line 3 after an experiment name instead of in Line 2.
Below is an example of a plate label and what each tag in every line represents.

A Plate Label for an Experiment Commonly Consists of Three Lines
A plate label for an experiment commonly consists of three lines.
Line |
Description |
|---|---|
Line 1 |
|
Line 2 |
|
Line 3 |
|

A Plate Label for Screen
Line |
Description |
|---|---|
Line 1 |
|
Line 2 |
|
Line 3 |
|
Tip
You can crosscheck the information that appears on your plate labels by pressing CTRL+F on your keyboard, type a plate ID, experiment ID or barcode number in the Search field and the image below will appear in the search result panel.

Screen Information
Printing Plate Barcode Labels
To print plate barcode labels:
Click the experiment or project in the Explorer, then click the Print Barcode button
 in the Explorer group of the
Home tab. This method is applicable to print screens.
in the Explorer group of the
Home tab. This method is applicable to print screens.OR
Right-click on an experiment or project in the Explorer and select Print Barcode.
OR
Multi-select several experiments or plates in the Explorer, right-click, and select Print Barcodes.
OR
Click the Print Barcode button in the Tasks group on the Design tab to print a barcode for the currently active plate on the canvas. This method is applicable to print screens.
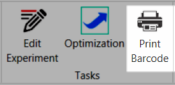
Print Barcode in the Tasks Group
Related Topics