Creating Fragment Screens
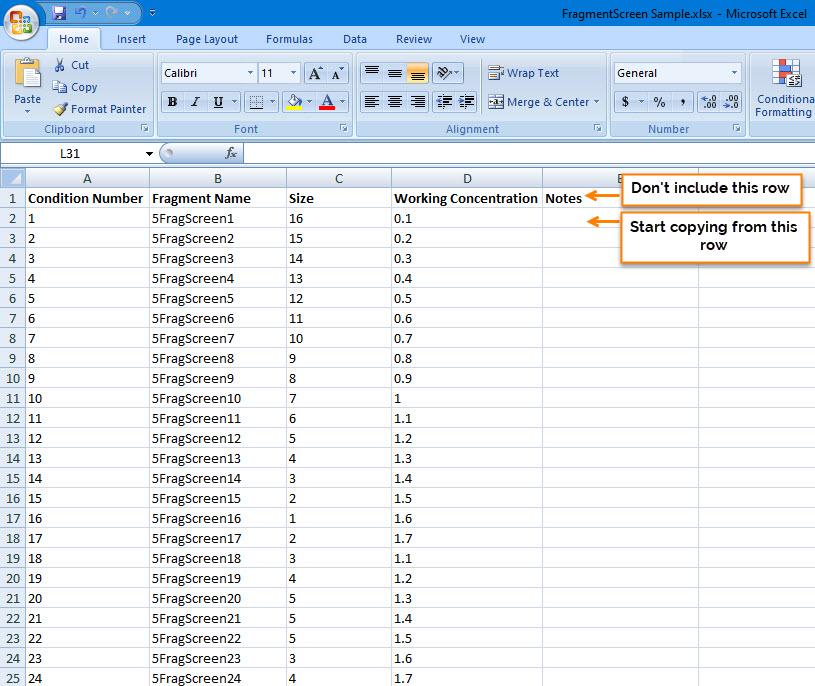
Before you can add fragments to your protein sample for co-crystallization, you will first need to create a fragment screen. Basically, this is where you store all of your fragment data in ROCK MAKER for future use.
Important
Once a fragment screen is used in an experiment, it becomes uneditable so as to prevent any changes that could tamper with the related experiment.
Adding Fragments Manually
Prerequisites:
You are running ROCK MAKER version 3.16 or newer.
To add fragments manually:
Right-click a project in the Explorer, or a folder within a project, and select New Fragment Screen,
OR
Select the project folder in the Explorer that you want to create the fragment screen in, and then click the New Fragment Screen
 button on the Home ribbon.
Give the screen a descriptive name by typing over the default name in the Explorer.
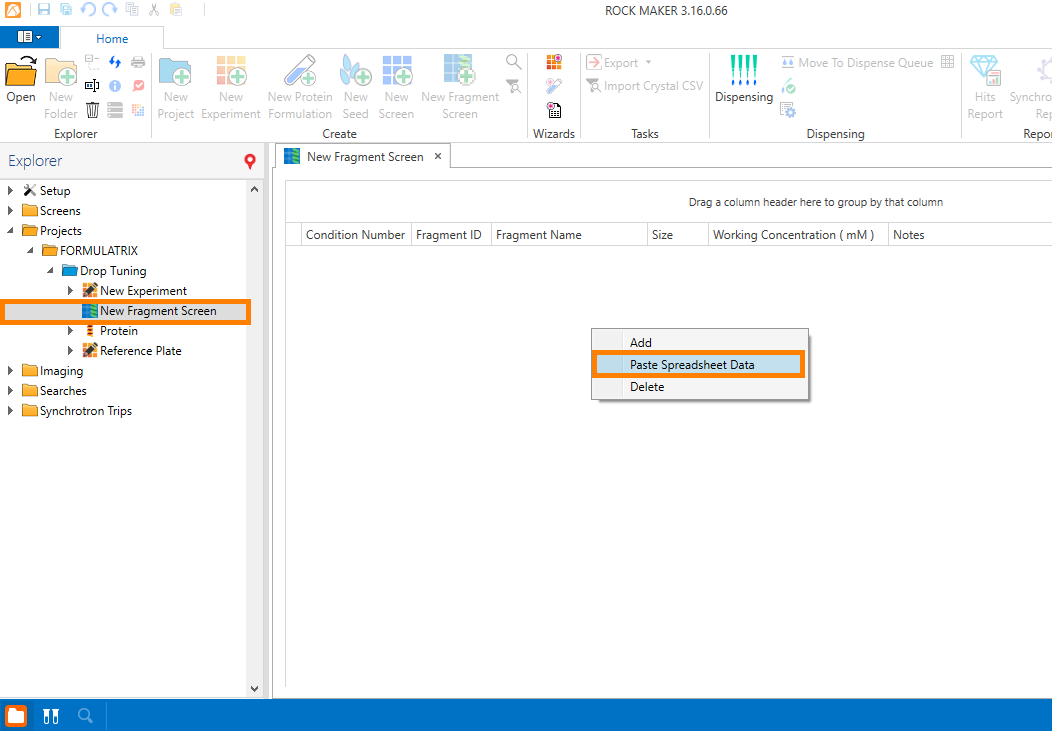
Right-click anywhere in the New Fragment Screen tab and select Add.
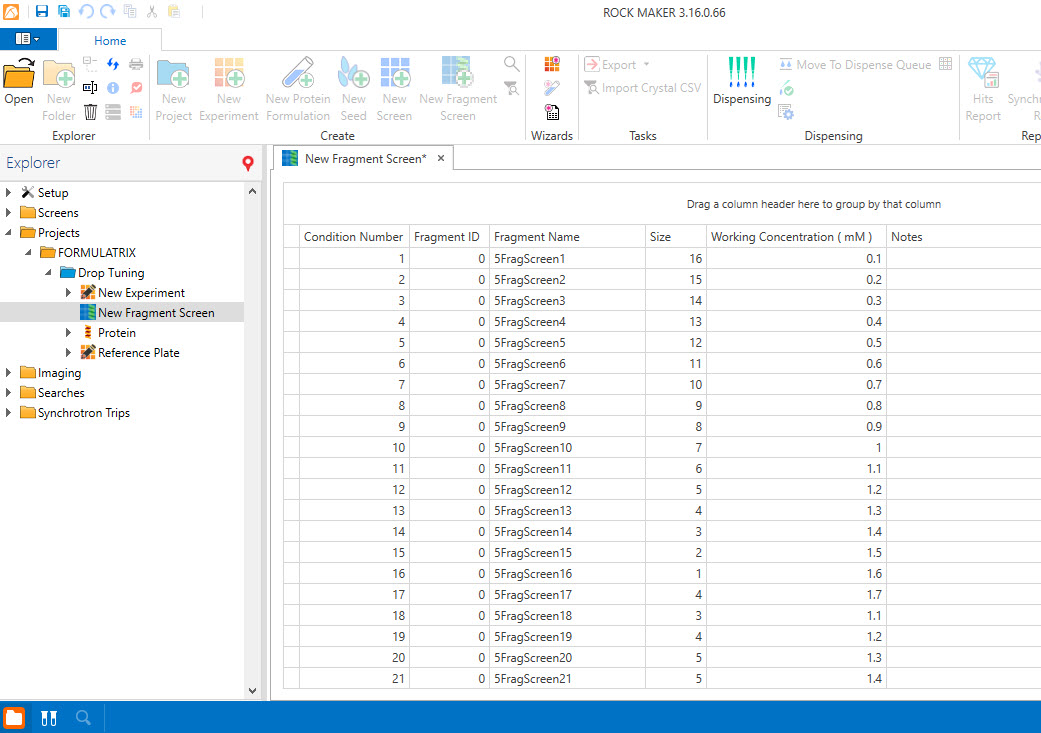
Fill in the provided fields in the New Fragment Screen tab by using the following table as a guide.
Field
Description
Condition Number
Read only. This field is auto-generated by ROCK MAKER. The condition number represents the target well of the plate to which a fragment will go.
Fragment Name
Type a name for your fragment.
Fragment ID
ROCK MAKER automatically assigns this number to each fragment. The number represents each individual fragment in a fragment screen.
Size
Type the size of the fragment.
Note: Fragment size cannot be zero.
Working Concentration (mM)*
Type the working concentration of the fragment in mM.
Notes*
Type any additional information for each fragment. For example, you can mention that a certain fragment was used in a separate successful research on a different protein.
*This field is optional.
Repeat steps 1 - 2 to add more fragment(s) to the fragment screen.
Related Topics


 or press Ctrl+S on your keyboard
to save the changes.