Navigators
There are two navigation tools built in to ROCK MAKER to help you navigate through your images. The first one, referred to as the “strip navigator” is the quick set of tools displayed at the top of your drop image. The second one is a larger set of tools that will appear at the bottom of your screen when you open an experiment that has images. It is accessed from the View bar by clicking the Navigator button.
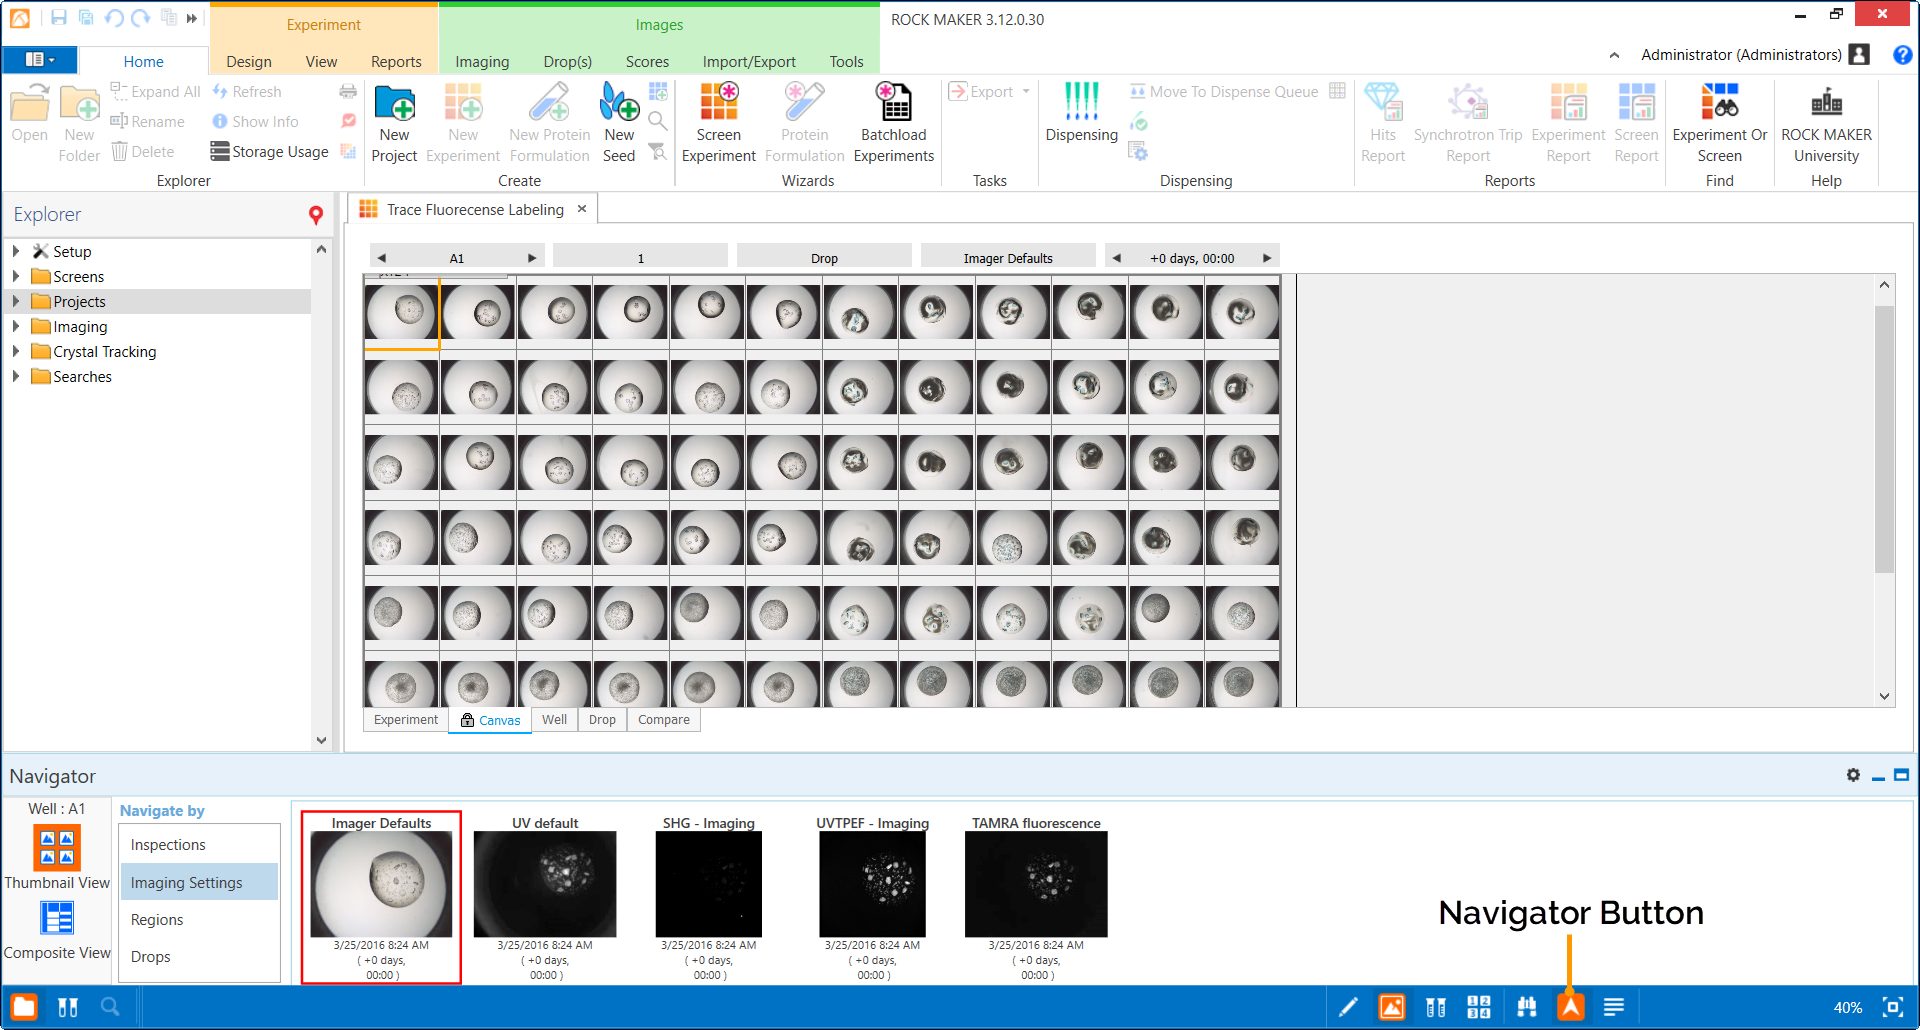
Navigator Button on View Bar
The Navigator area contains all controls necessary to browse through plates, wells, drop, regions, imaging settings, and imaging sessions. Two modes are available on the Navigator, Thumbnail View and Composite View. Thumbnail View is the first mode you see. Composite View is accessible by clicking the Composite View button at the bottom-left of the Navigator. To bring up the full-size image of any thumbnail you see, double-click the thumbnail.
Navigator - Thumbnail View
Thumbnail View
Thumbnail View provides four options for viewing the various images taken of a drop. You may navigate by Inspections, Imaging Settings, Regions, or Drops.
Navigate by Inspections
Selecting Inspections will display a thumbnail from each inspection of the currently selected well in the Navigator. This can be useful when you want to see an overview of crystal growth over time.
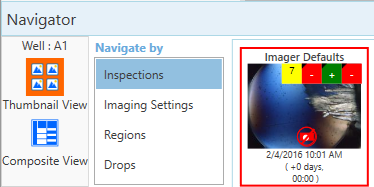
Navigate by Inspections
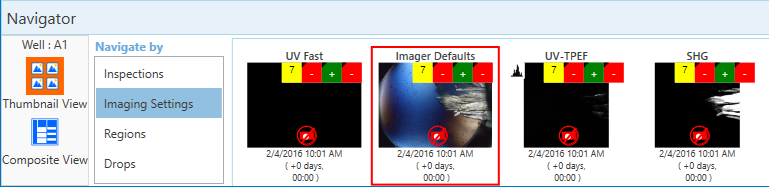
Navigate by Imaging Settings
Selecting Imaging Settings will display one thumbnail of each imaging setting available at the currently selected time point for the currently selected well.
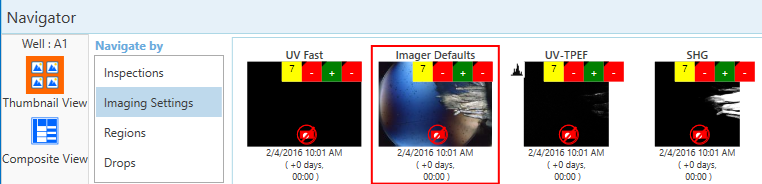
Navigate by Imaging Settings
Navigate by Regions
Selecting Regions will display images of different regions for the currently selected well. You will see regions if you have used automatic drop location on your plate (a ROCK IMAGER feature), or if you have drawn one or more regions using the Region of Interest tool and ROCK IMAGER has photographed those areas.
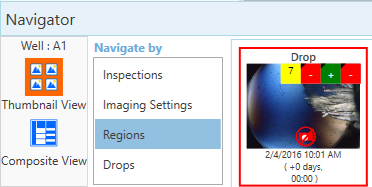
Navigate by Regions
Navigate by Drops
Selecting Drops will display a thumbnail of each drop at the currently selected well for the currently selected time point.
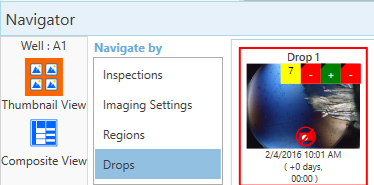
Navigate by Drops
Composite View
Composite View provides a map of which drops were imaged at what date and with which imaging setting.
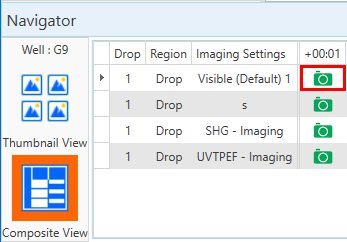
Composite View